 In today's review we present two interesting Aquacomputer products for water cooling: the Aquaero 5 XT, a comprehensive tool to control your liquid-cooled PC, and the "High Flow" Flow Sensor G1/4, which allows to measure the flow of water in your liquid cooling system.
![]()
We received in our labs the Aquaero 5 XT controller along with the flow sensor "Flow Sensor High Flow" G1/4 that we propose in this review, both made by German manufacturer Aquacomputer , well known in the liquid cooling sector for avant-garde solutions, as well as the quality that accompanies its products. Most of the parts and components both mechanical, plastic or electronic are produced entirely in its factory. The production consists of CNC machines for precision machining of metal and plastic while for cutting and engraving the company uses both laser diode and CO2 machines. Also the software and the firmware is programmed internally, so its products are cutting edge and appreciated for the functional completeness. In fact, the Aquaero 5 XT controller that we propose in this review along with the flow sensor is actually now the most comprehensive, accurate and rich in its functions, in the field of PC components, a user could want. Both the user that takes the first steps in this area and the expert that knows perfectly well that, to monitor the variables involved in the liquid cooling and then to keep it efficient, you need an interface that allows to display values and to act accordingly. The values of temperature and flow velocity of the liquid to get real-time operating status of the pump and other components are vital in order to maintain the temperatures of our PC hardware within the safety limits set. But let us proceed with the presentation of the concerned products.
Aquaero 5 XT presentation
We start from the controller that for us is the main component subject of this review for the functions that accompany it. The Aquaero 5 is offered in three variants. The Lite version is the most lean and economical, and is represented in the following photo:
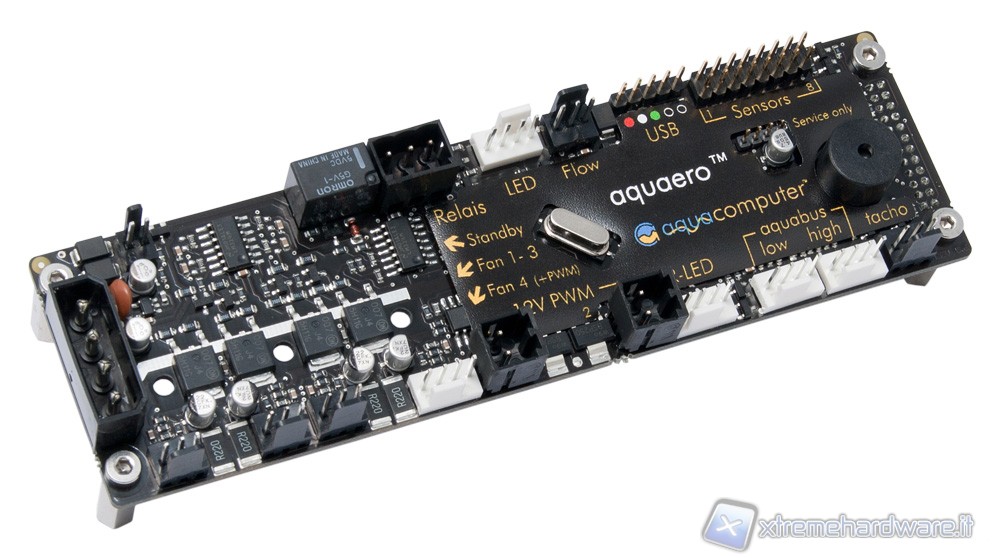
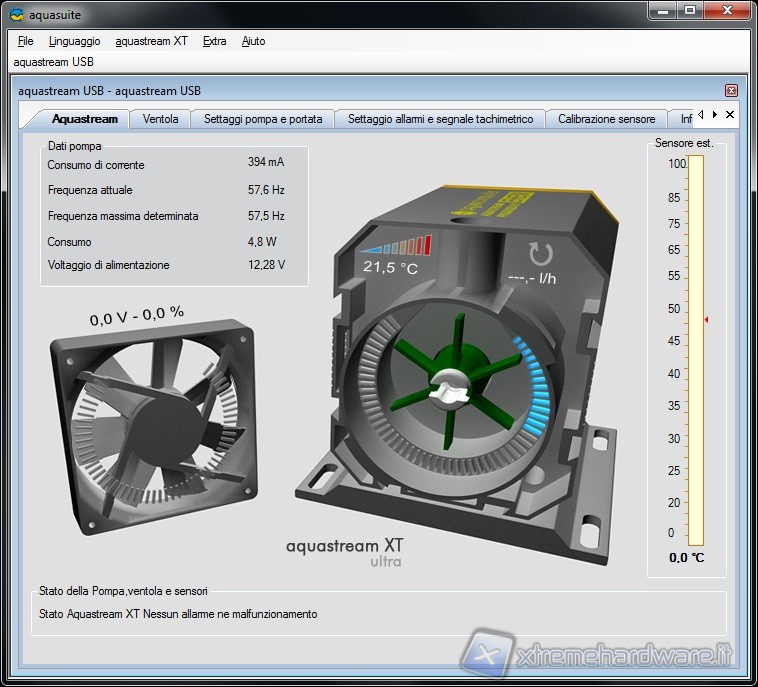
The Lite version is mainly characterized by only the electronic circuit, without display. Therefore requires a PC to operate as it is interfaced through the USB port with a software installed on your PC. So it can only be controlled through the graphical interface of the software shown below:
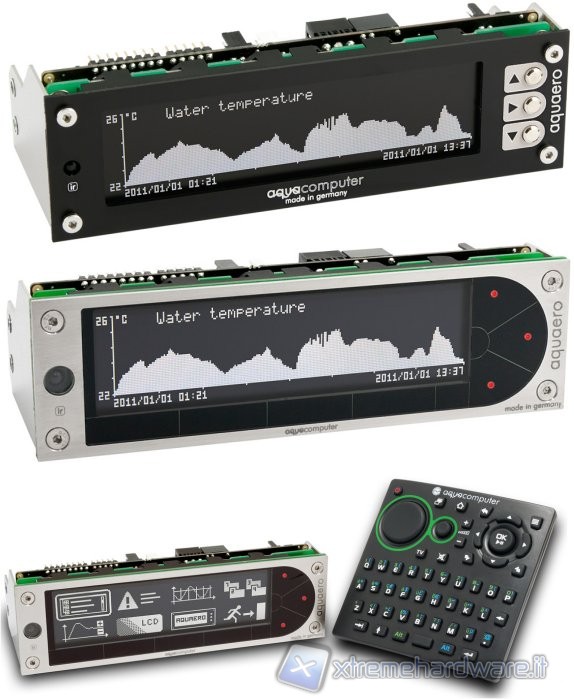
Aquaero 5 PRO version, as of mid-range product for cost and equipment is sold with the mask in silver or black color.
It also can interface with the software Aquasuite, as well as the most complete XT version, but the most interesting features as shown in the picture above is that it can be used independently of the PC thanks to its display with function keys. The only difference that distinguishes it from the most complete version shown here is the lack of the IrDA port and so of the joystick pad for remote control, and the display is not touch screen.
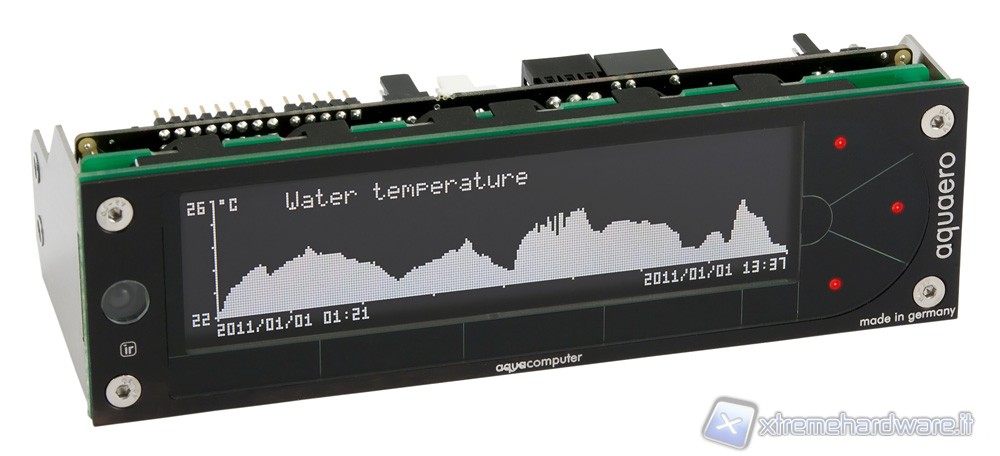
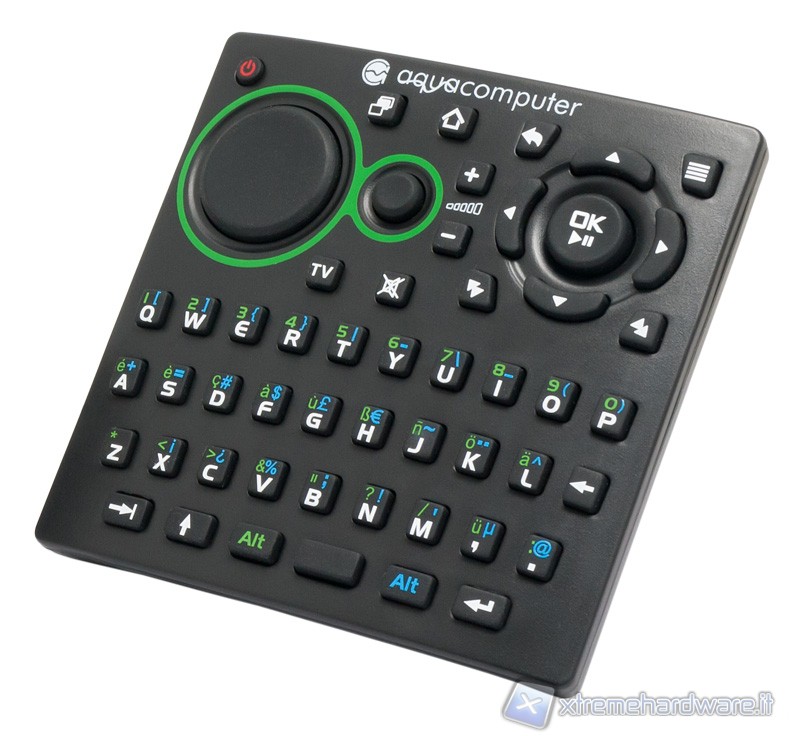
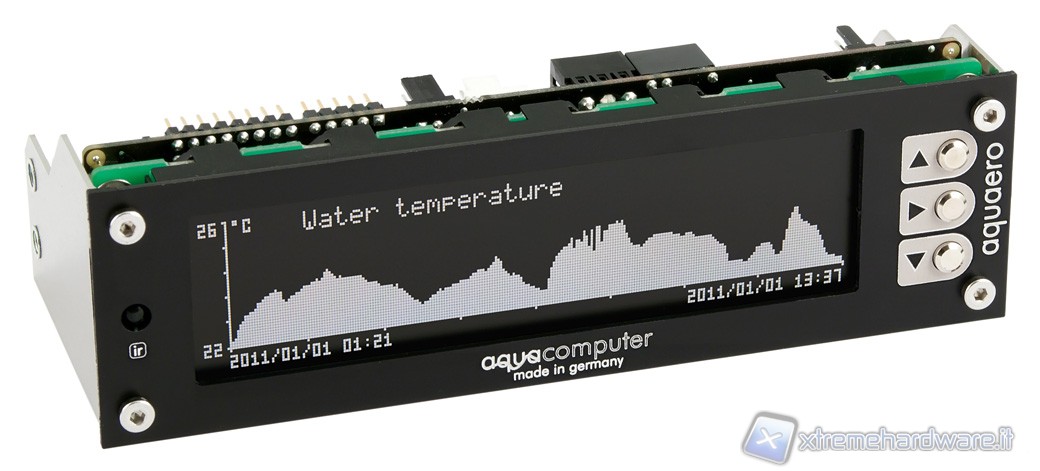
The most complete XT version of the Aquaero, subject of our review, of which precede the photos, has also added the controller or the keypad that is interfaced via the IrDA (Infrared). Clearly being the display touch screen it can also be used without the keypad. Below is the comparative table of features that characterize the three versions both on the features side and the technical features, such as reported by the manufacturer.
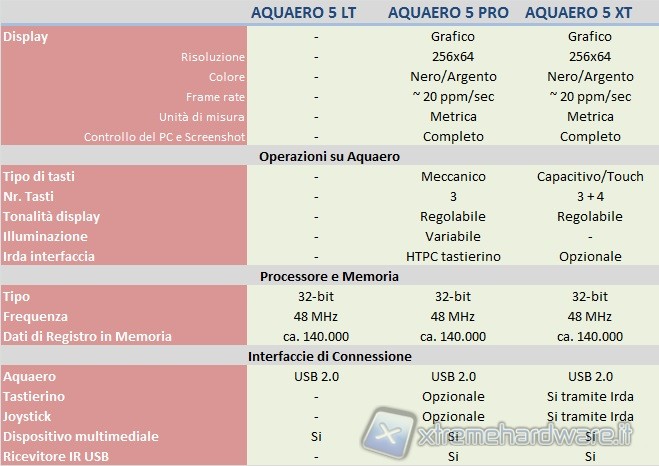
The packaging leaves no room for doubt as printed photos clearly show the product in question.
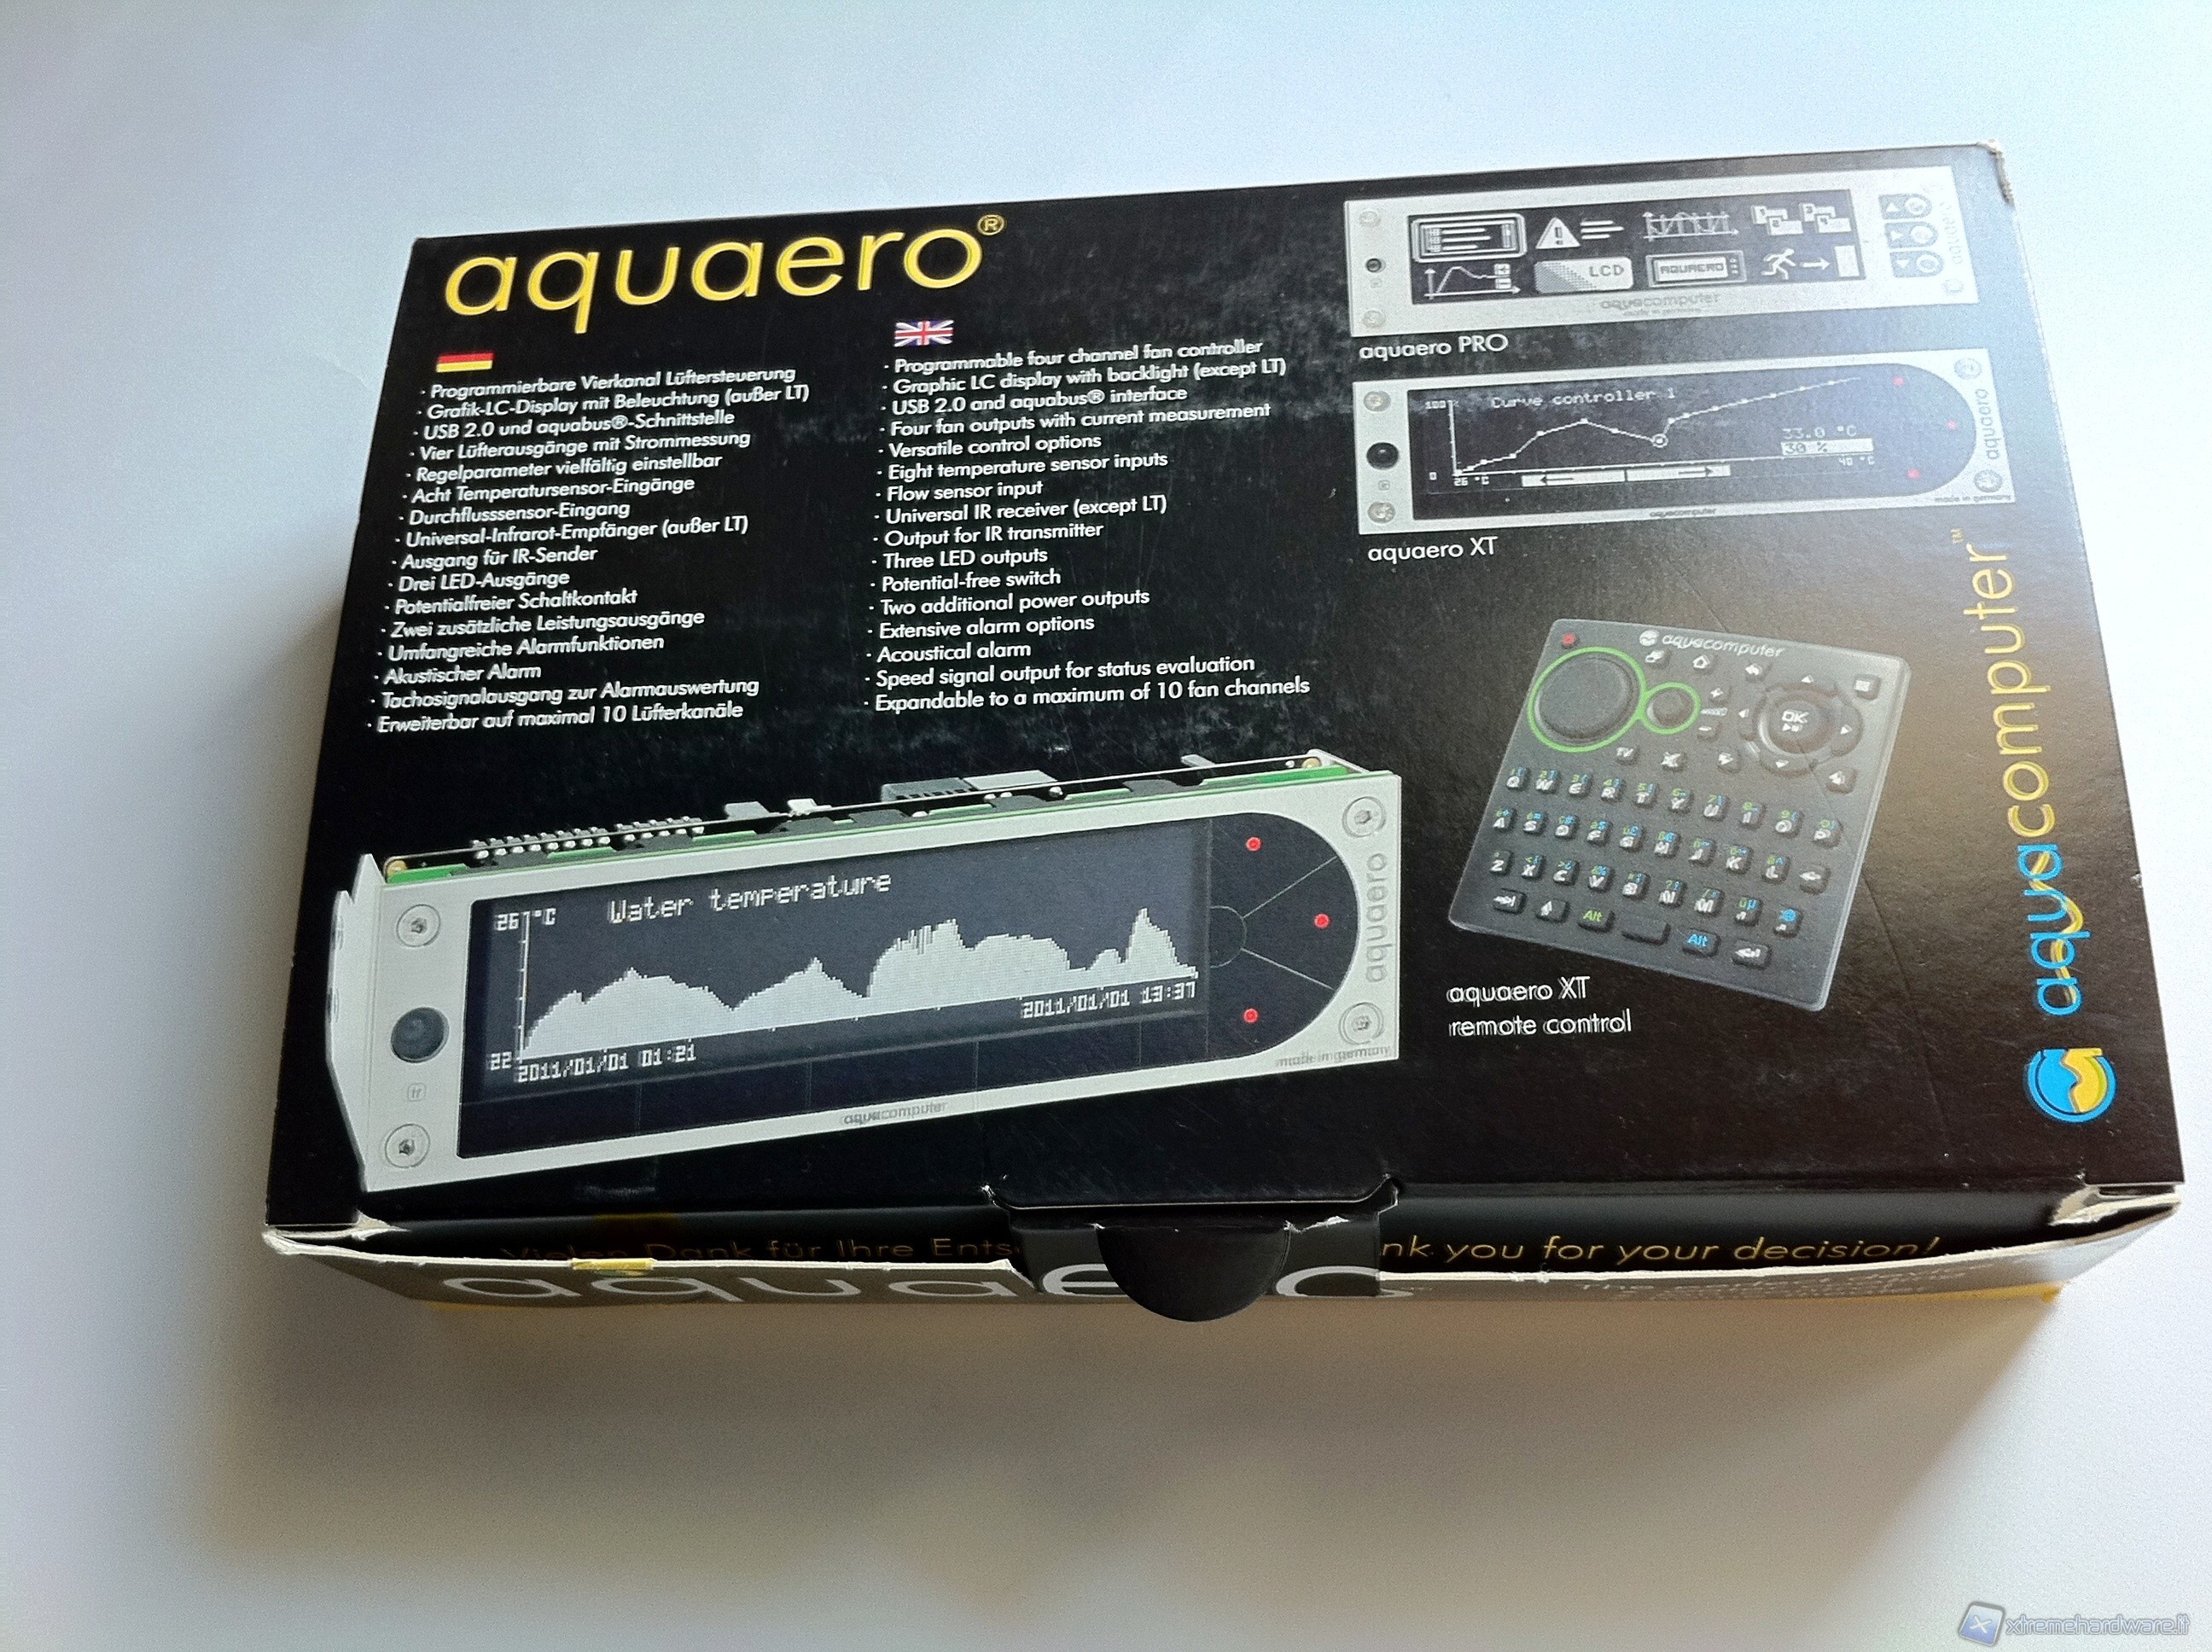
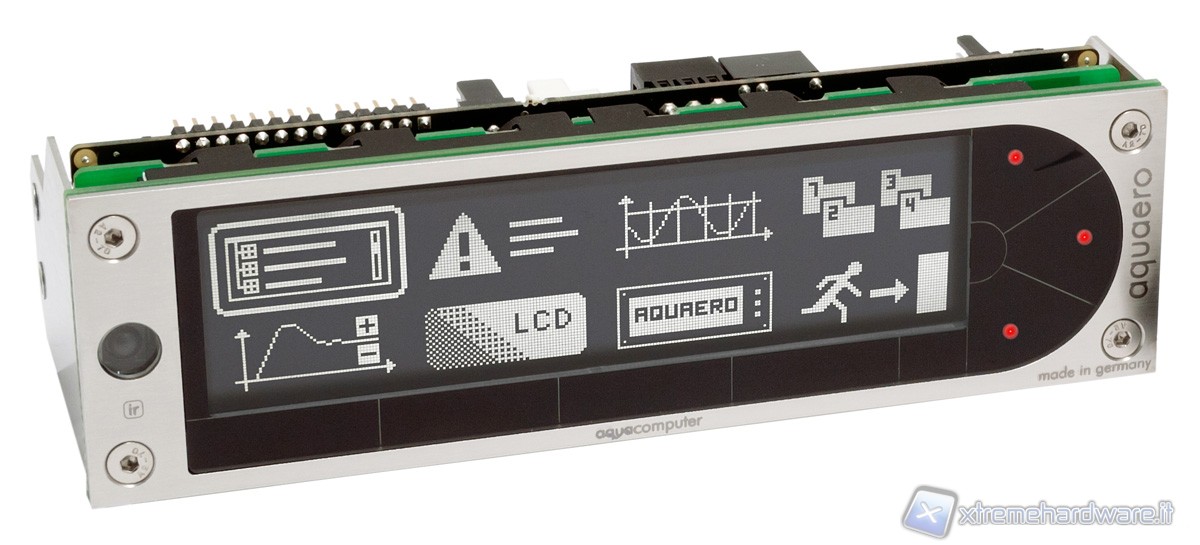
Also for the XT, you notice printed in the top right the version, while straight down and centrally we note 2 screens representing the line chart and the water temperature. On the right of the latter we have the remote control keypad that we mentioned a moment ago. In the top left corner instead we have in German and English a summary of the functional characteristics of the controller.
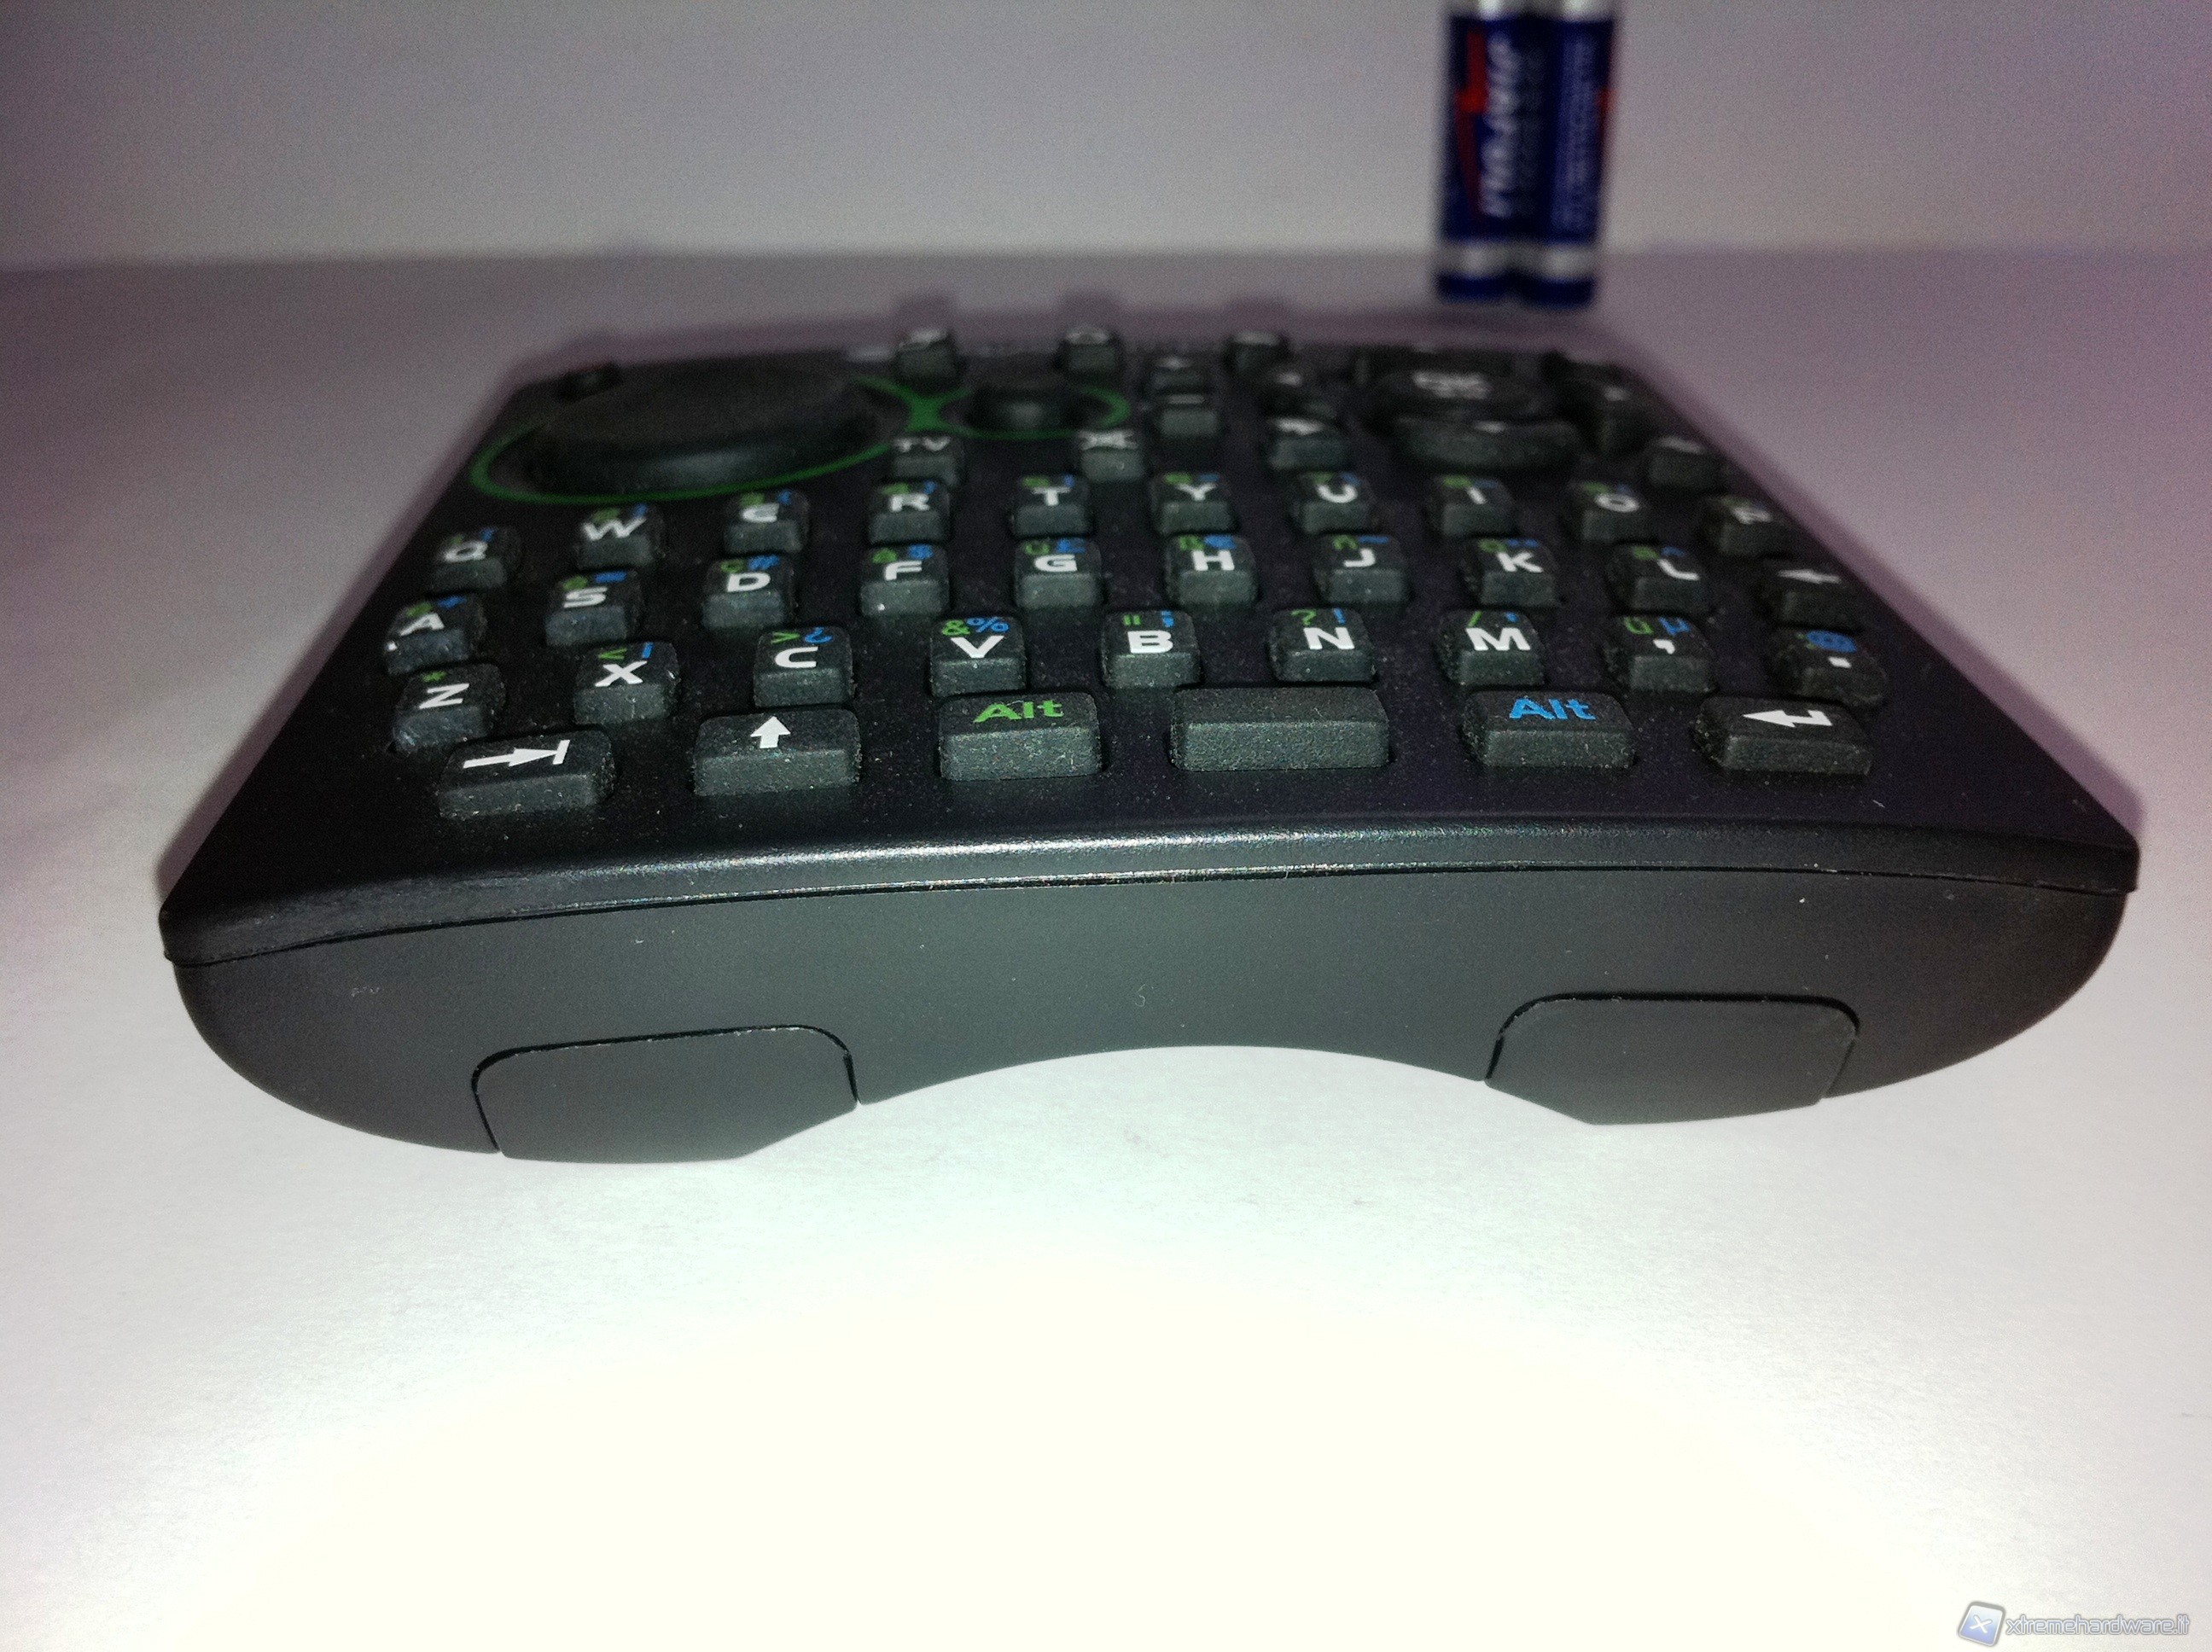
Do not forget about the object that makes the De Luxe version of the Aquaero a gem, namely, the remote controller shown below
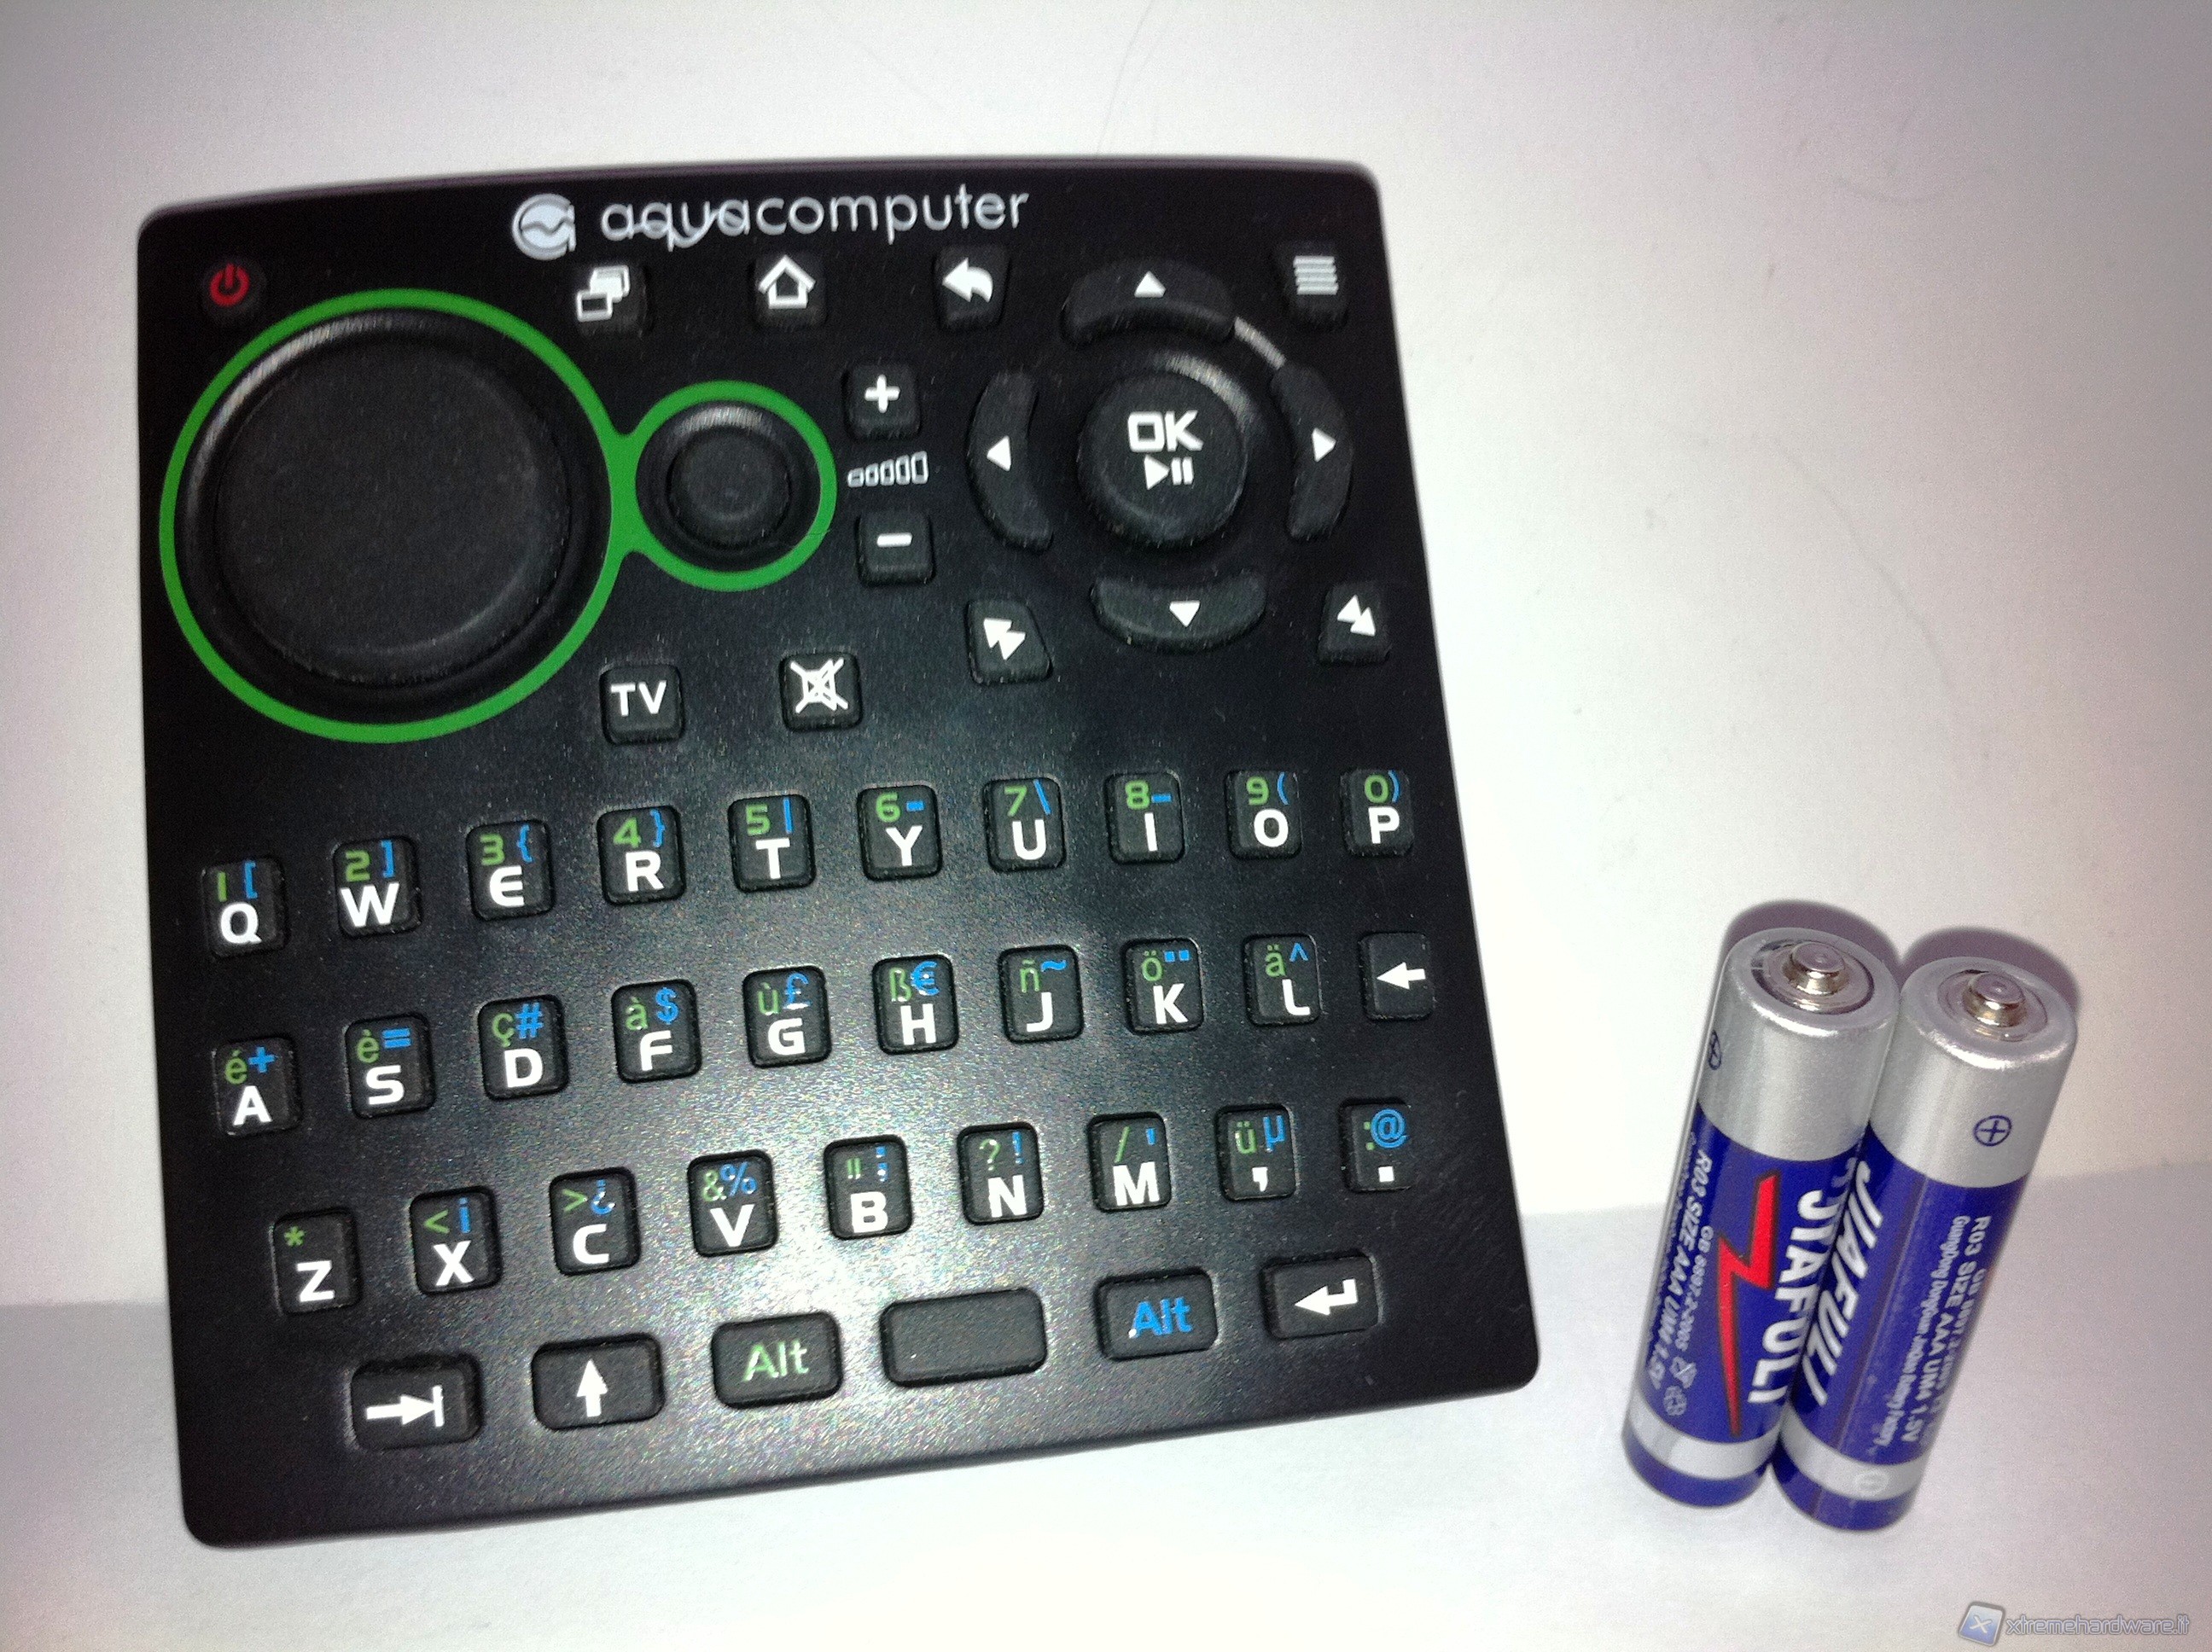
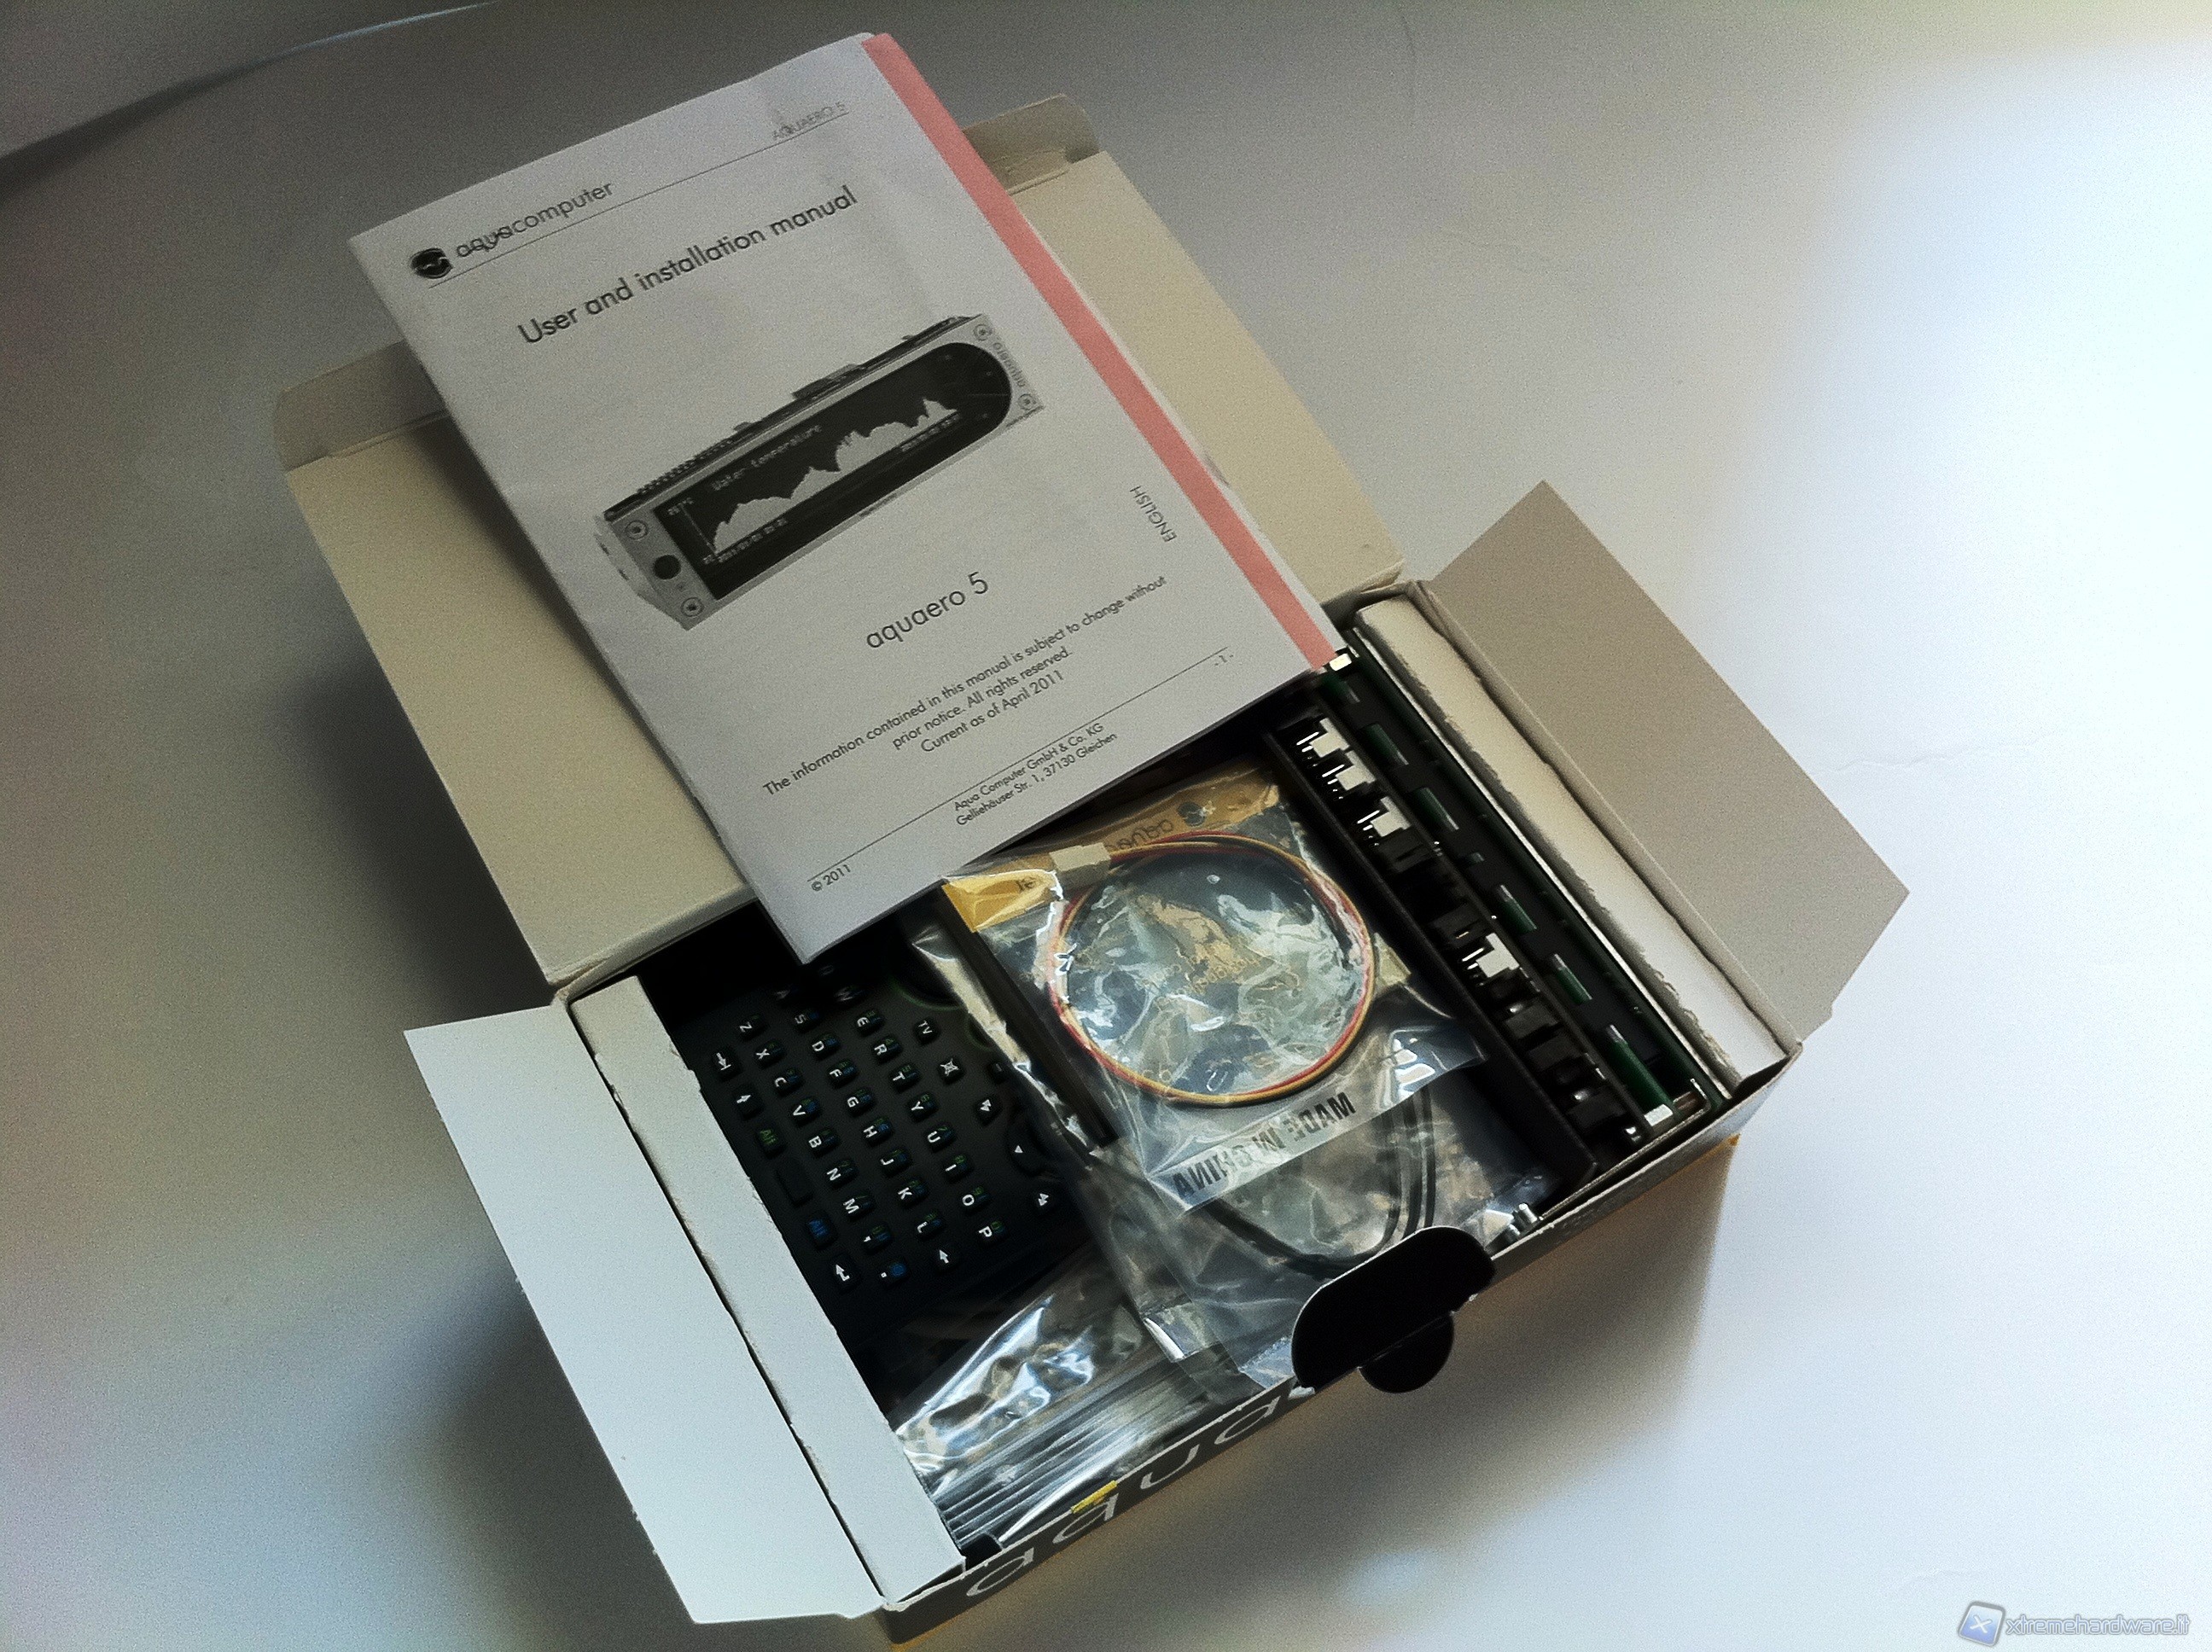
Finally, we list the complete bundle that accompanies the XT version of the Aquaero

- Tacho cable with female/female
- No. 04 temperature sensors
- USB cable for connecting internal controller on the motherboard
- Fixing screws
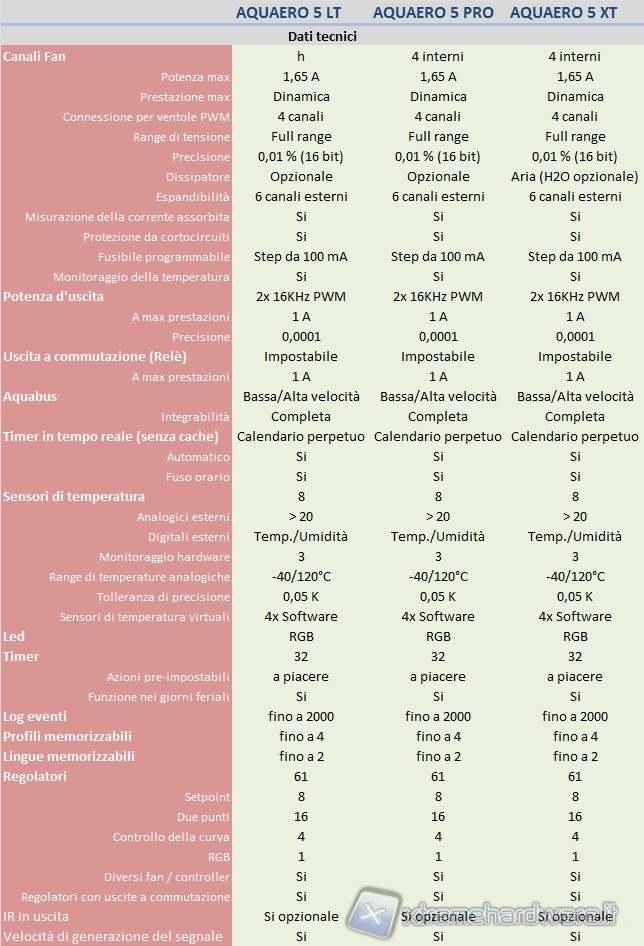
Let us now show the technical characteristics starting from the controller to end up with the sensor.
Flow Sensor "High Flow" G1/4 presentation
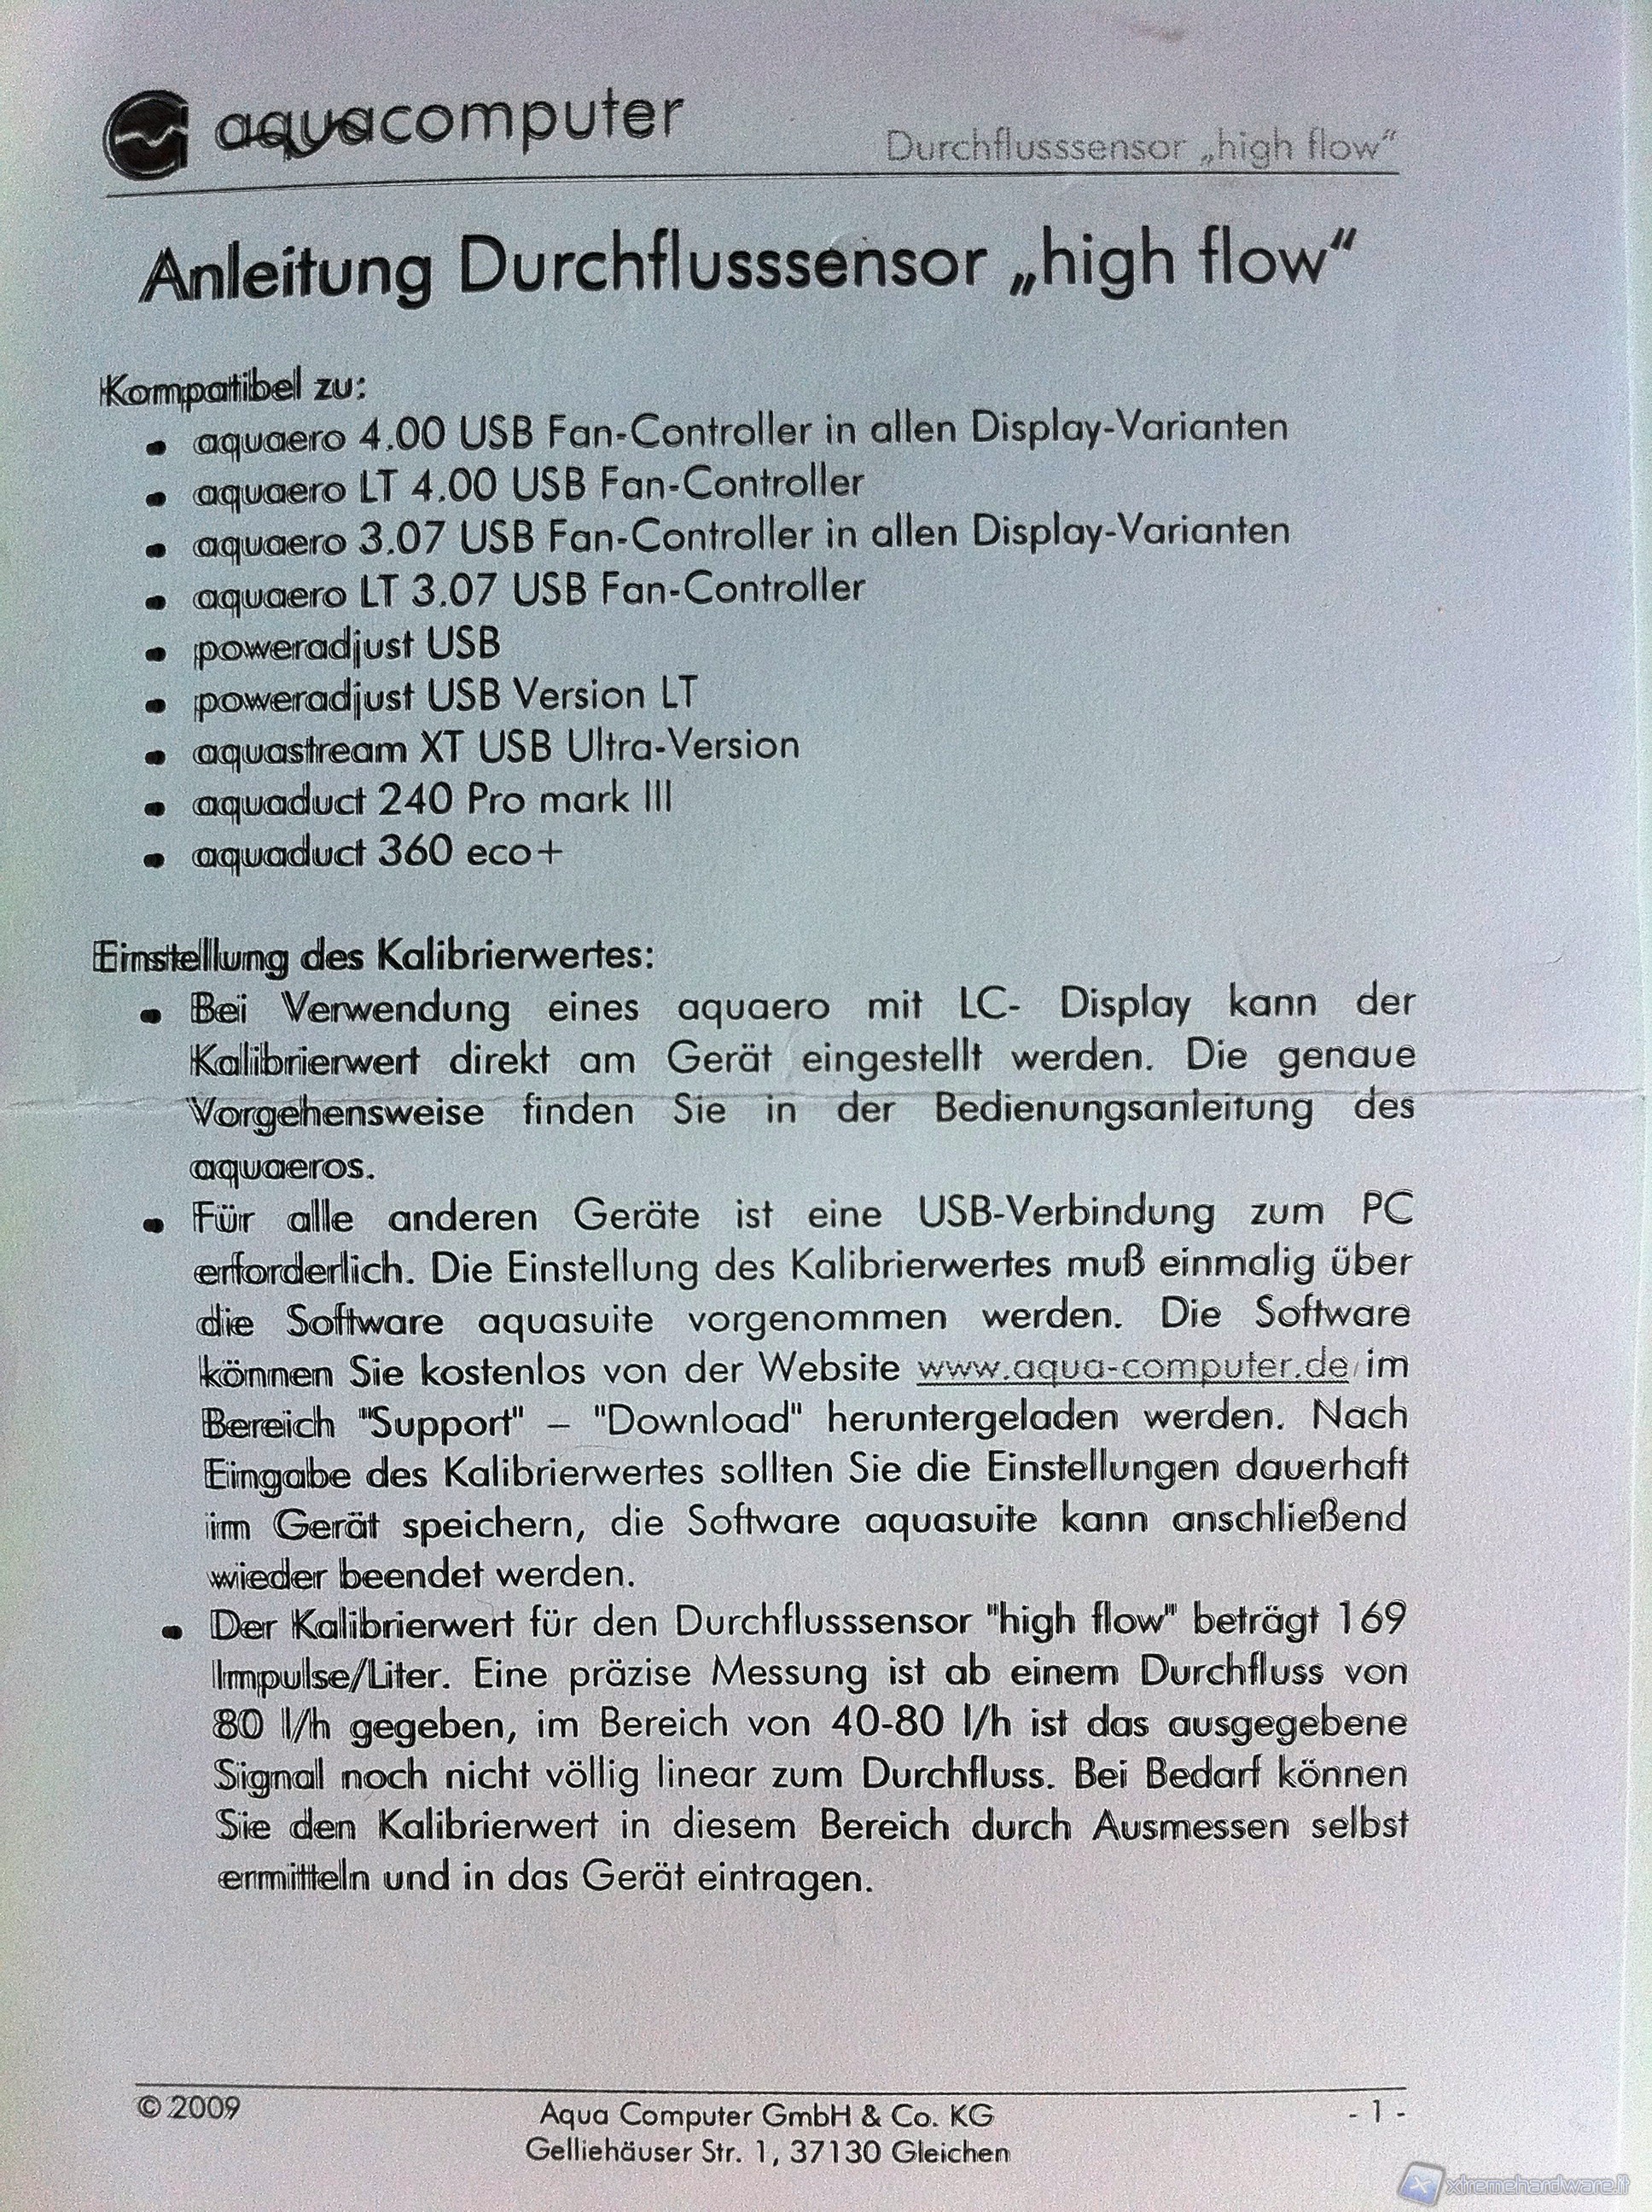
A brief reference to the flow sensor designed to interface with the controllers of the Aquaero series as well as the AquaStream pump in the XT Ultra full version. Below we offer a series of photos starting from a descriptive sheet that accompanies it.
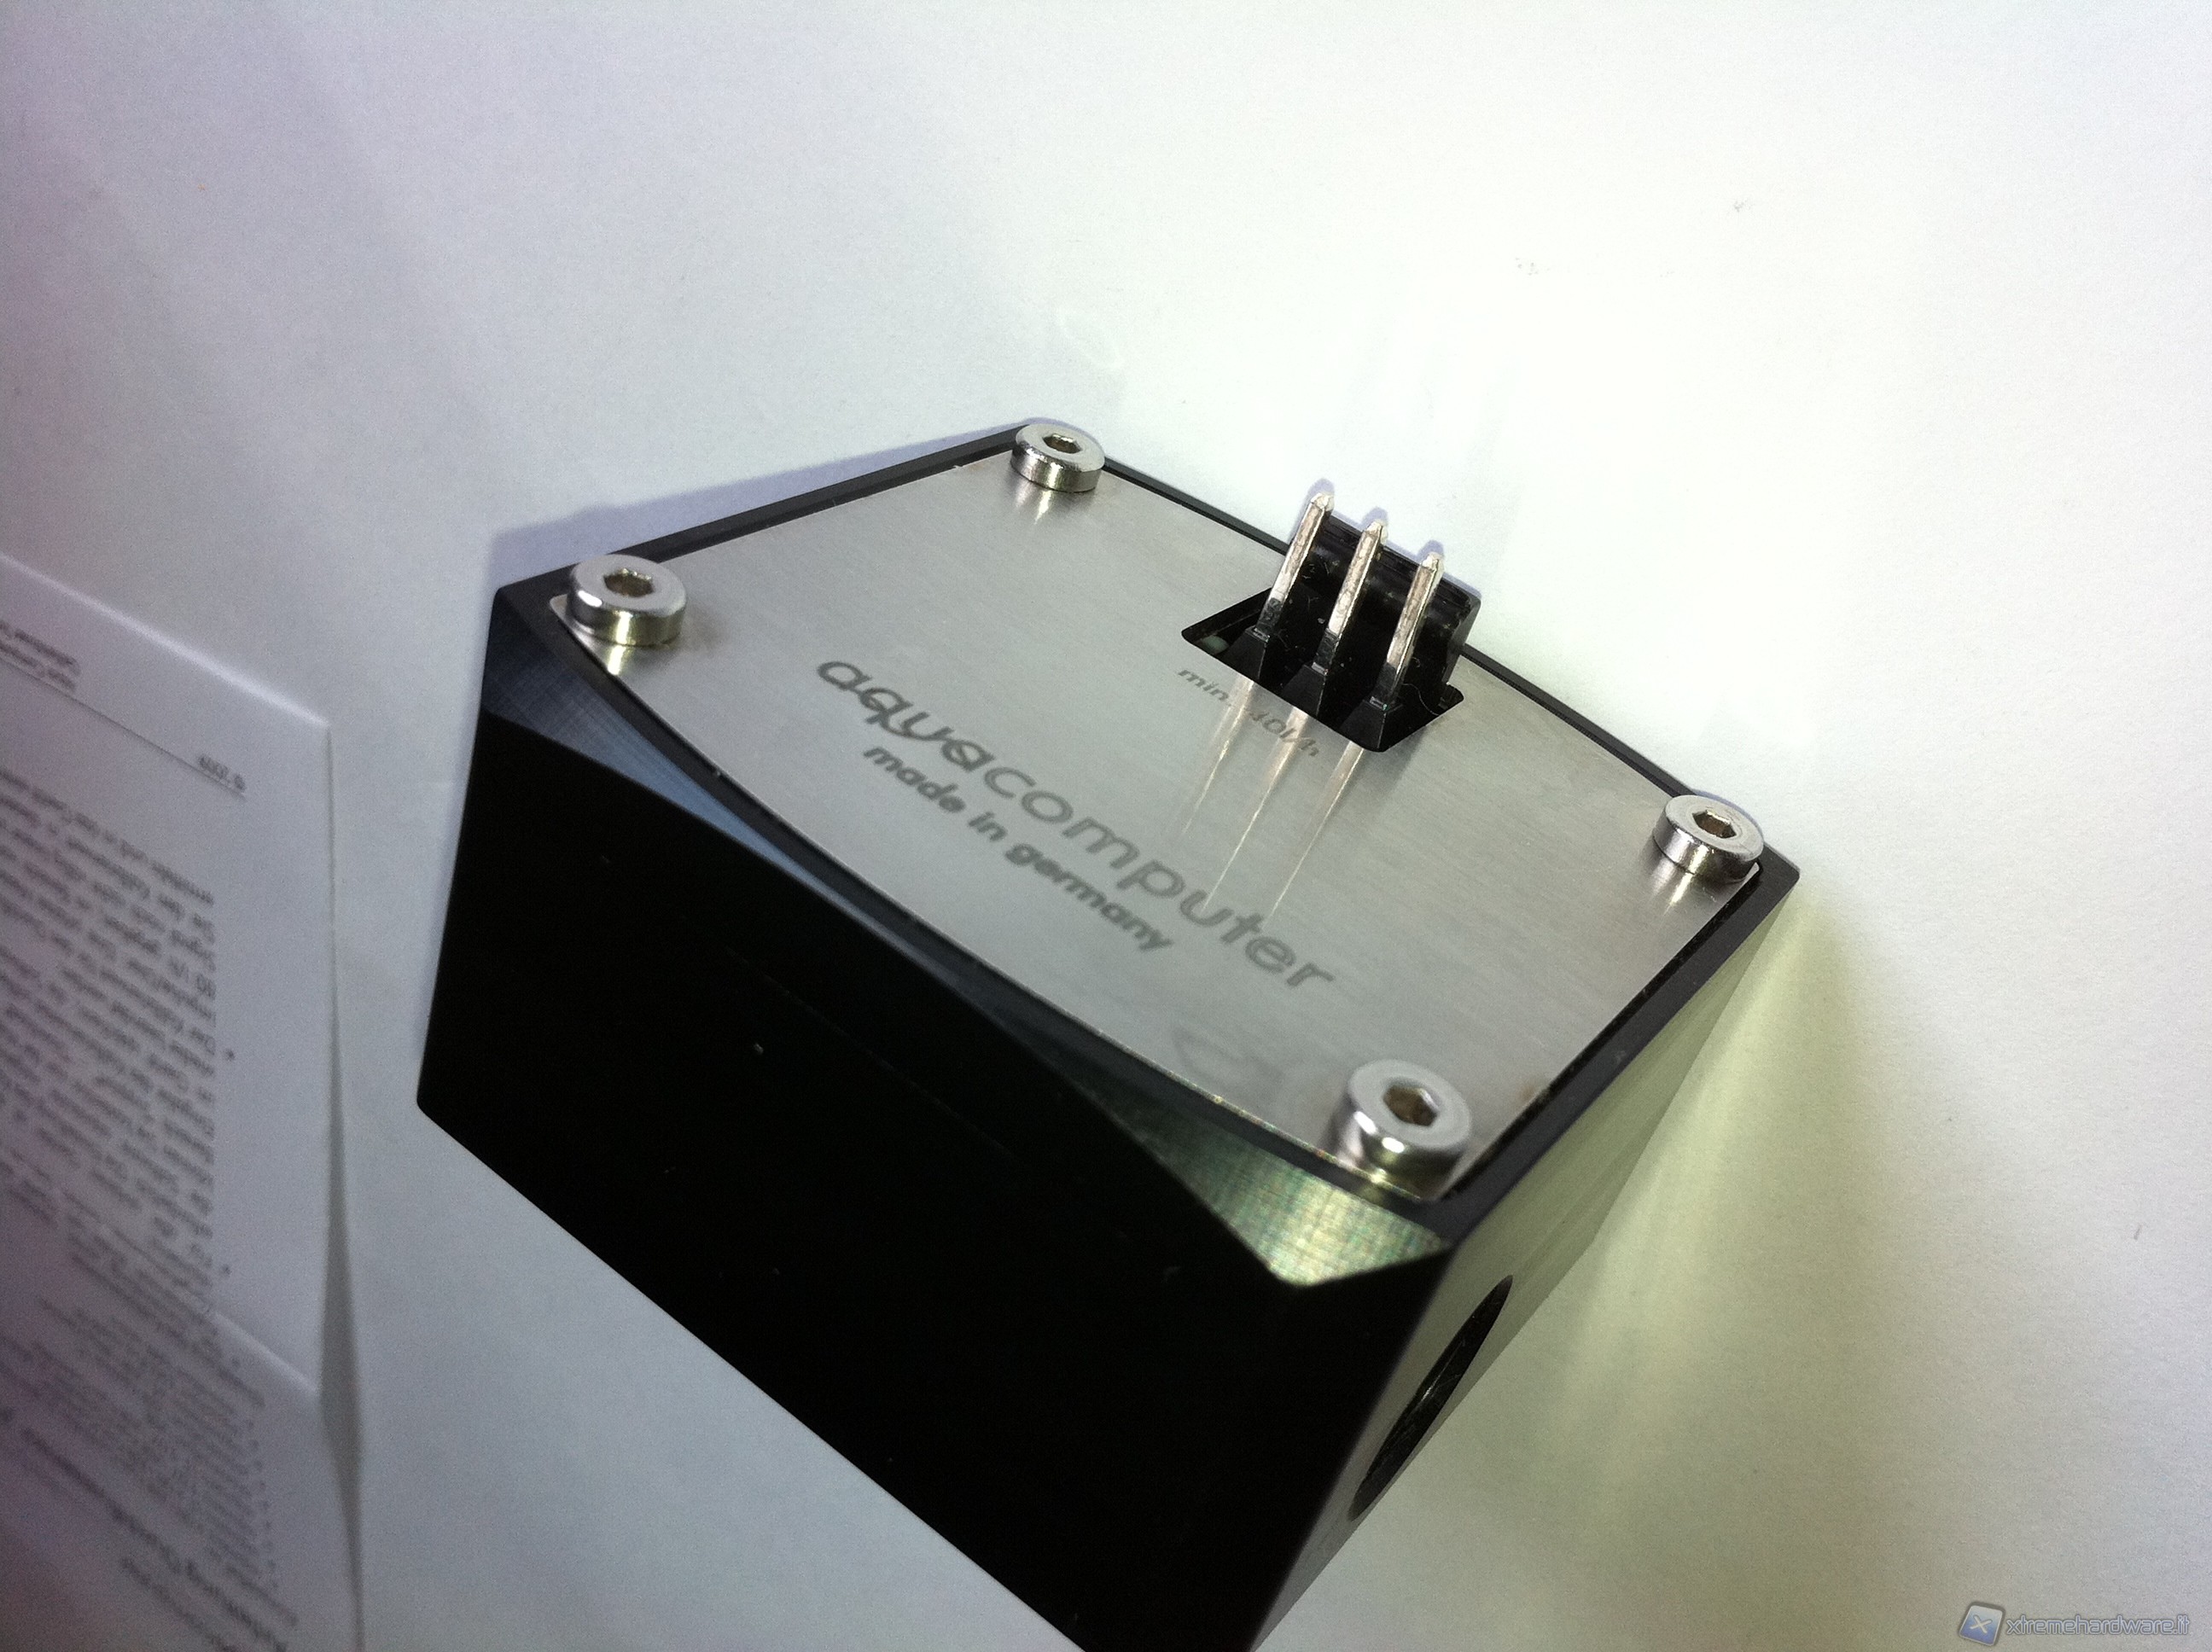
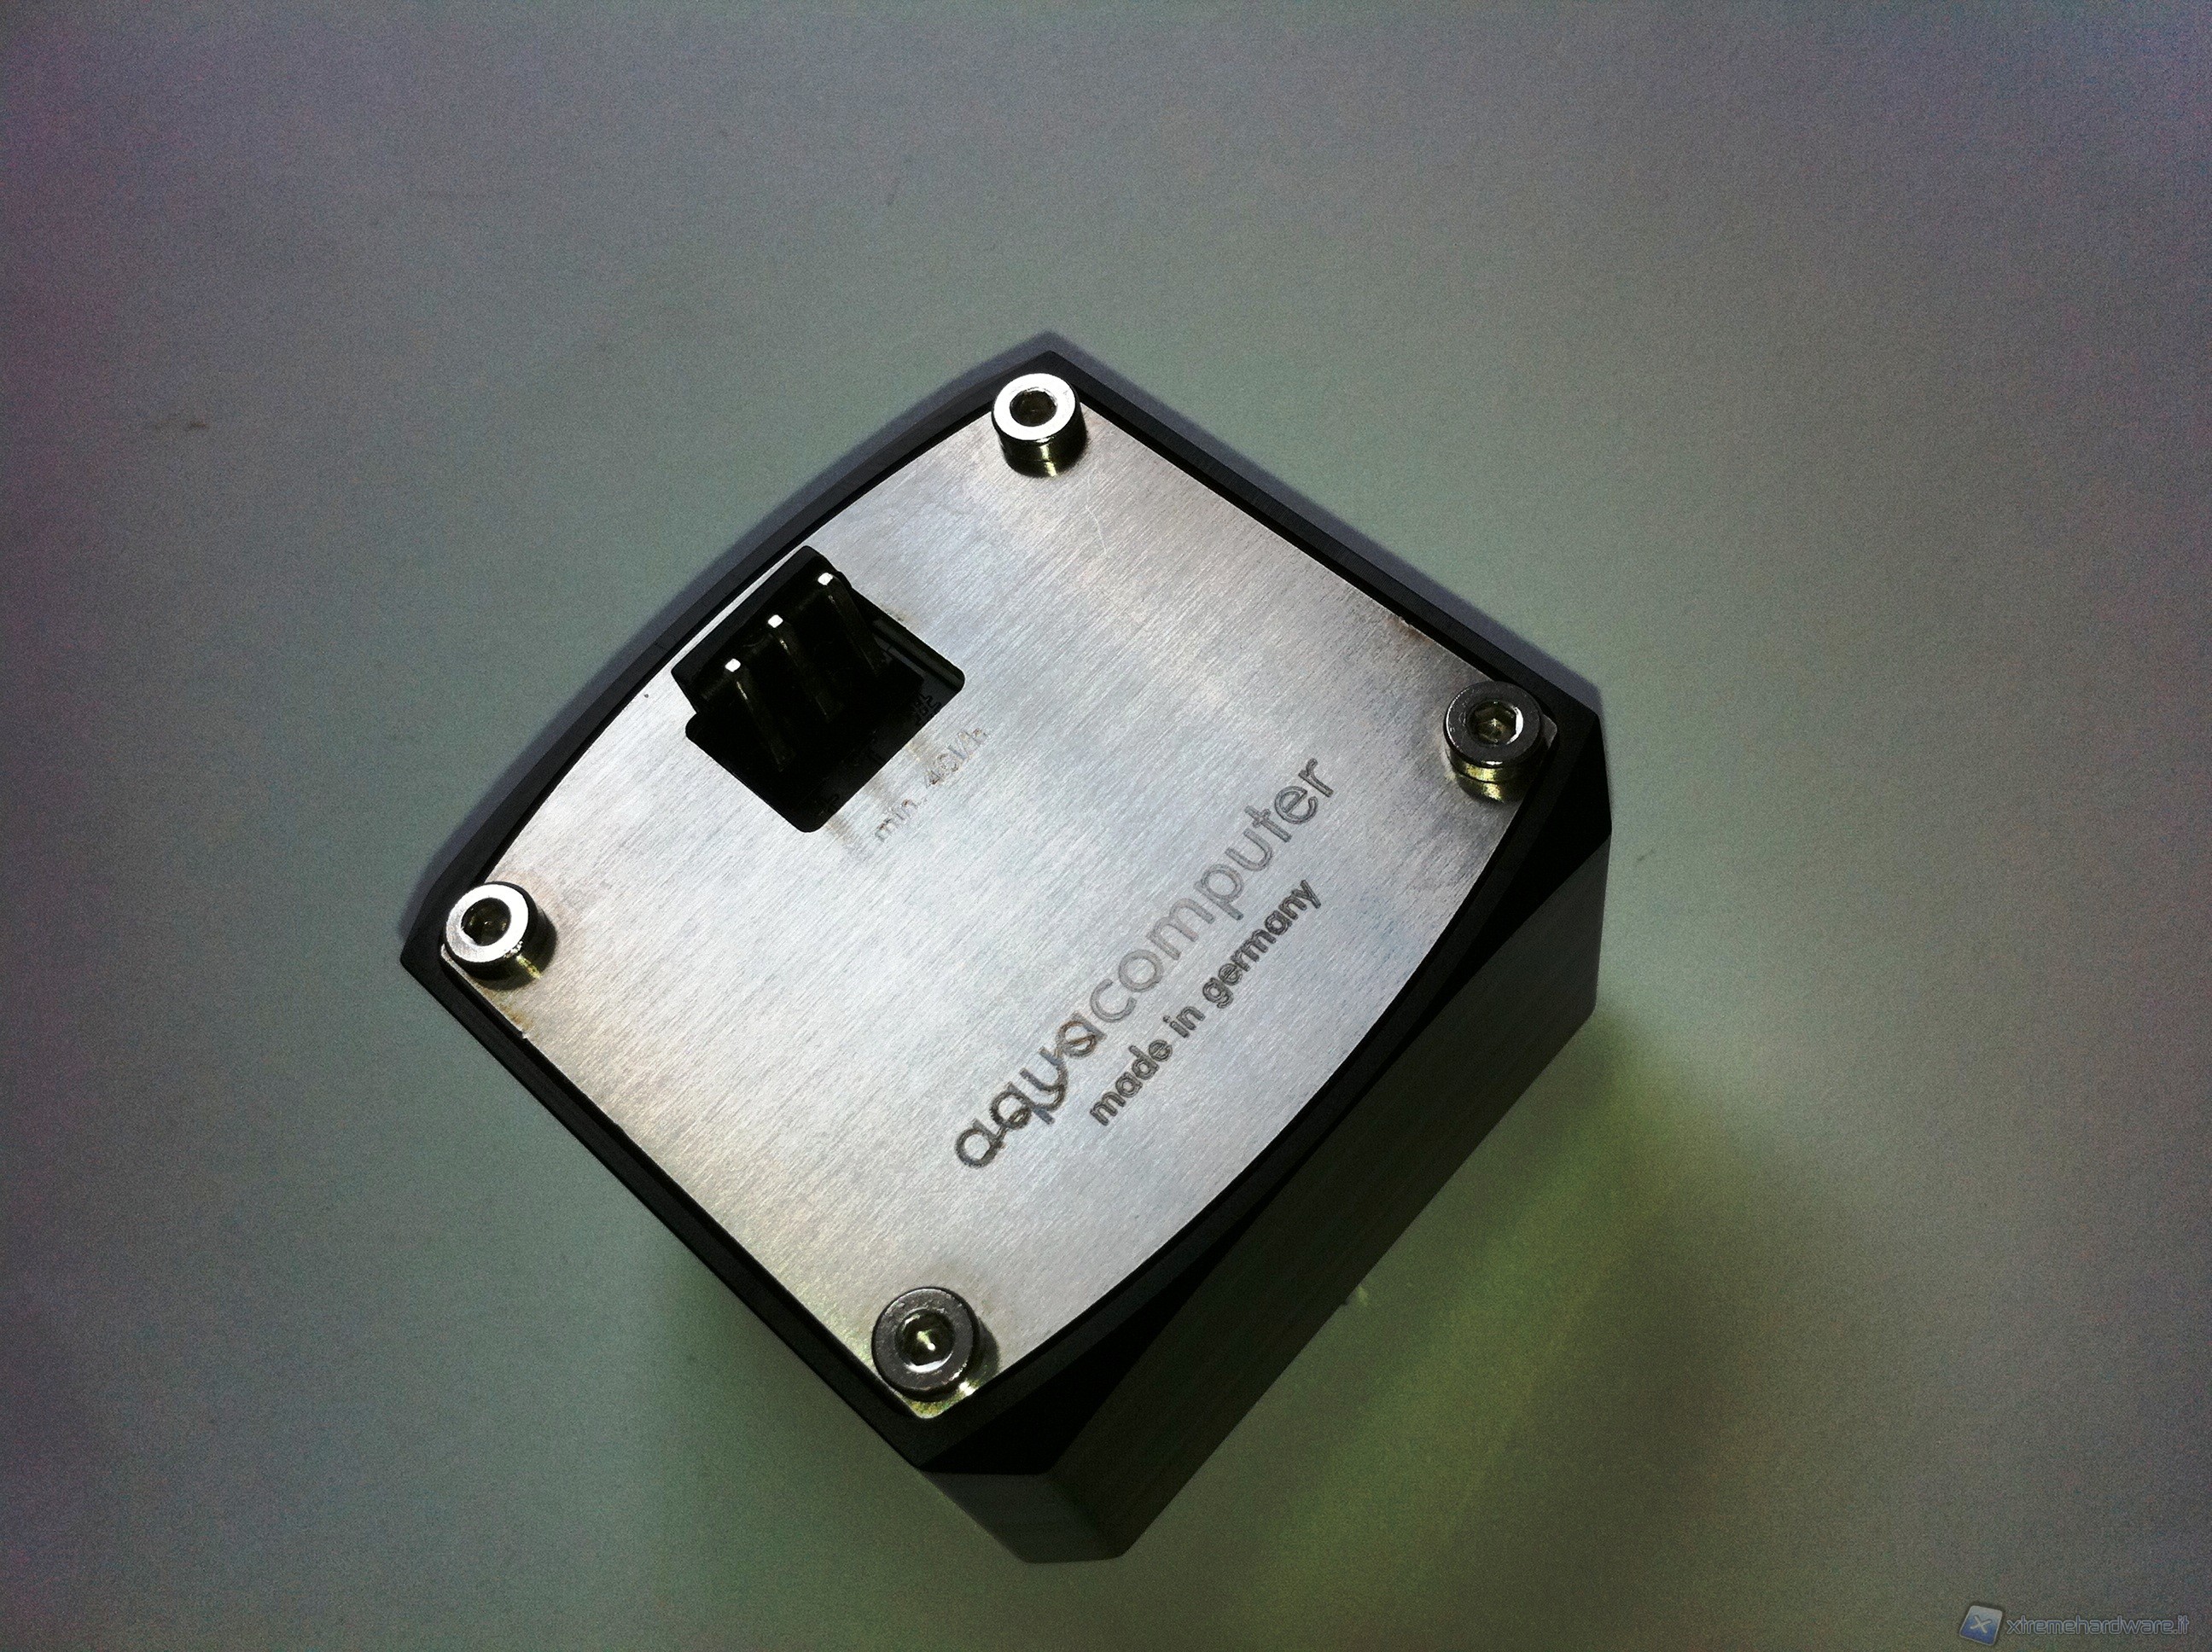
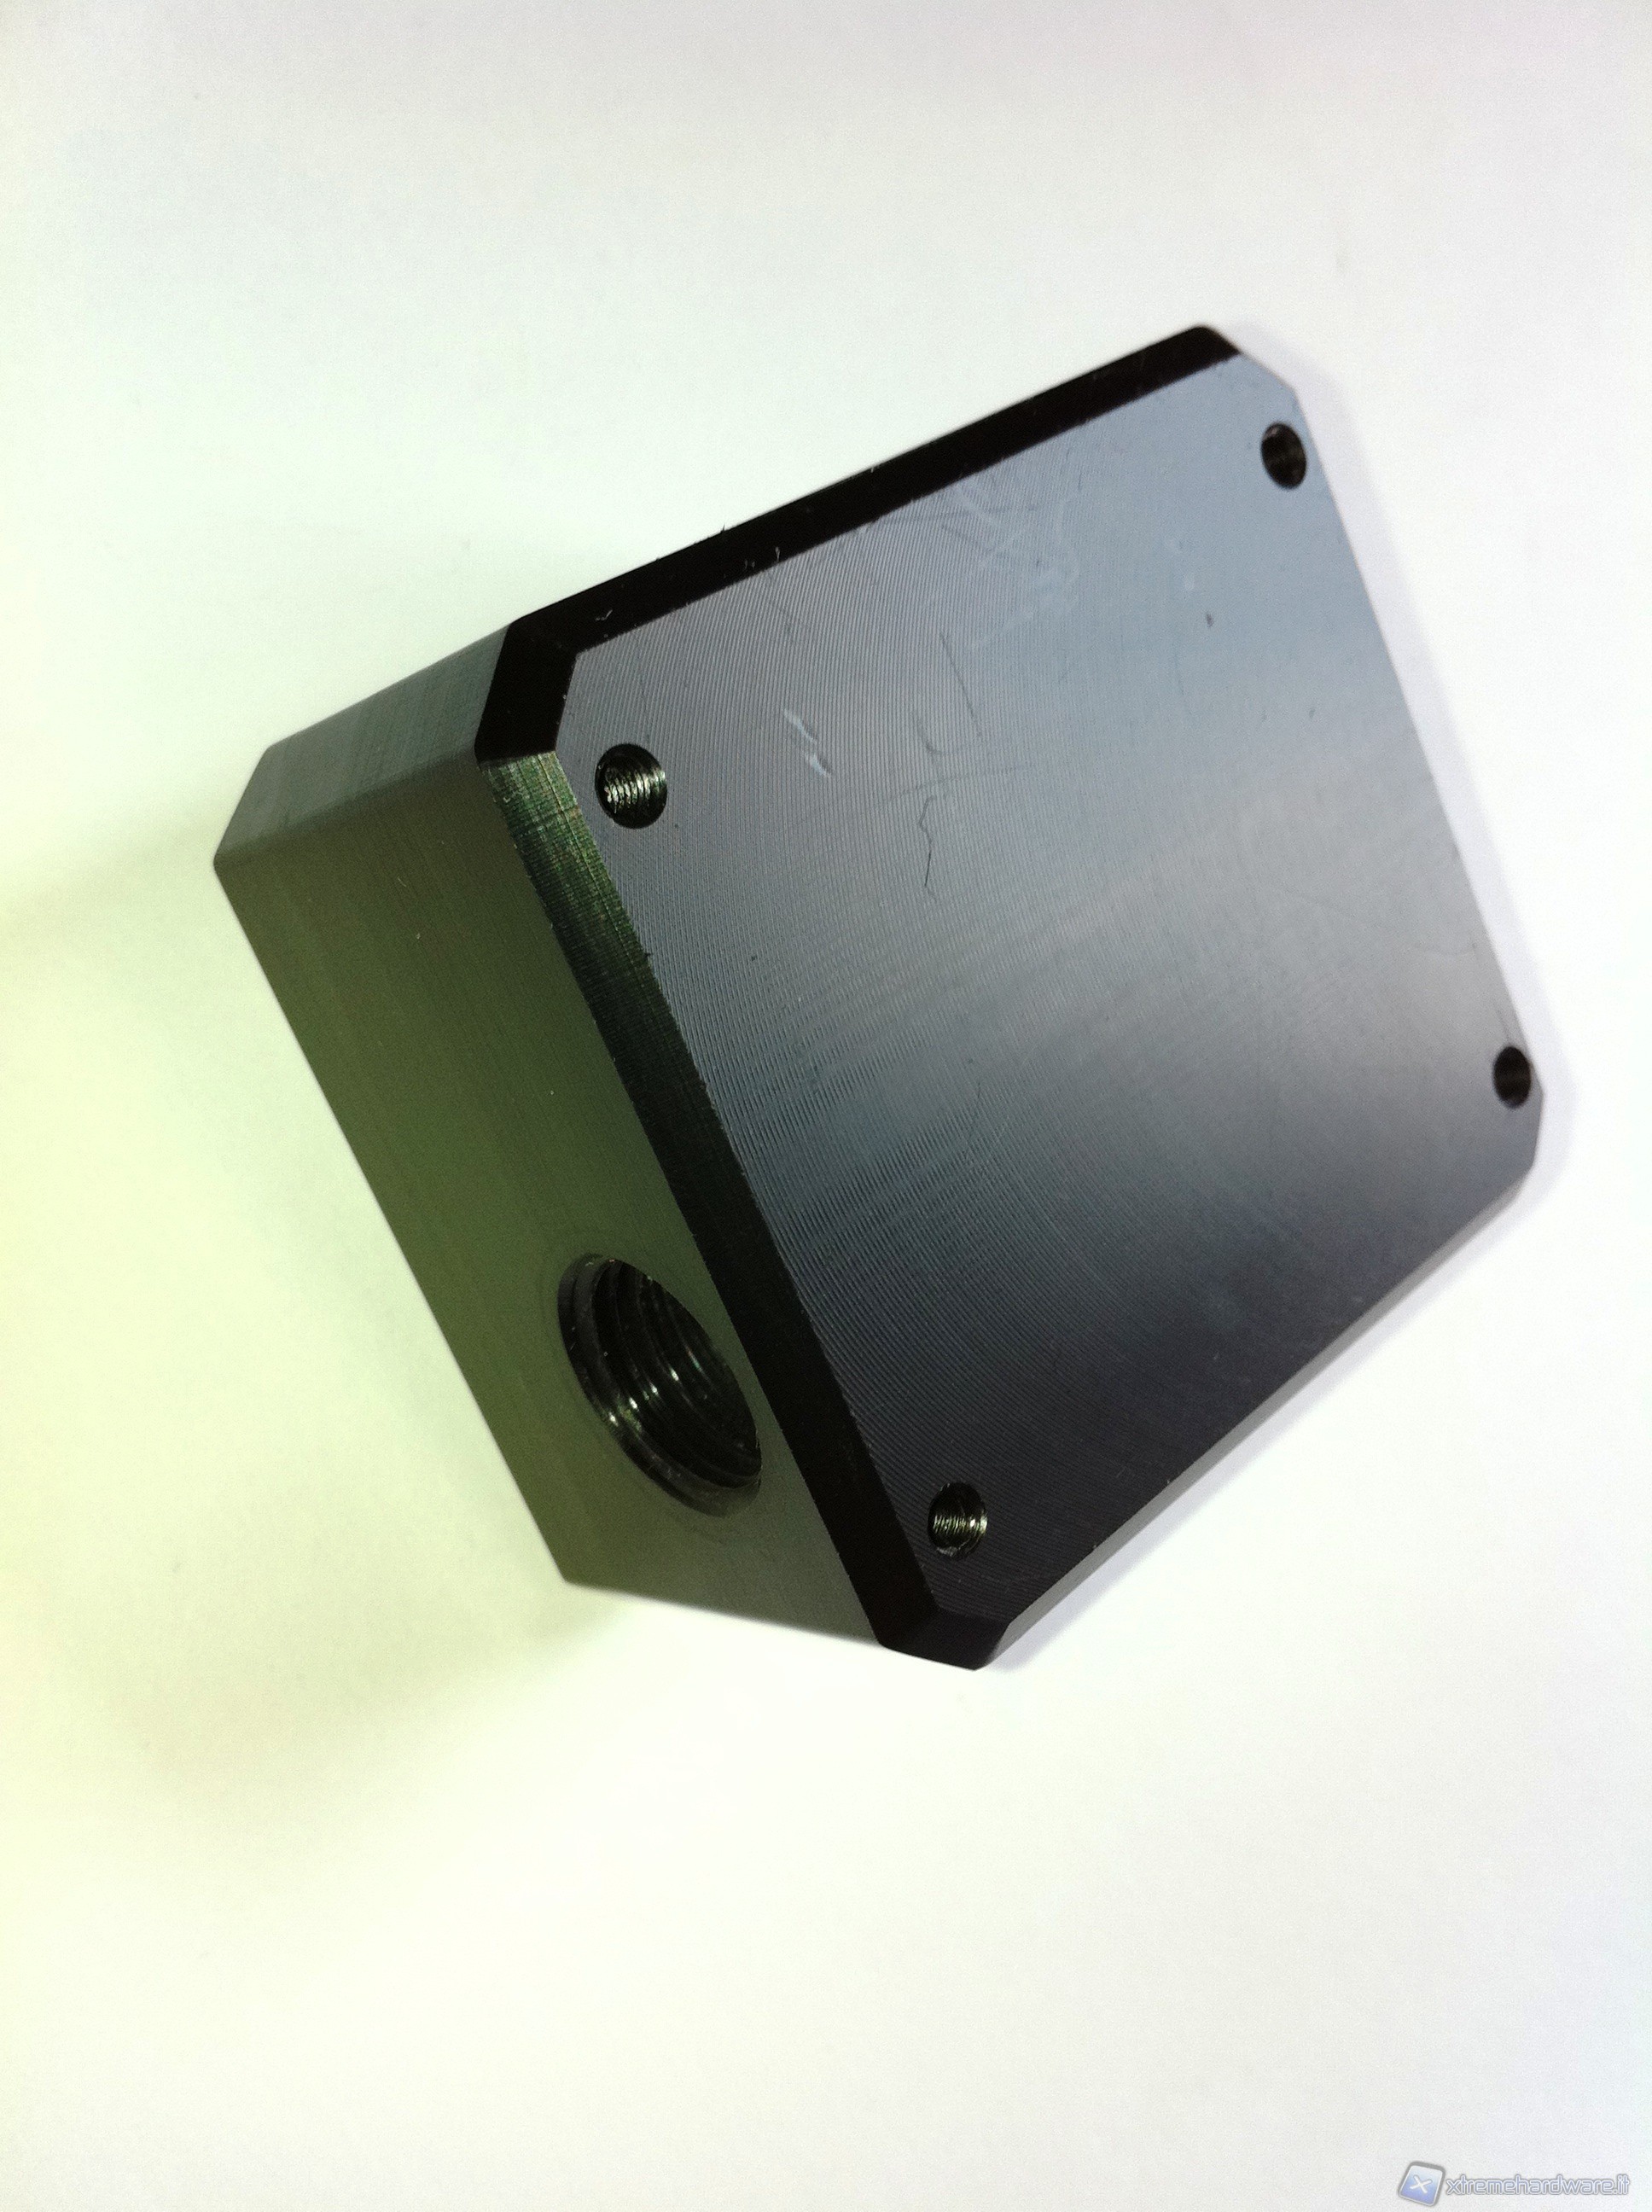
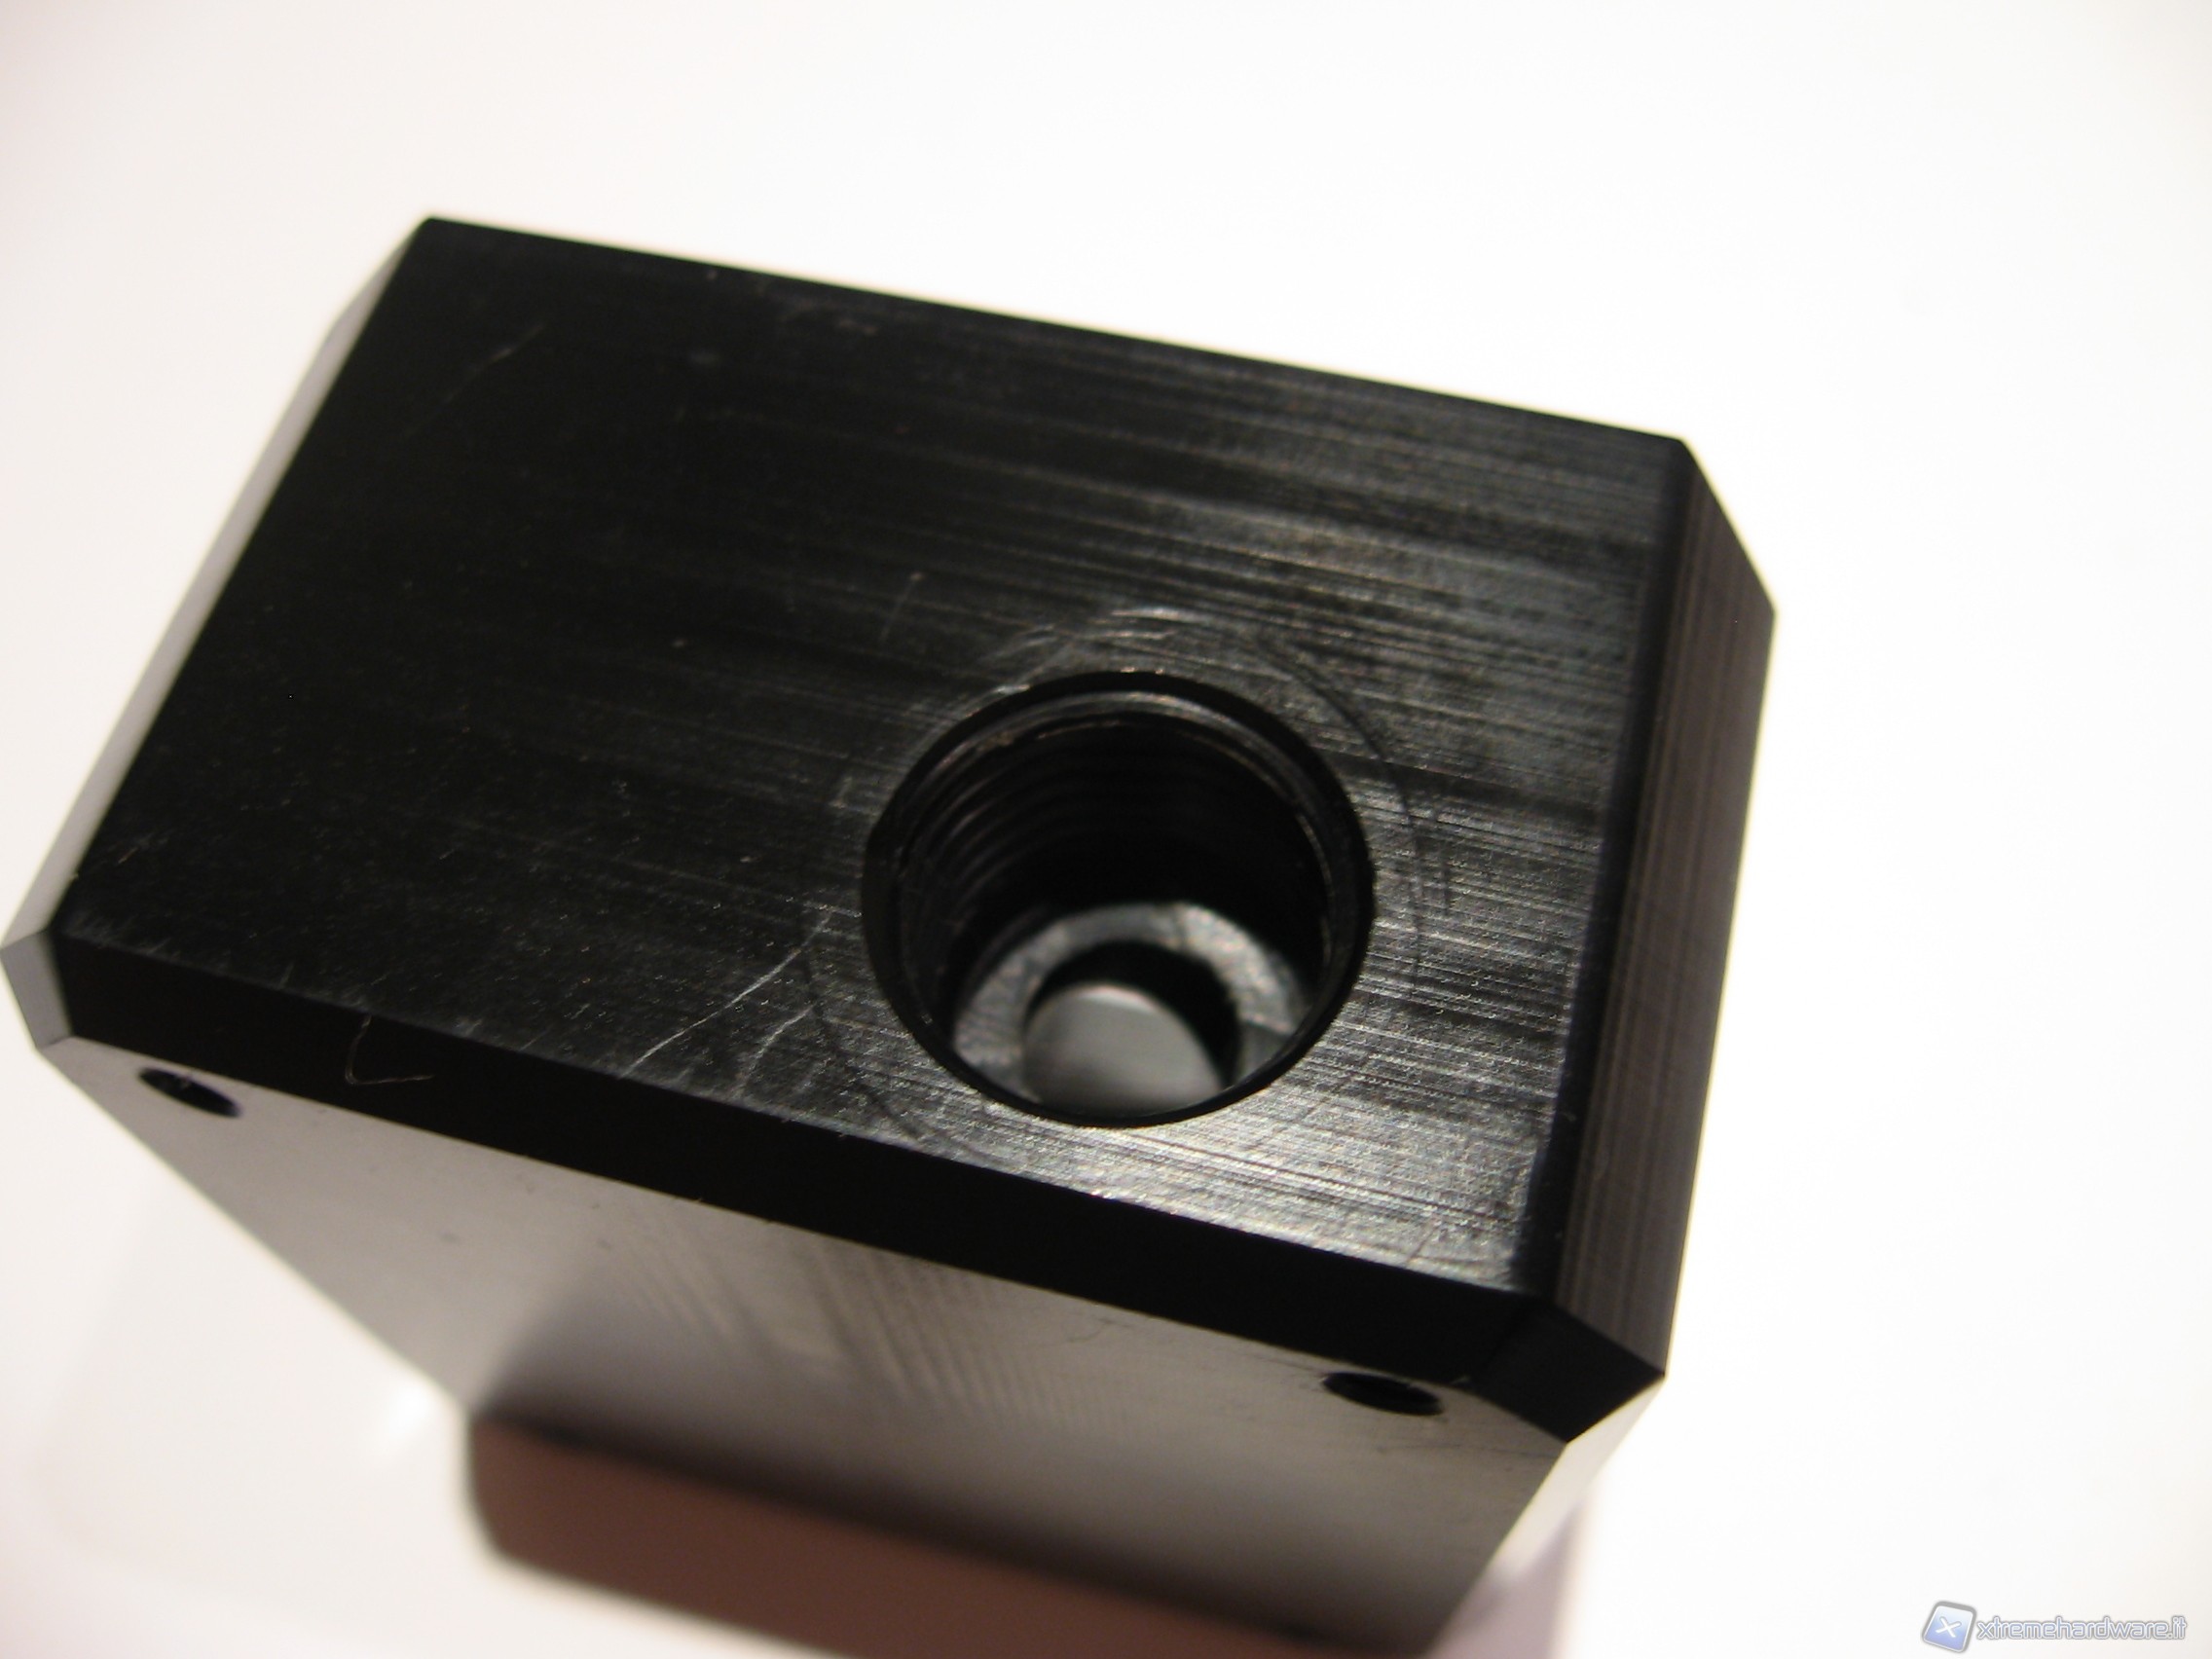
The sensor looks at the top with an elegant brushed steel plate on which are printed by laser the company logo and in the upper the minimum operating speed of 40 liters/hour. The body is in aluminum and on it we can see the 2 side holes G1/4" threaded for the passage of the liquid.
Then we see the 3-pin attack for the electrical interface. Like the fans, 2-pin lead the voltage in the coil while the third pin leads the tacho signal (pulse). Below is a picture of the cable to be purchased separately, since it is not distributed with the standard controller.
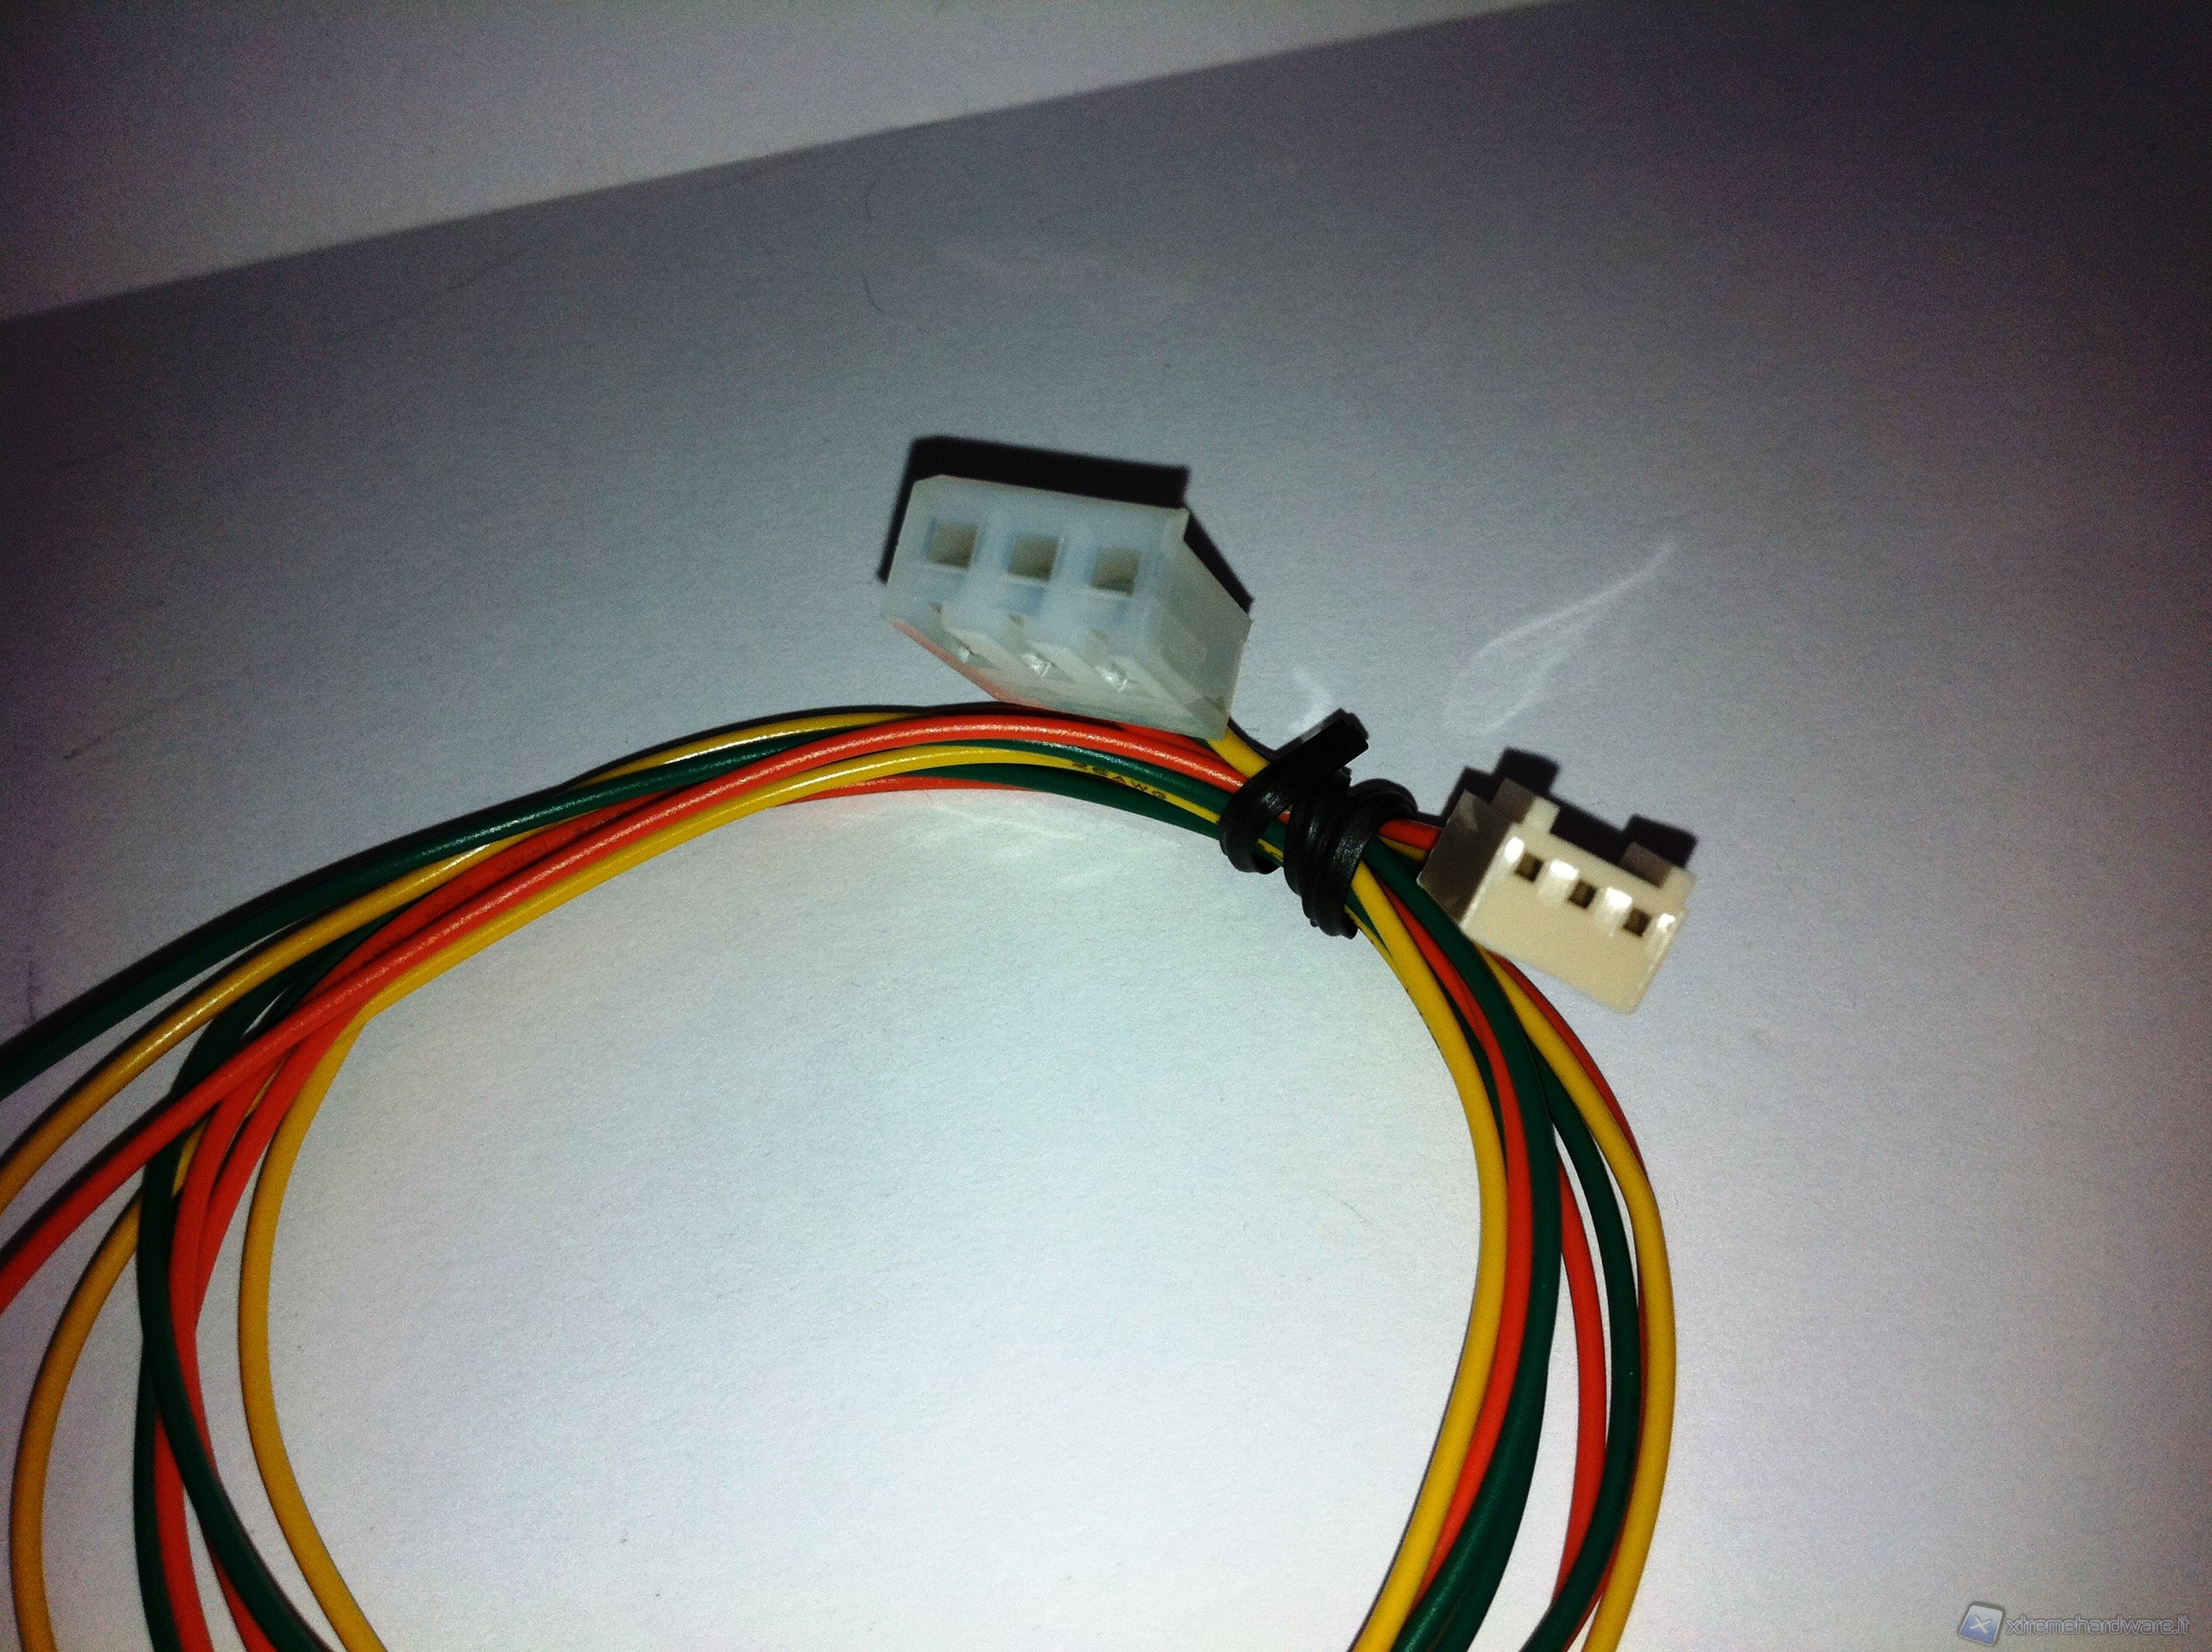
For a correct representation of the values, Aquacomputer declares a setting of calibration for the software/controller of 169 pulses/liter.
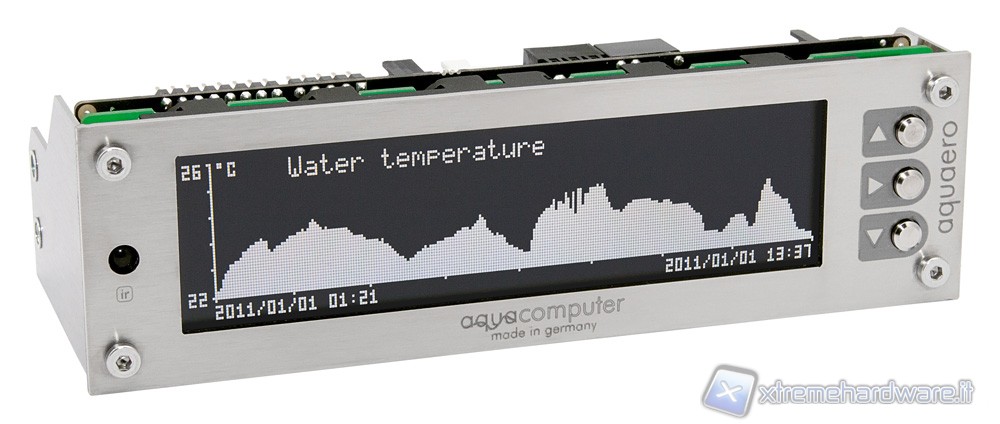
Aquaero 5 XT specifications
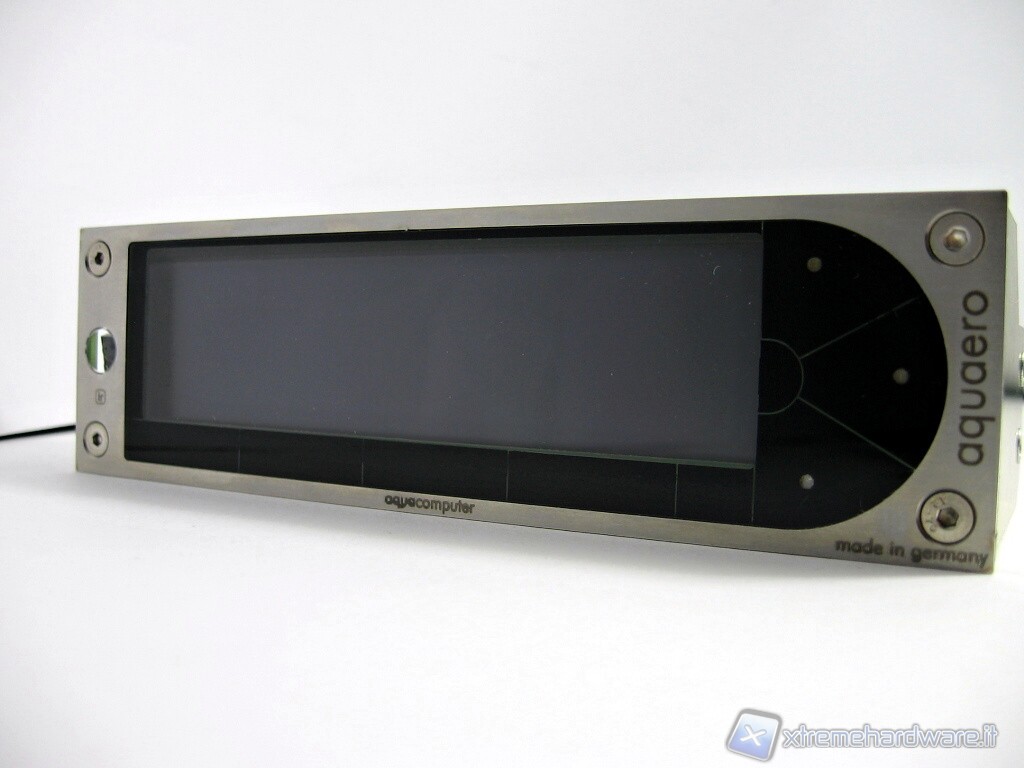
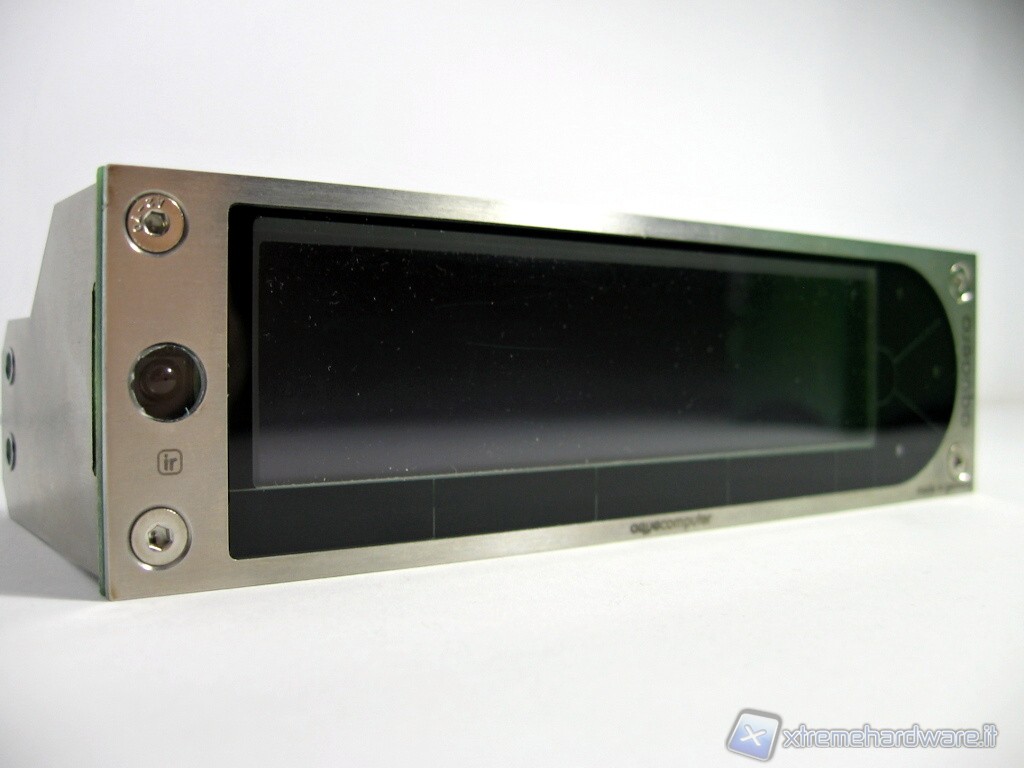
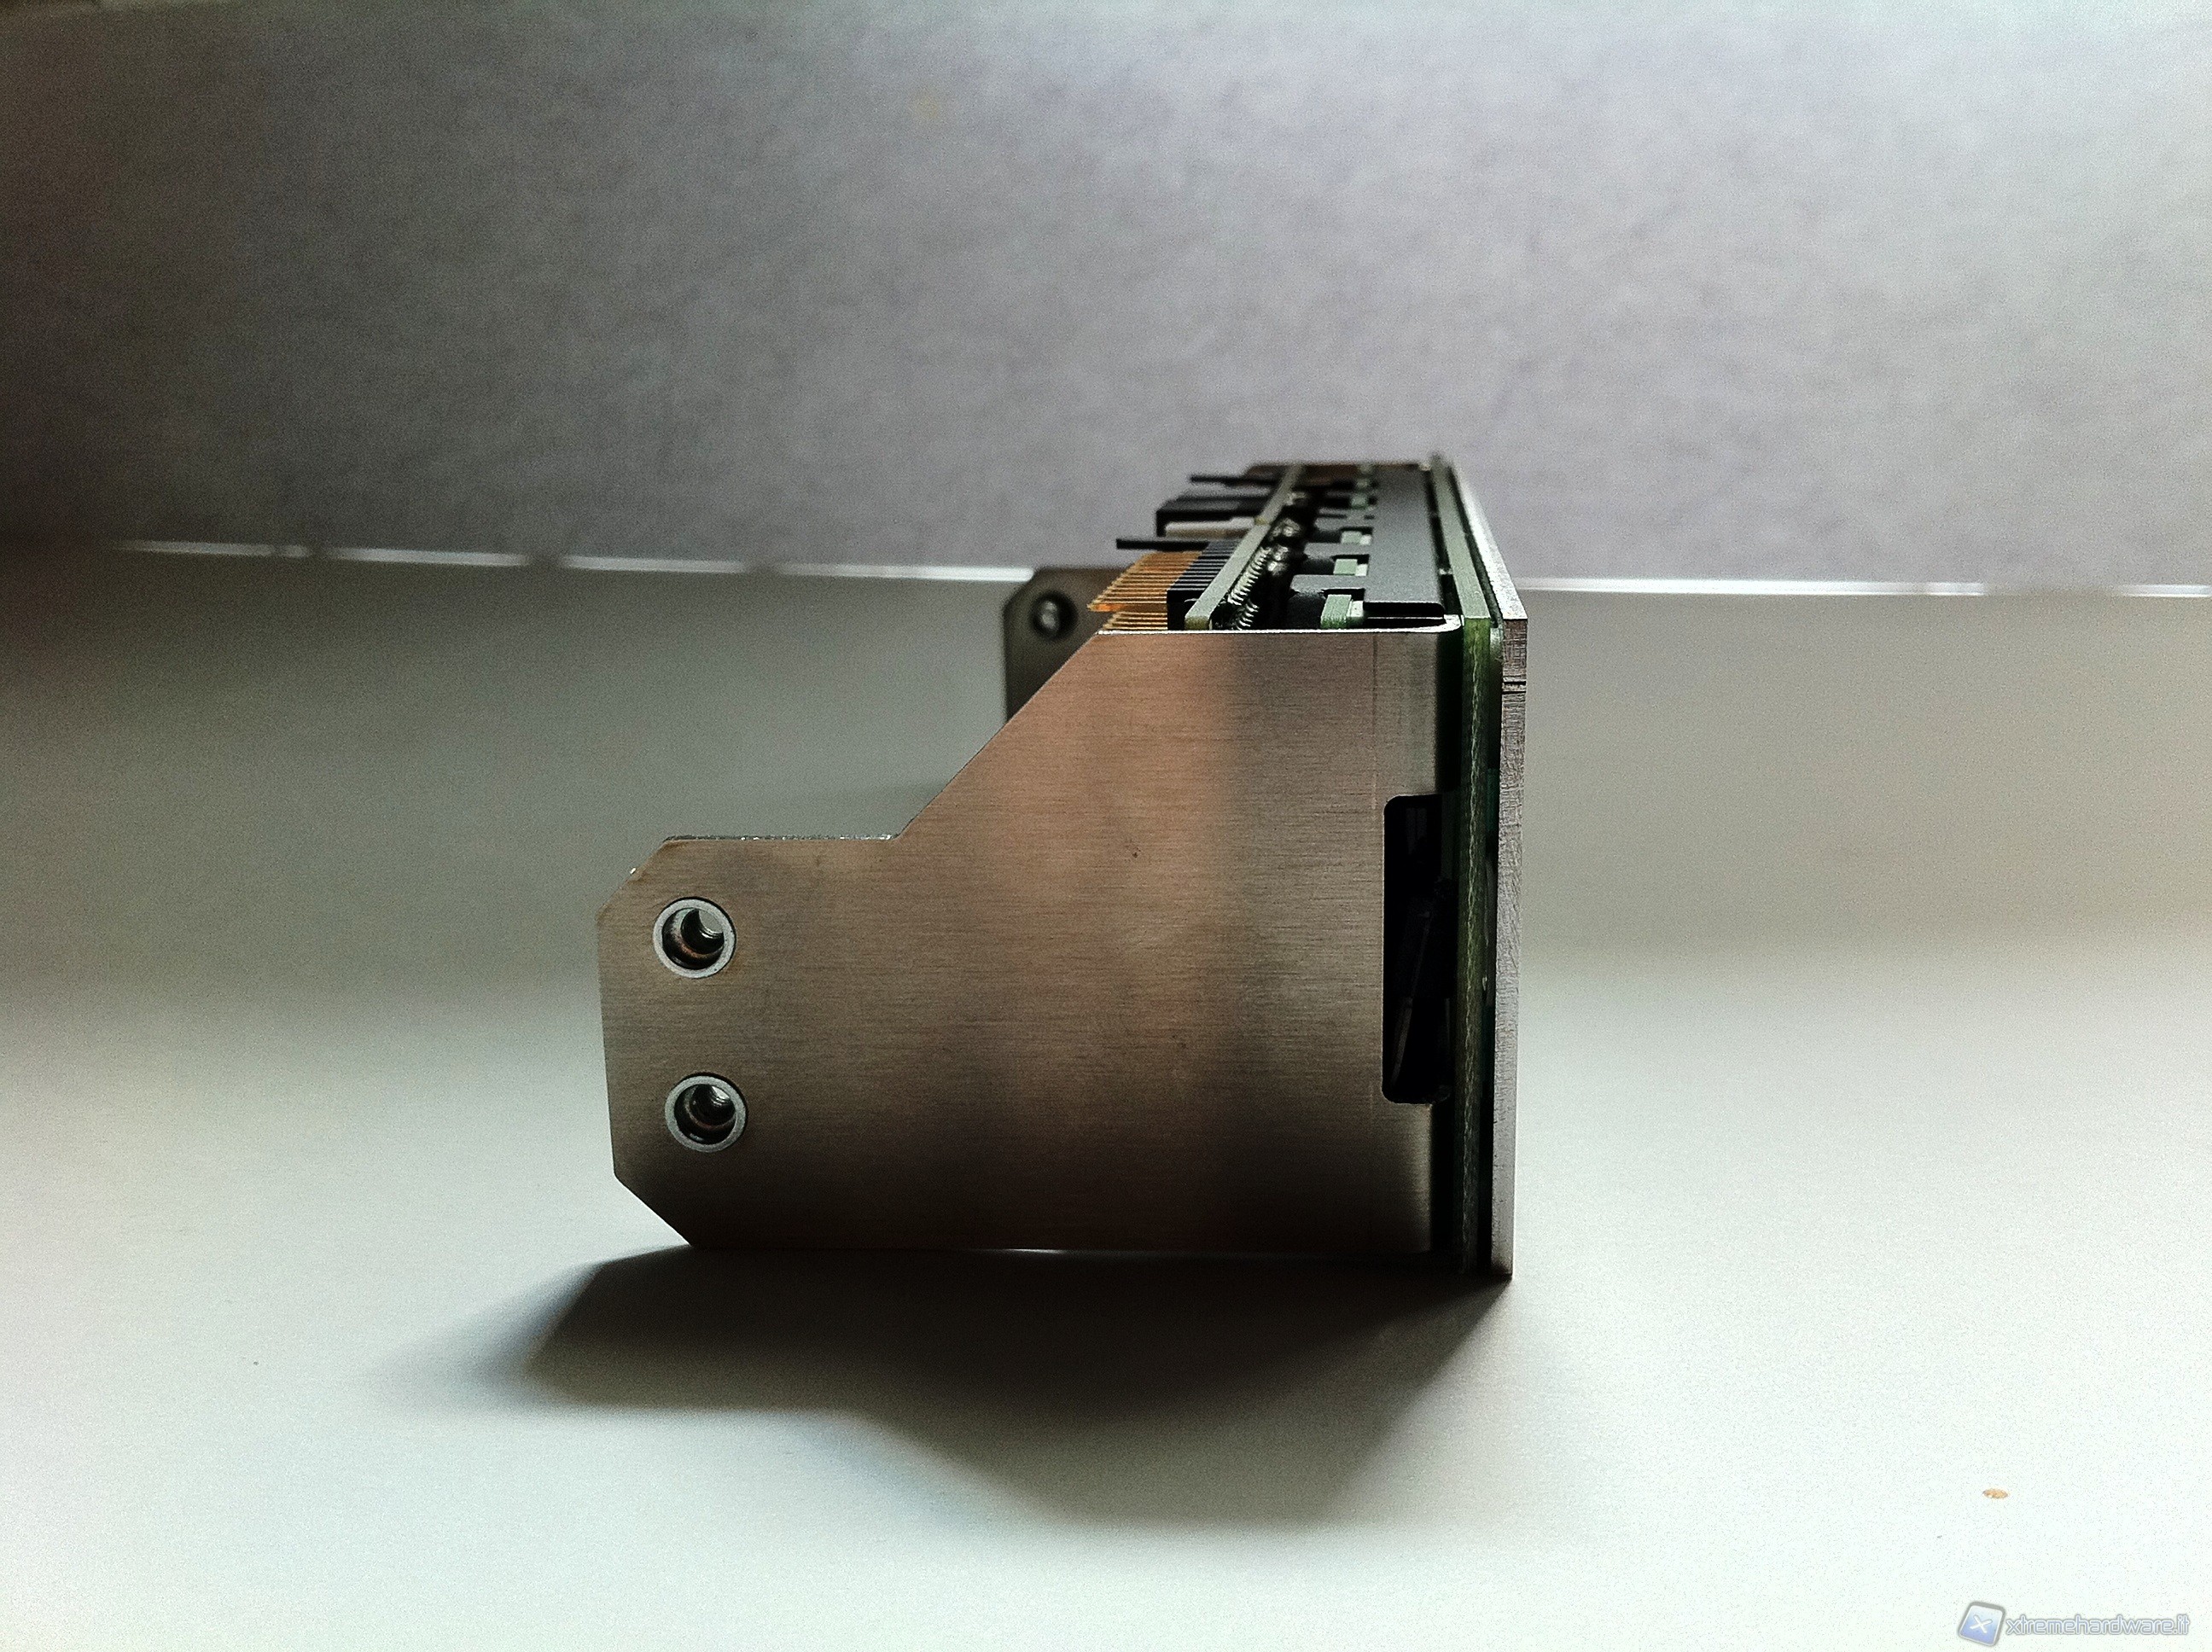
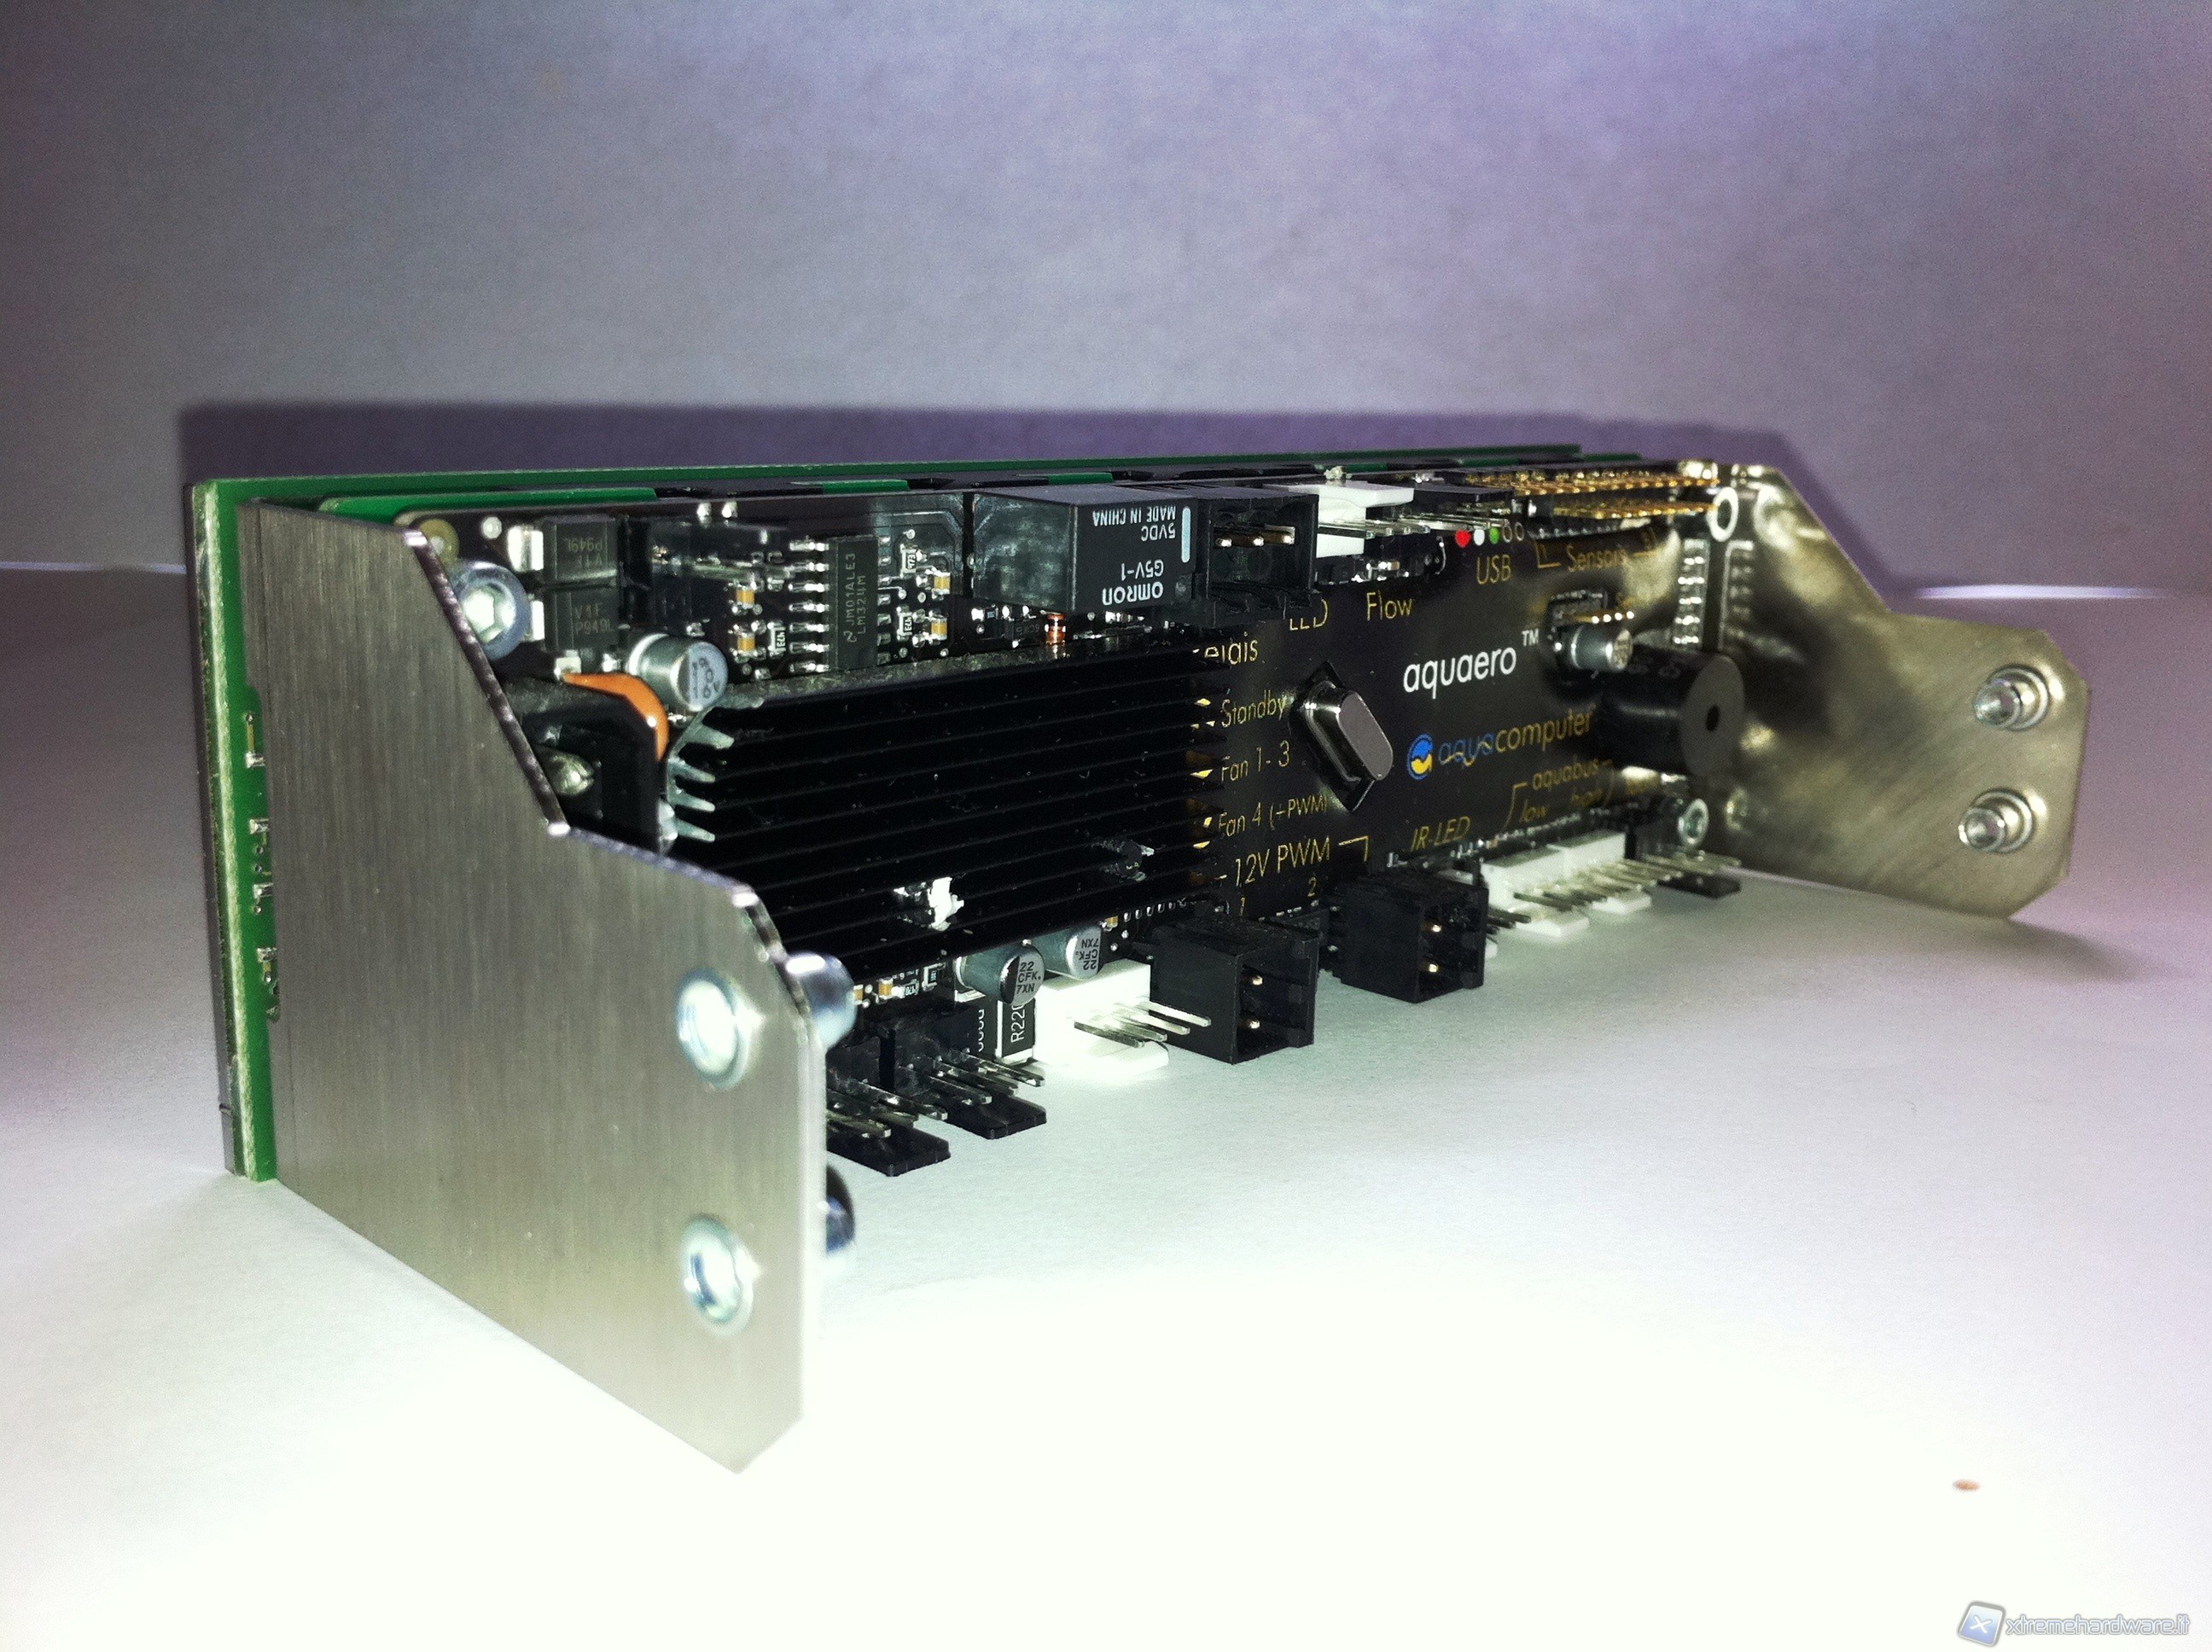
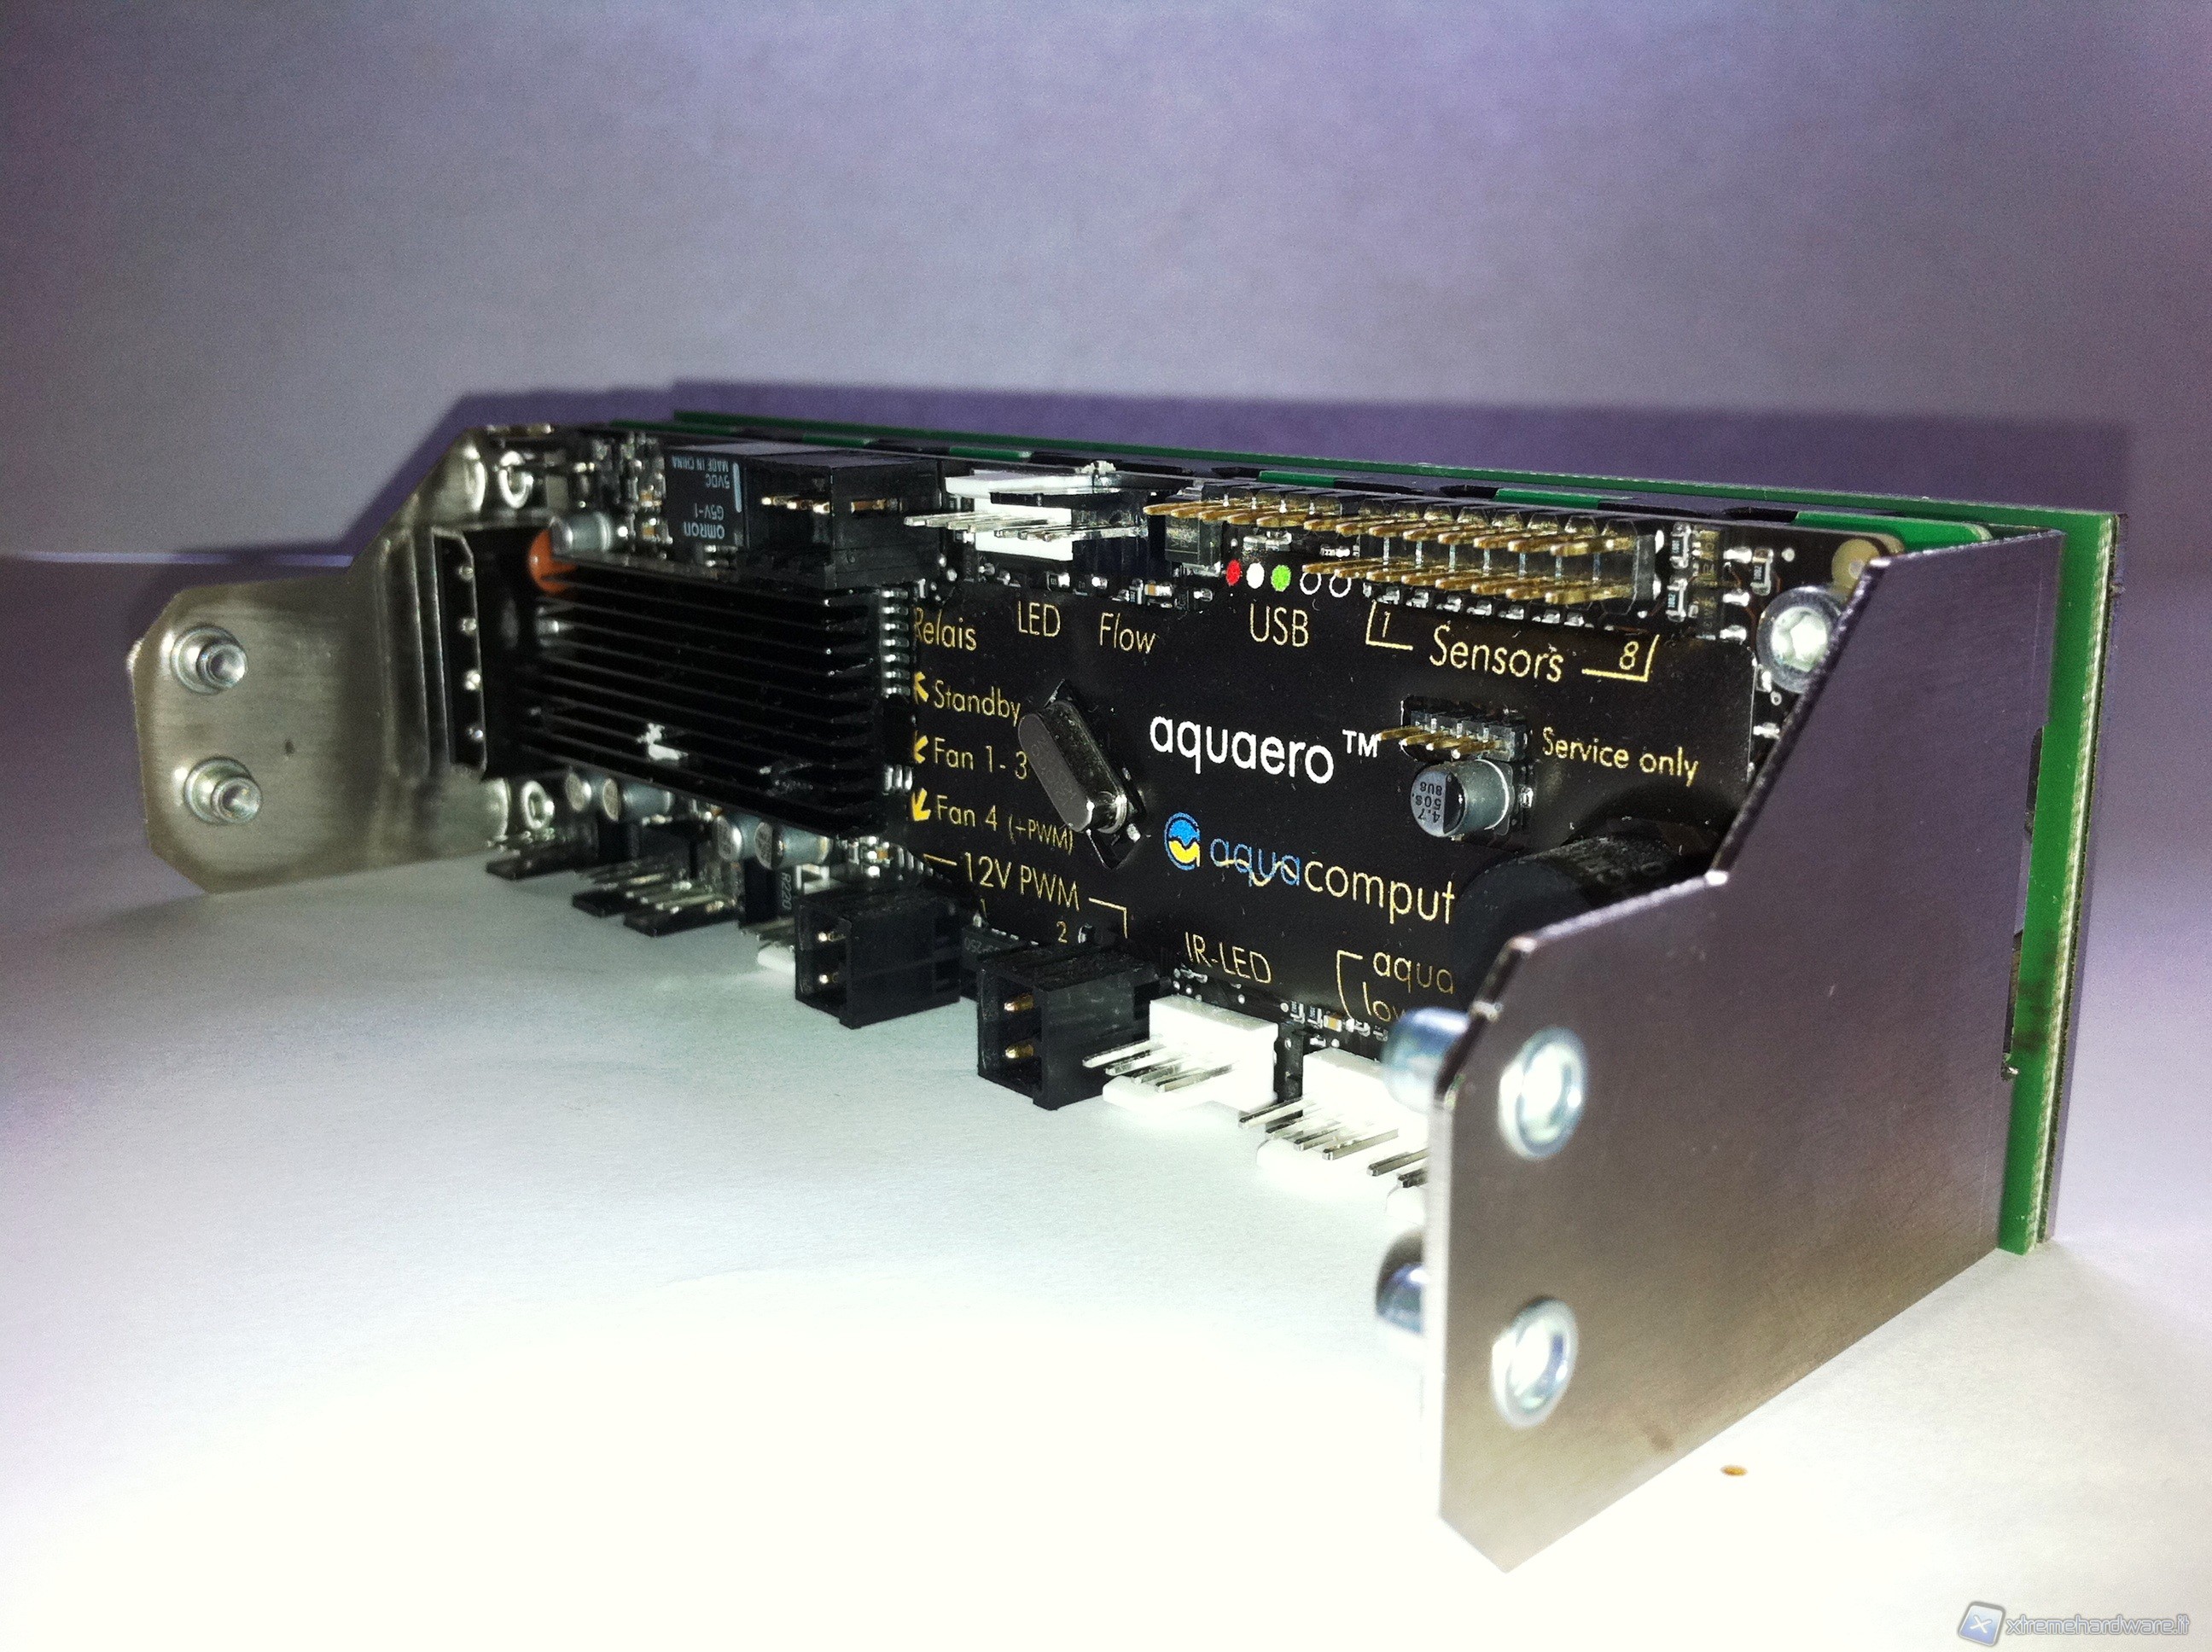
The Aquaero 5 XT, in the version received in brushed steel color, is made of a solid front steel grille in witch is located in the central part the display. In the right-front of the controller circumscribed by a semi-circle, we find the 3 touch buttons that replace the mechanical ones of the PRO version. On the other side instead we can see a circular window where the IrDA sensor is placed (English acronym that stands for Infrared Data Association) to connect to the remote controller. We continue illustrating the side mounting brackets.

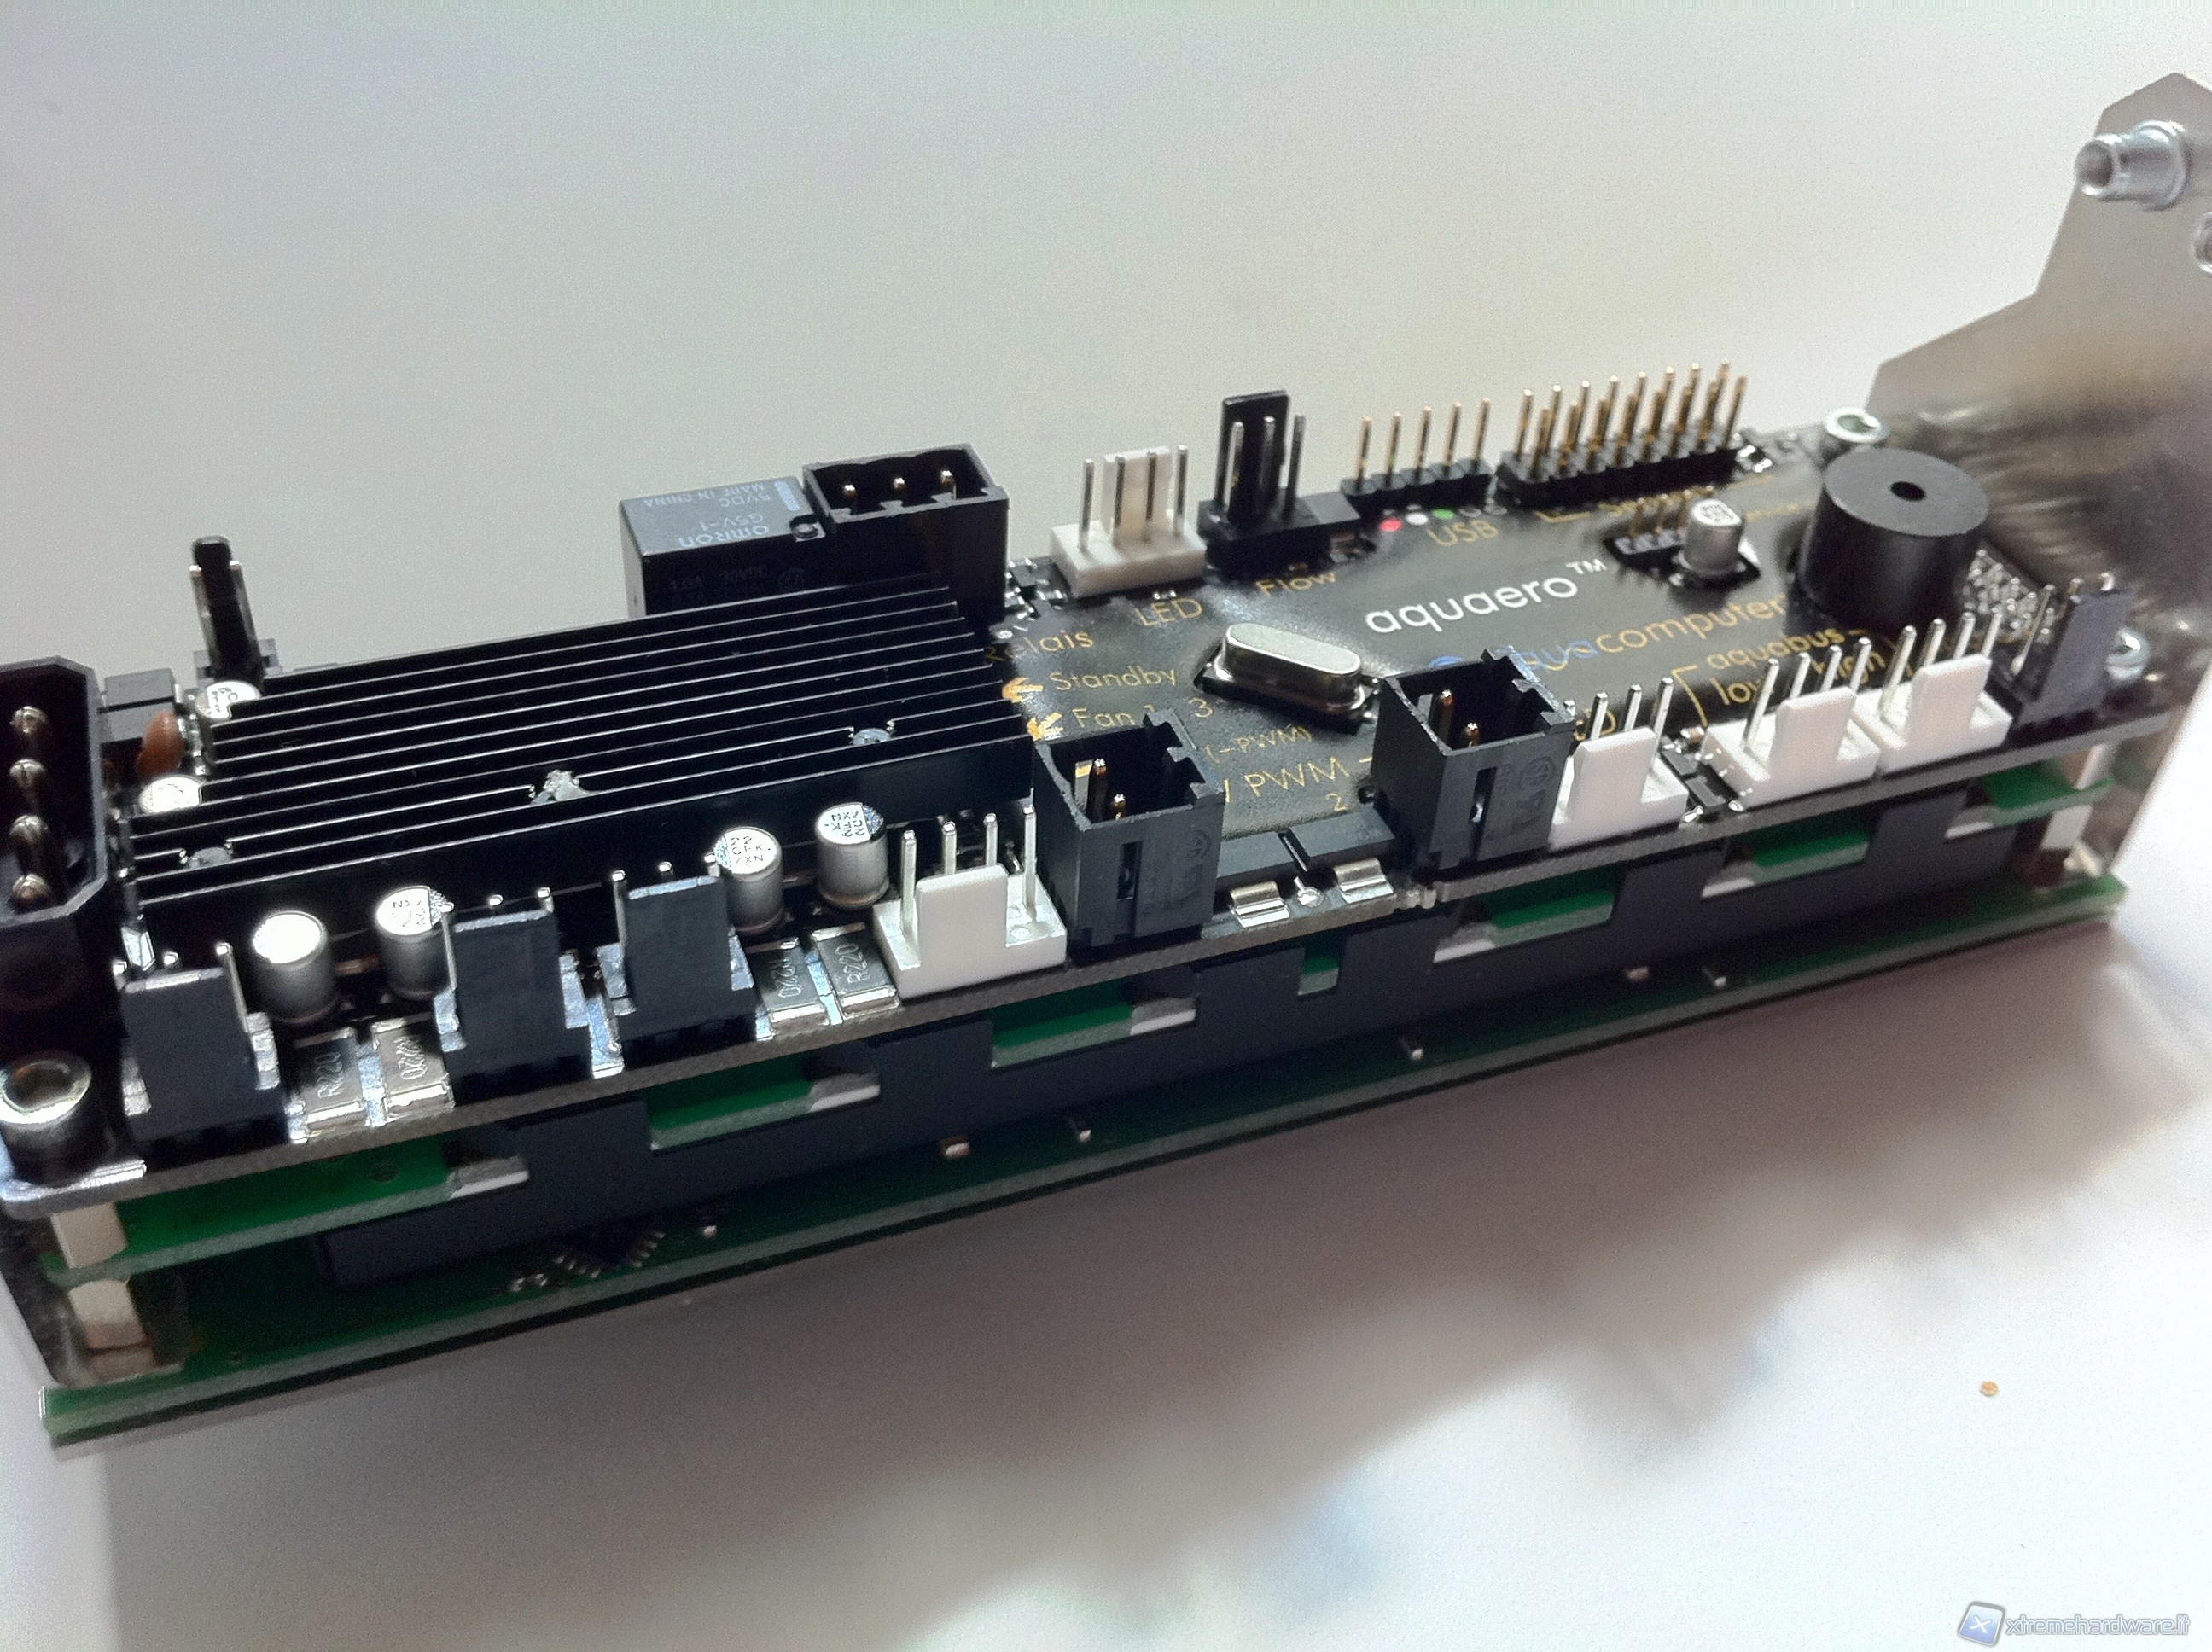
Of no less importance, is the wiring diagram and the number of connectors of which is fitted the Aquaero 5.
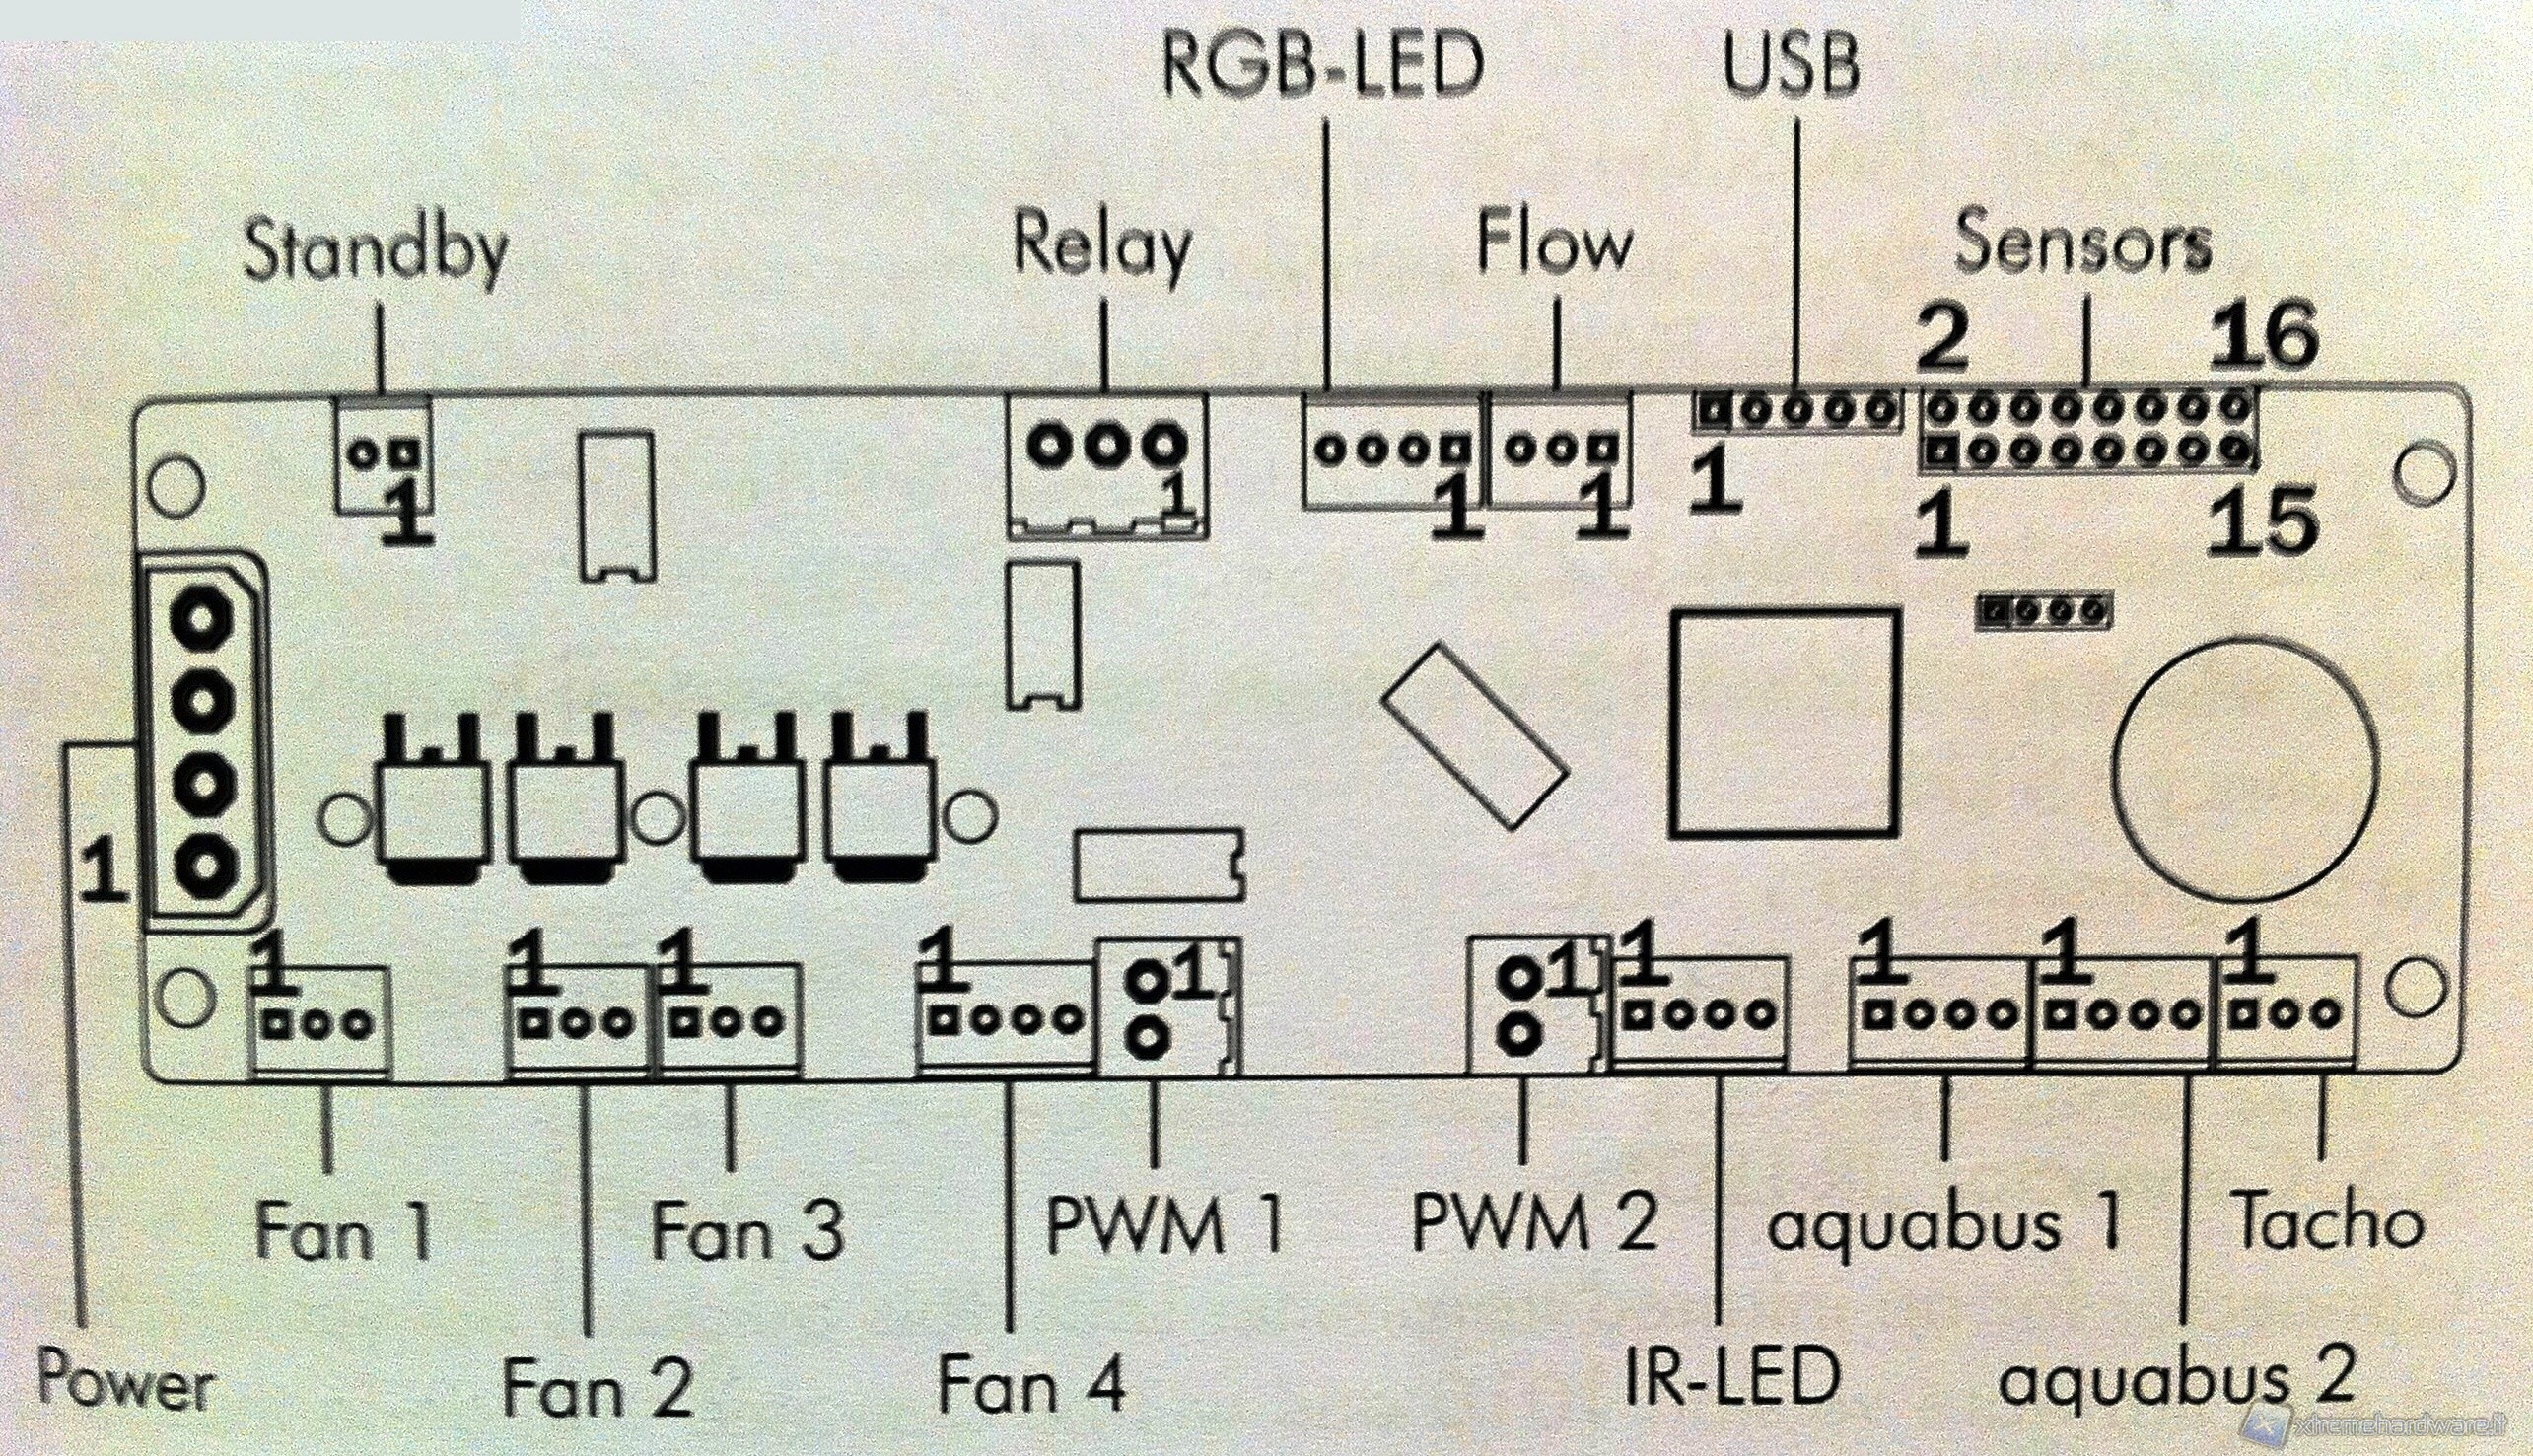
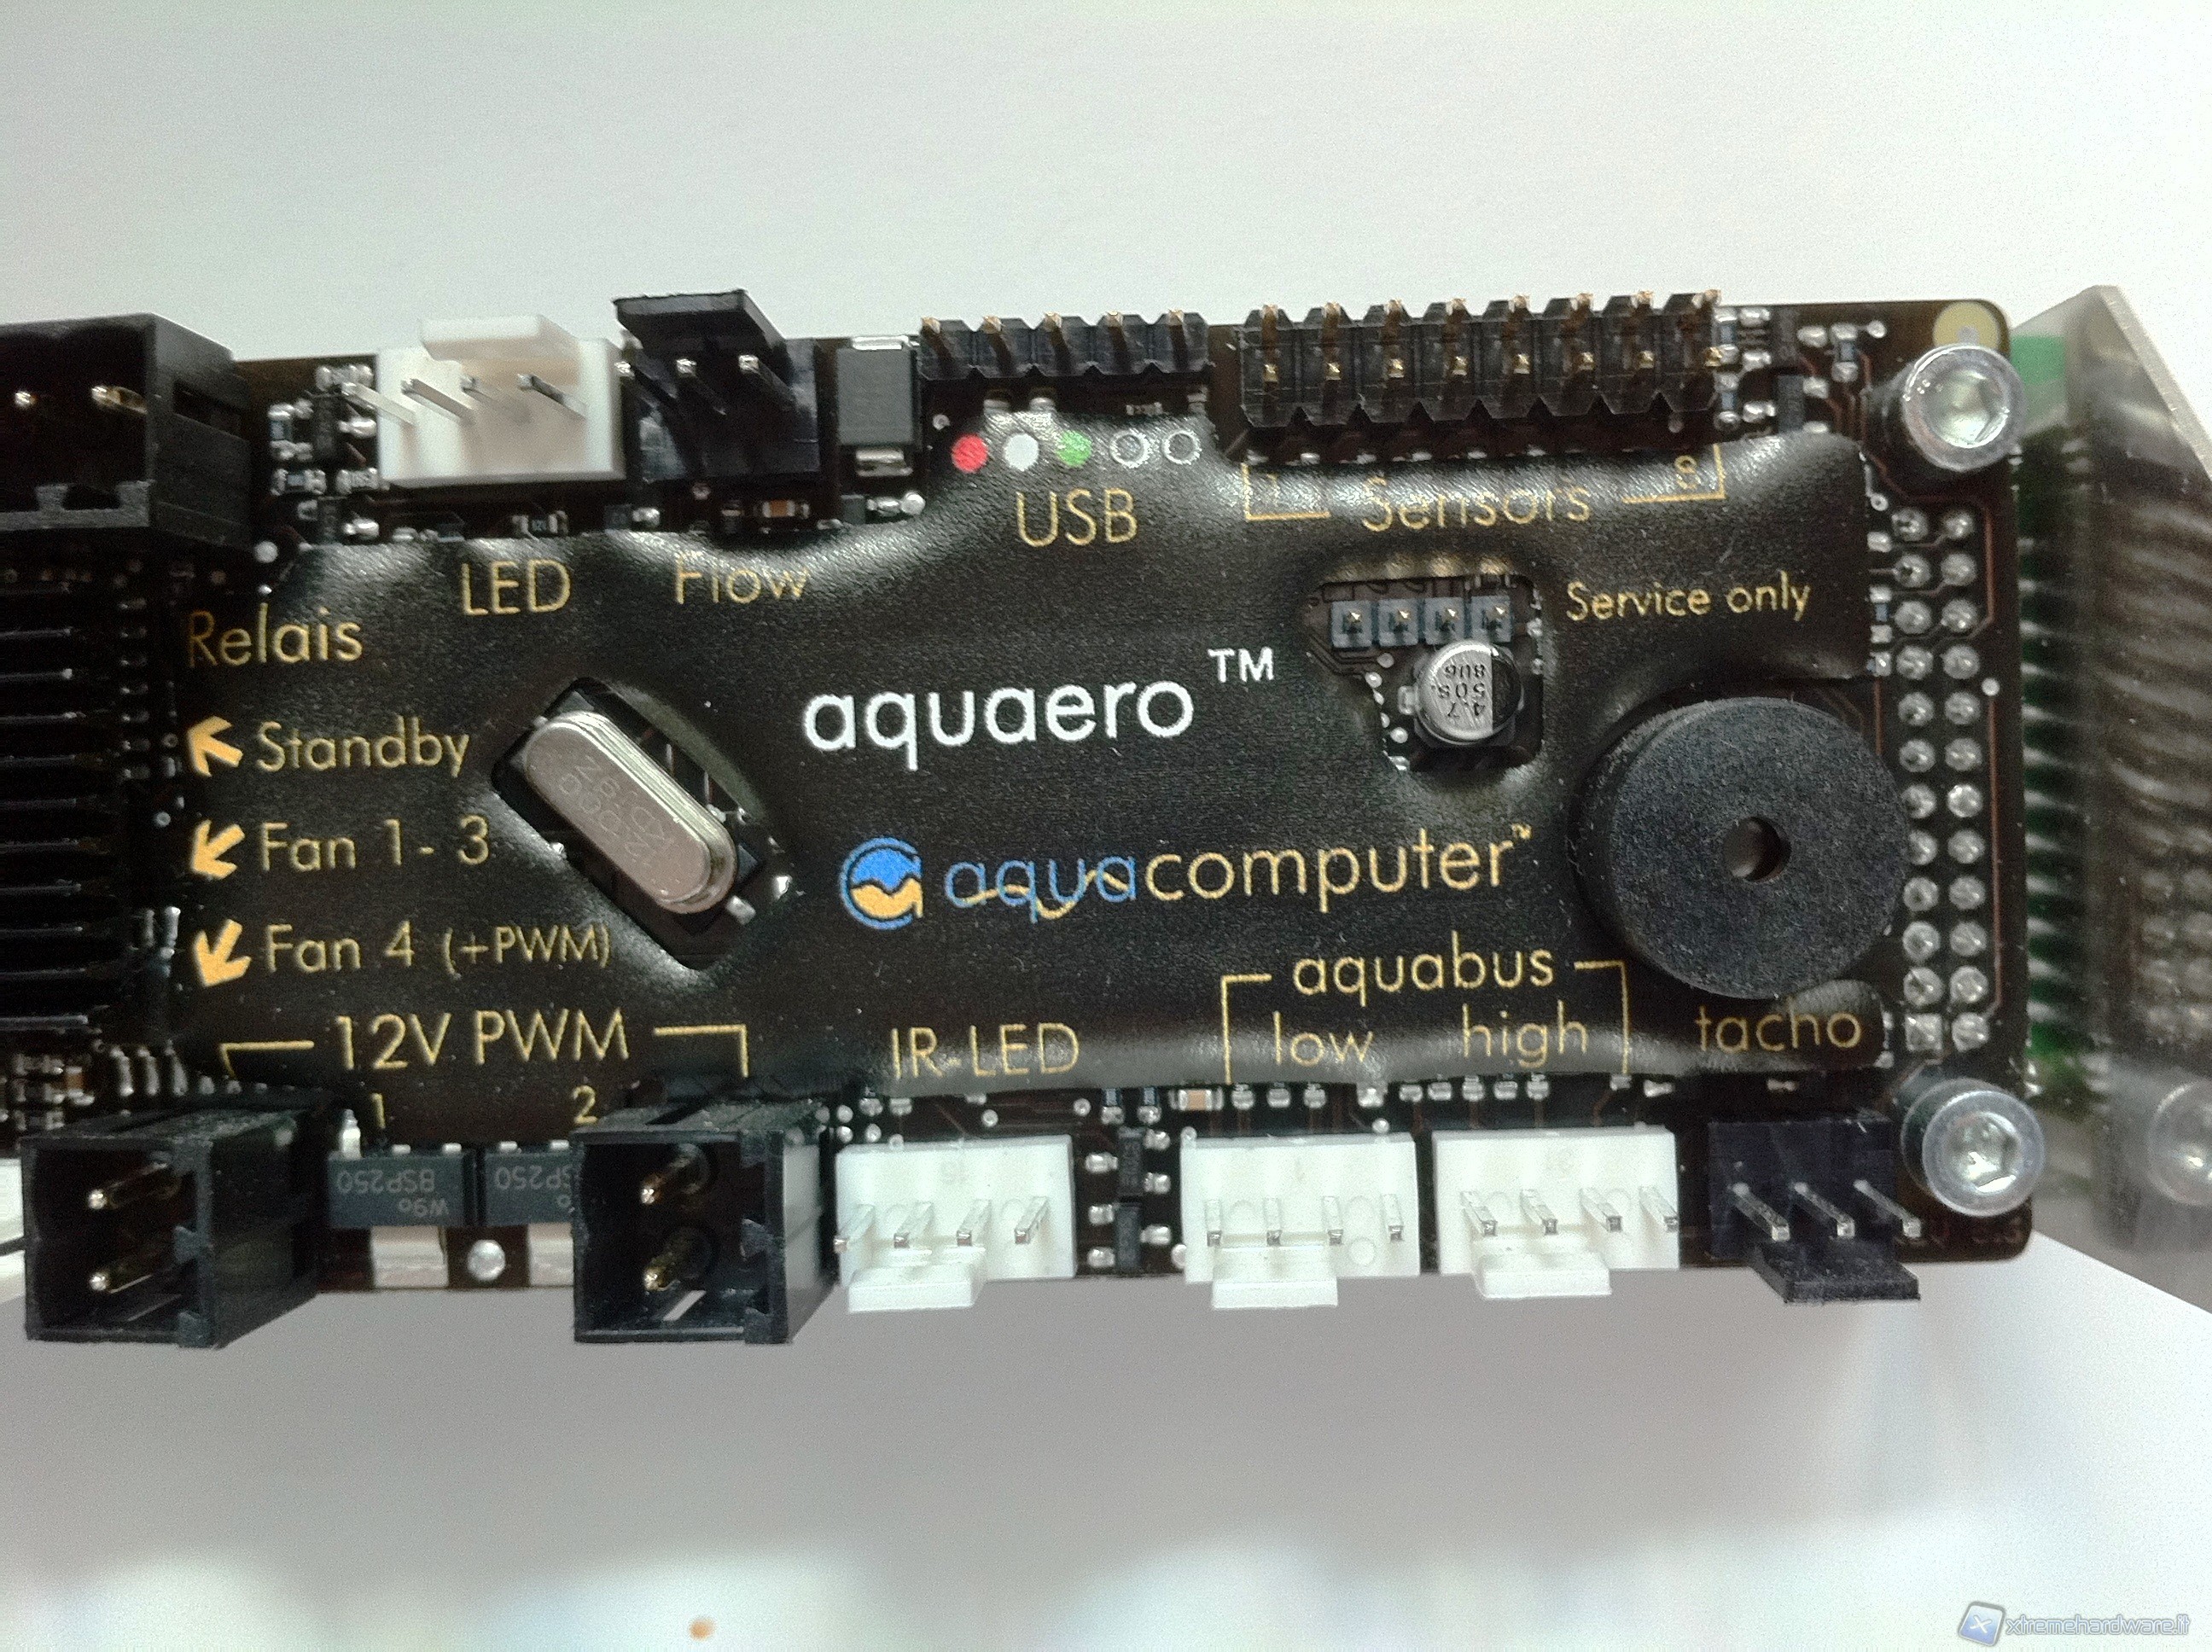
Following the pattern shown in the figure that you will find in the manual
we find, starting from the molex and going clockwise, the following connectors:
- POWER: molex connector dedicated to primary power supply of the controller.
- STANDBY: bipolar connector for standby. When connected via proprietary cable to the power supply, the Aquaero 5 will stay on while the computer is in Soft-Off (S5) that is in standby mode (standby). Requires special cable not included.
- RELAY: Connected to a button (switch), can be useful for shutting down the PC in an emergency. Requires special cable not included.
- RGB-LED: connector for the diode power for LED lighting (up to 3).Requires special cable not included.
- FLOW: Dedicated to the connection of any flow sensor, the compatibility has to be verified.
- USB connector for communication between the PC and Aquaero and for power supply standby. Cable included.
- SENSORS: Multi connector dedicated to connect up to 8 sensors for measuring temperature. Check possible compatibility.
- TACHO: If used, the Aquaero can generate a signal that can be used to configure certain alarms/events. Included cable.
- Aquabus 1/2: Dedicated connector for interfacing the controller to other devices provided by AquaComputer and expand in this way the capabilities of the controller. Requires special cable not included.
- IR-LED: connector dedicated to a possible connection to a LED transmitter.
- PWM 1/2: 4-Pin Connector for Fan Pulse Width Modulation, or 12 volt input with pulse width modulation.
- FAN 4: connector that may be used for connecting a Rheobus in cascade, to control the fans.
- FAN 2/3: Dedicated outputs for connection of the fans only, but no additional features inherent in the 4 and 1 ports. Maximum output power of 10W per channel. Power is dynamic and varies according to temperature.
- FAN 1: Fan connector, can be alternately used for a second flow sensor.
Please note that the package contains a comprehensive manual in English language.
Flow Sensor specifications
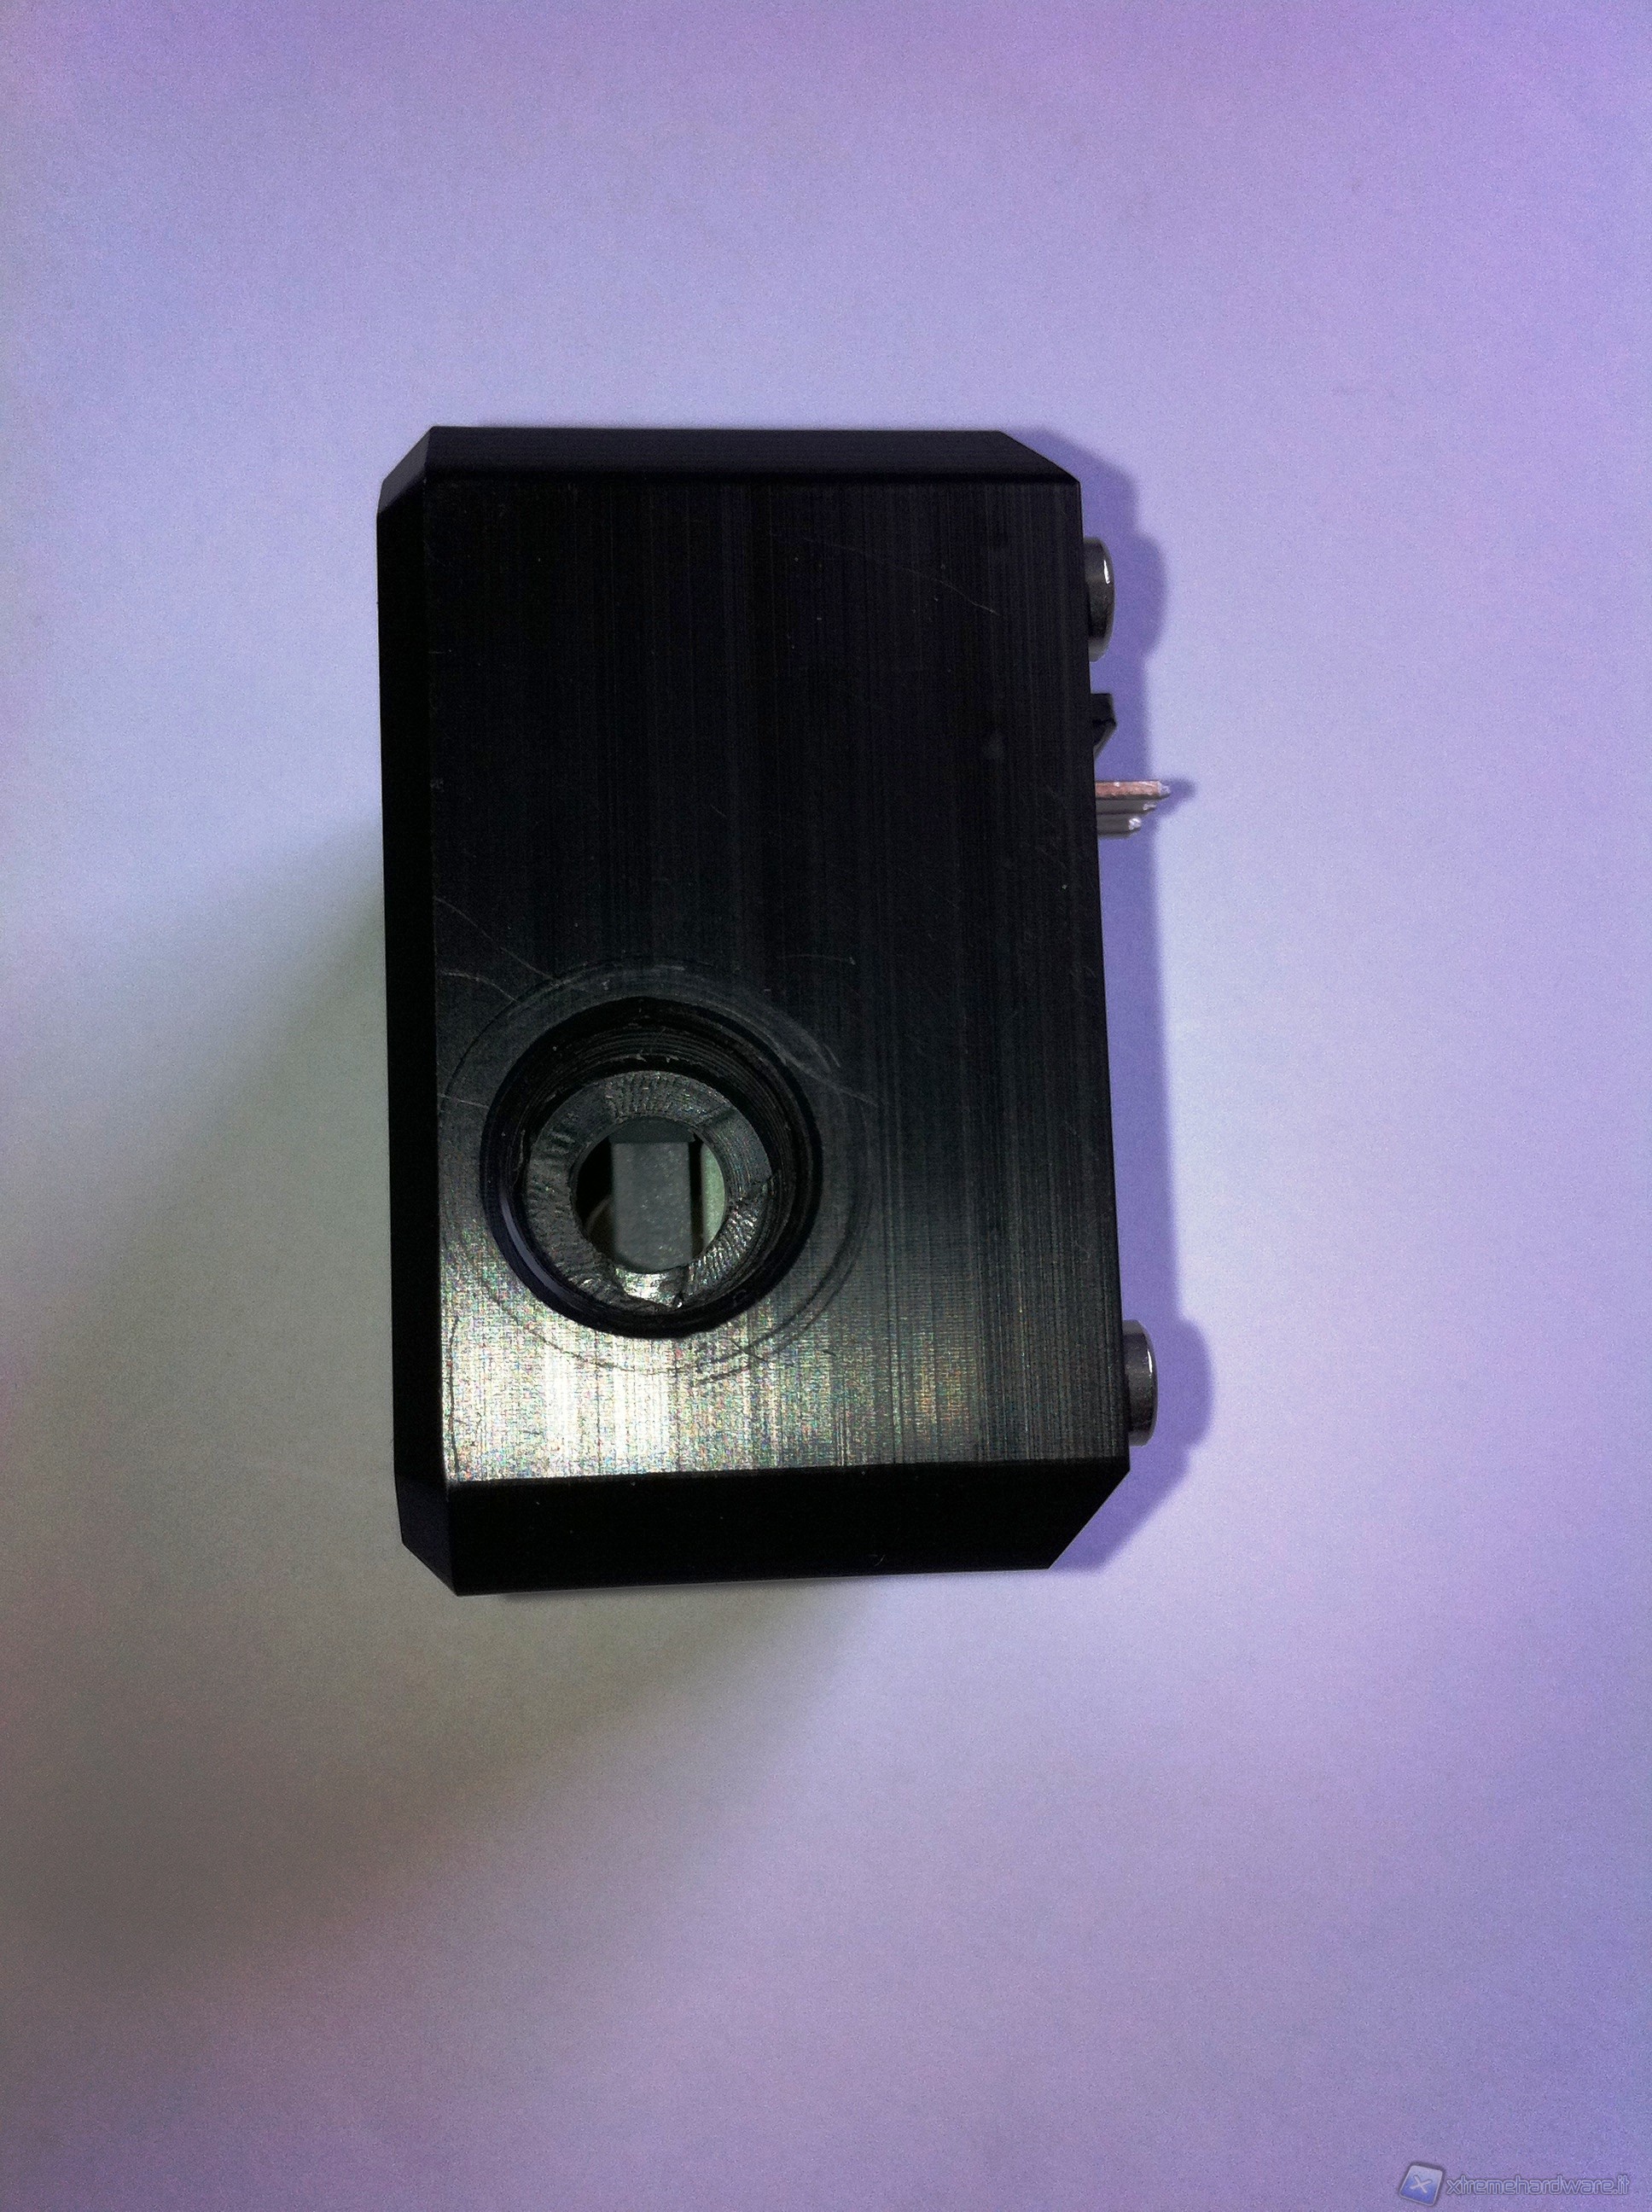
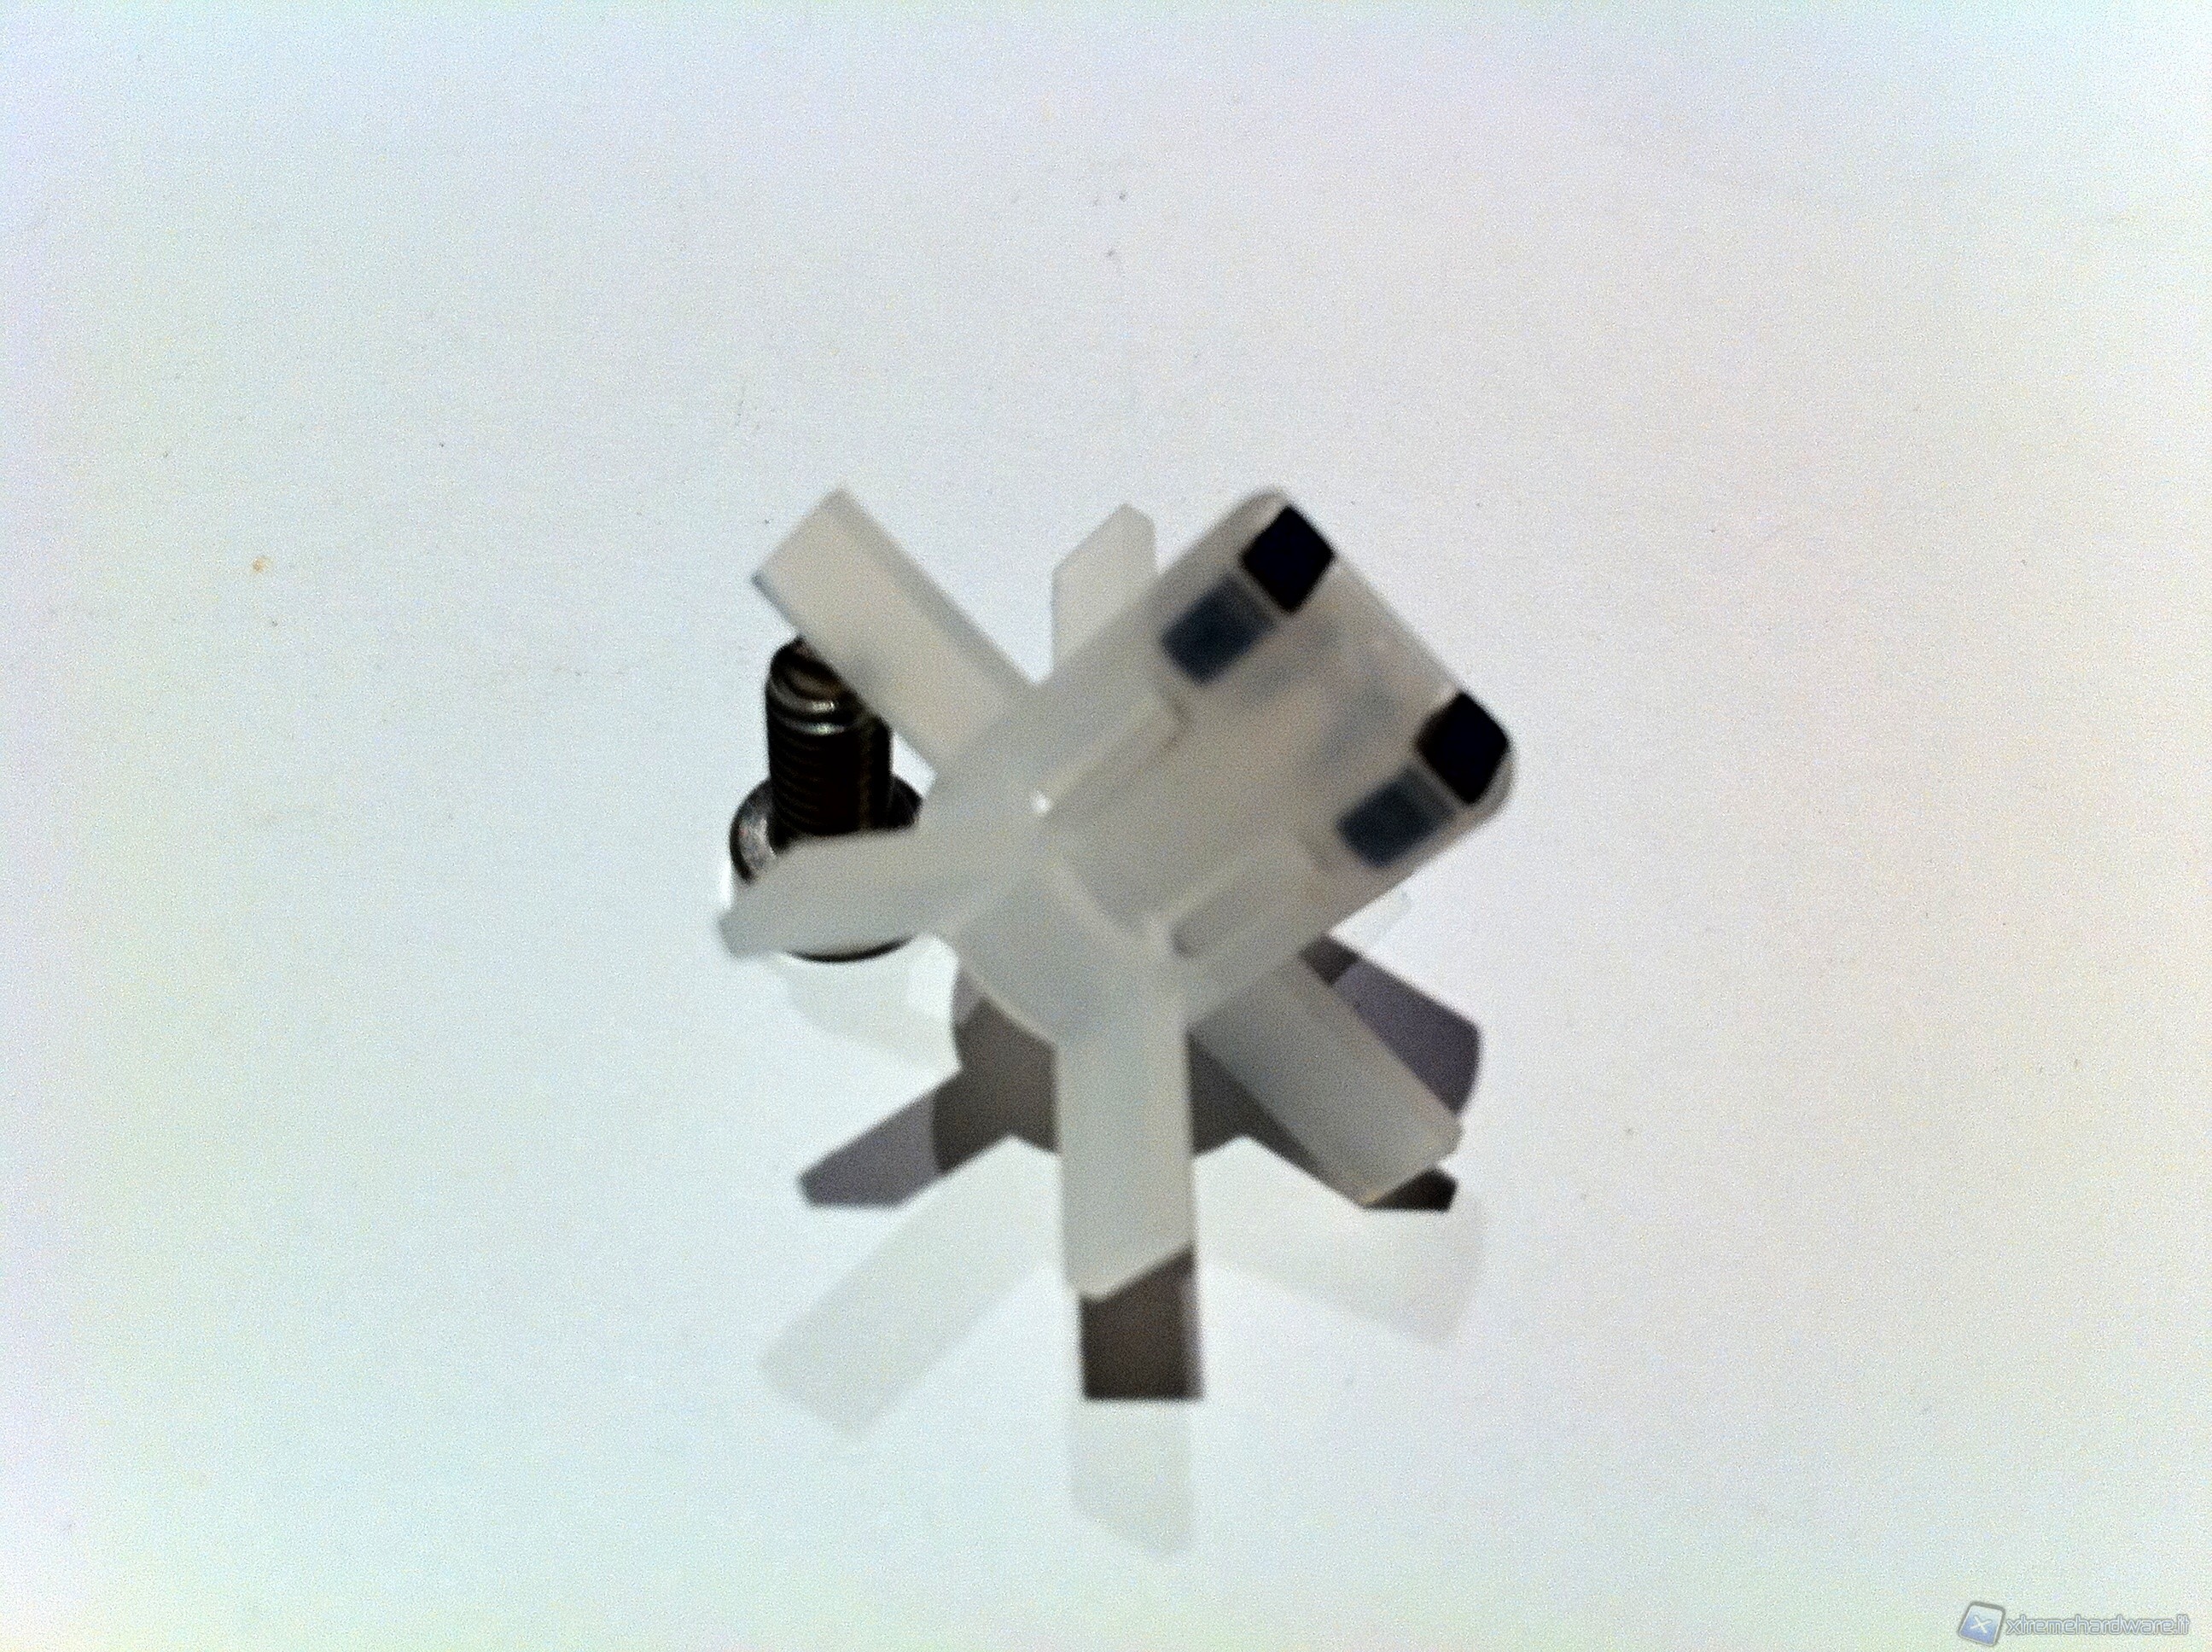
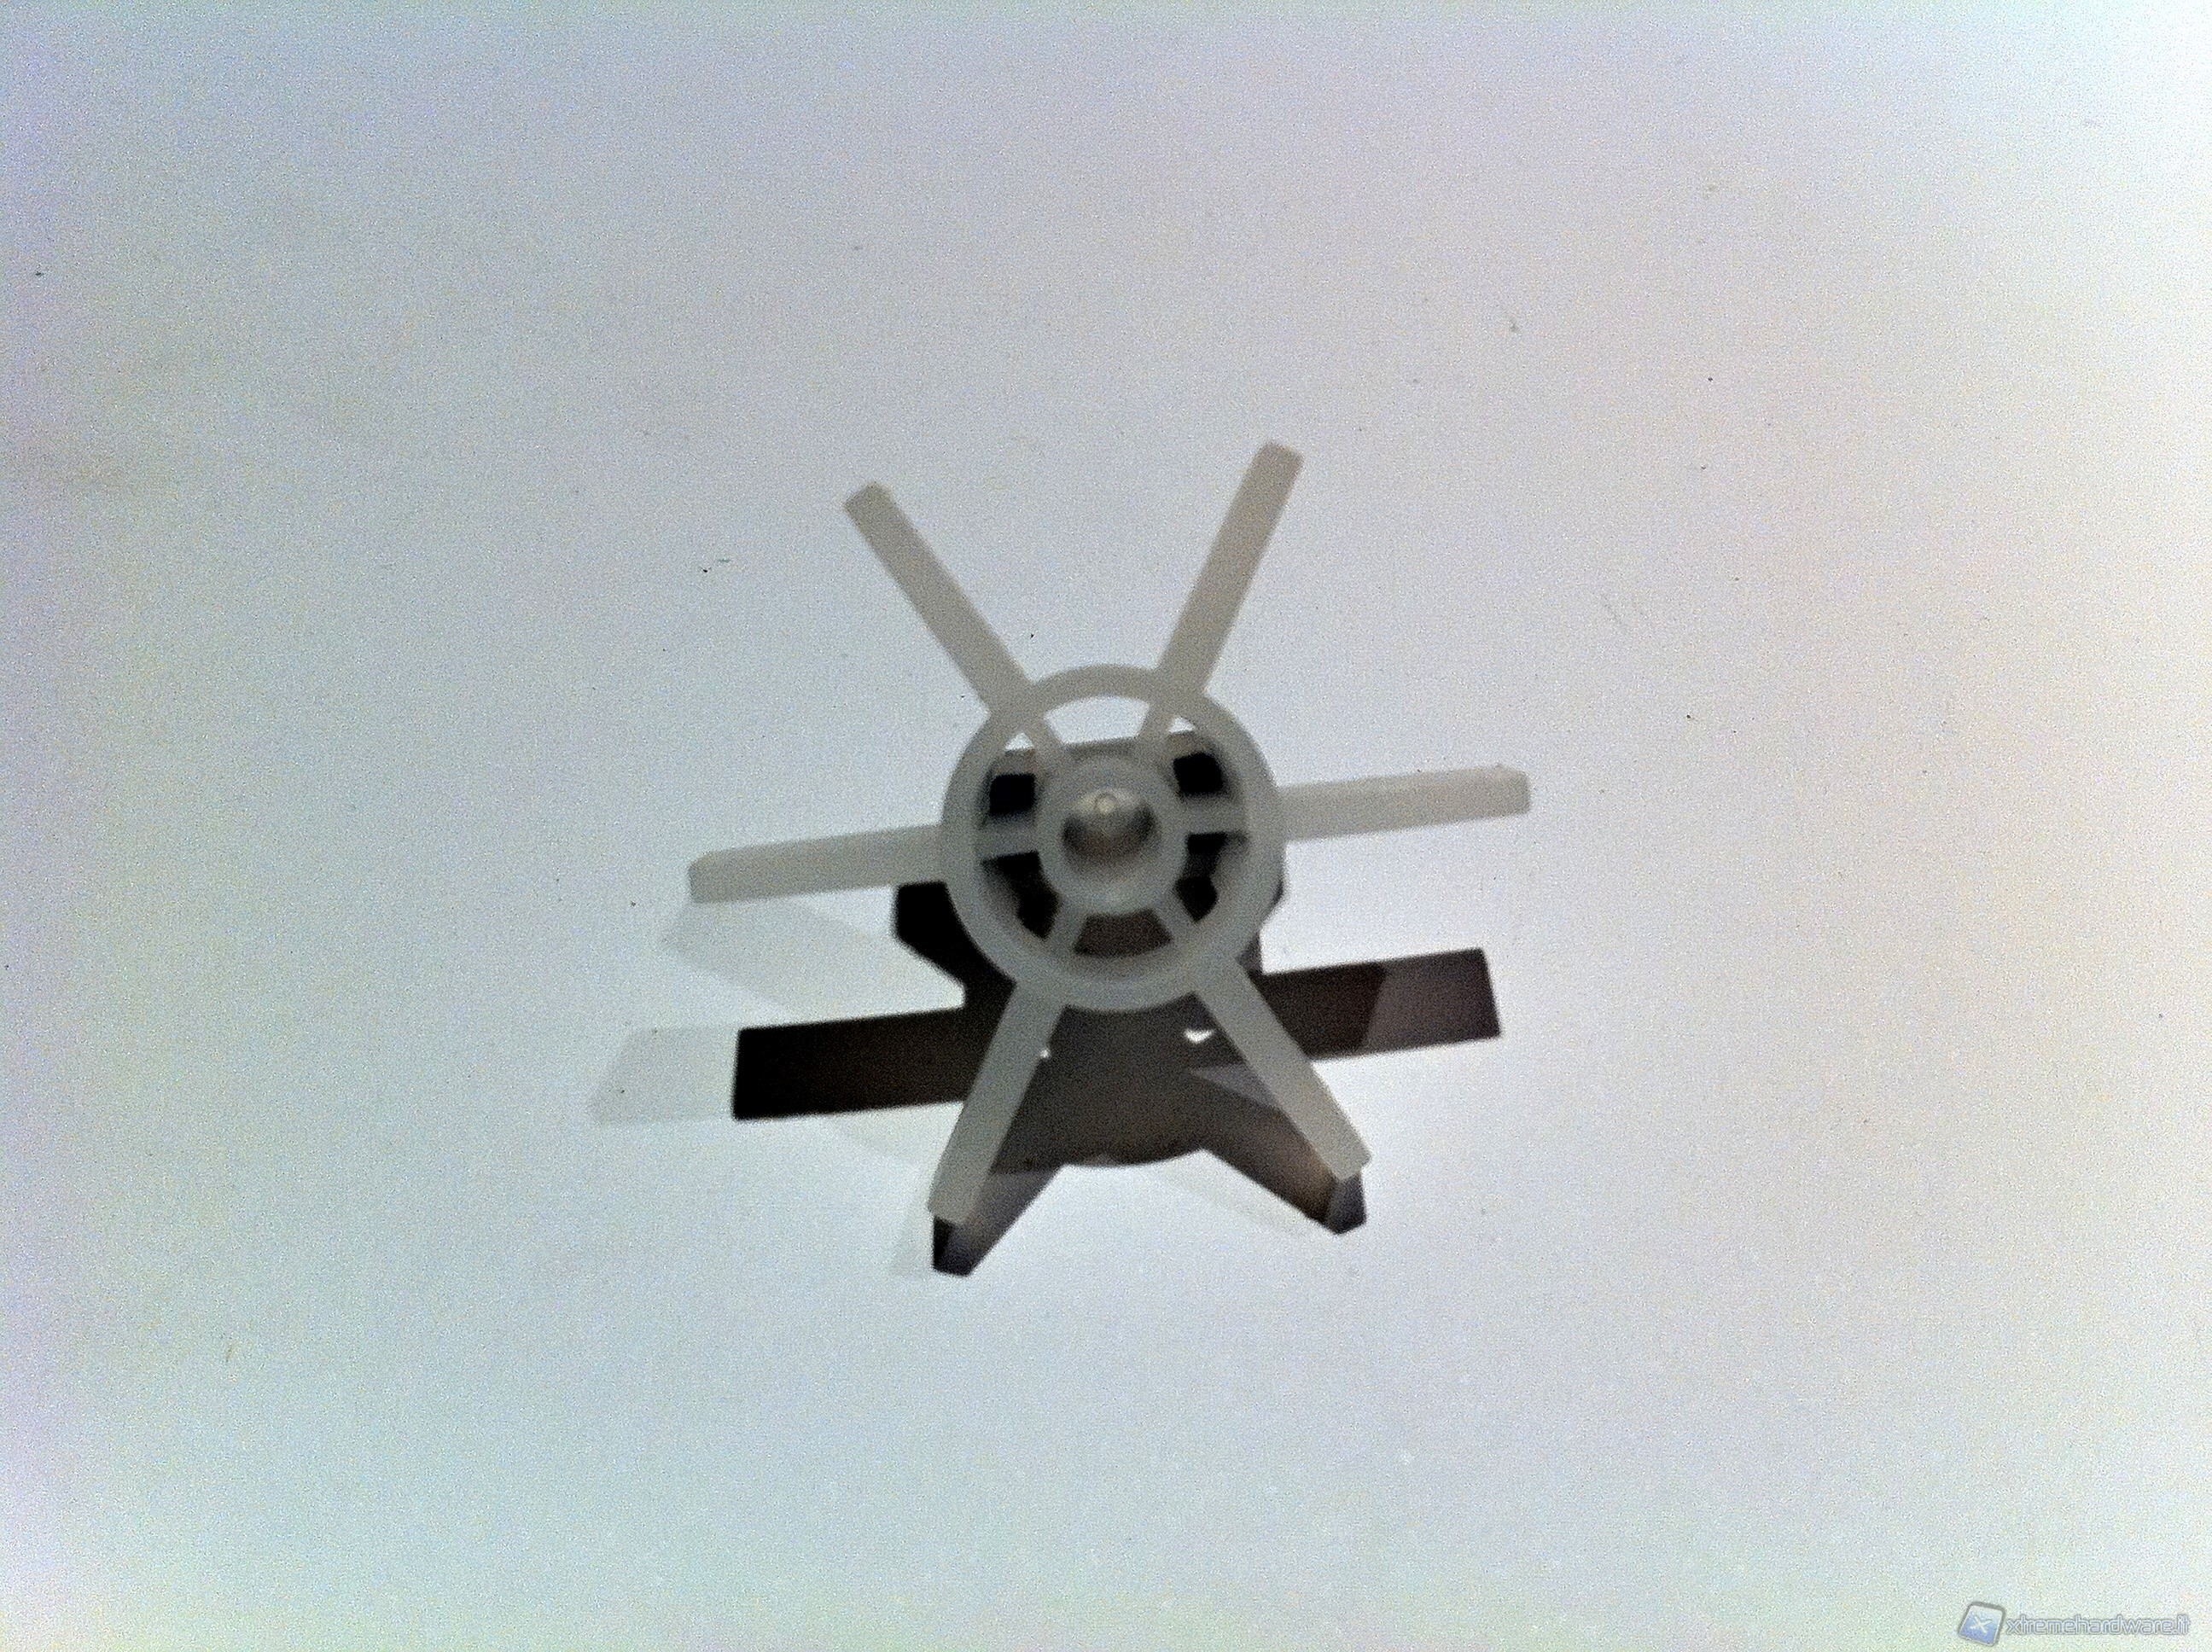
Let us now briefly introduce the Flow Sensor before continuing in-depth technical analysis of the controller. We dismounted the sensor, showing the internals in all its parts, both to provide a quick reference for the periodic cleaning operations, both to show the genius of the detection system. The "High Flow" sensor, in fact, as its name suggests, does not adversely affect flow rate and therefore does not affect the already precarious work of the pump.
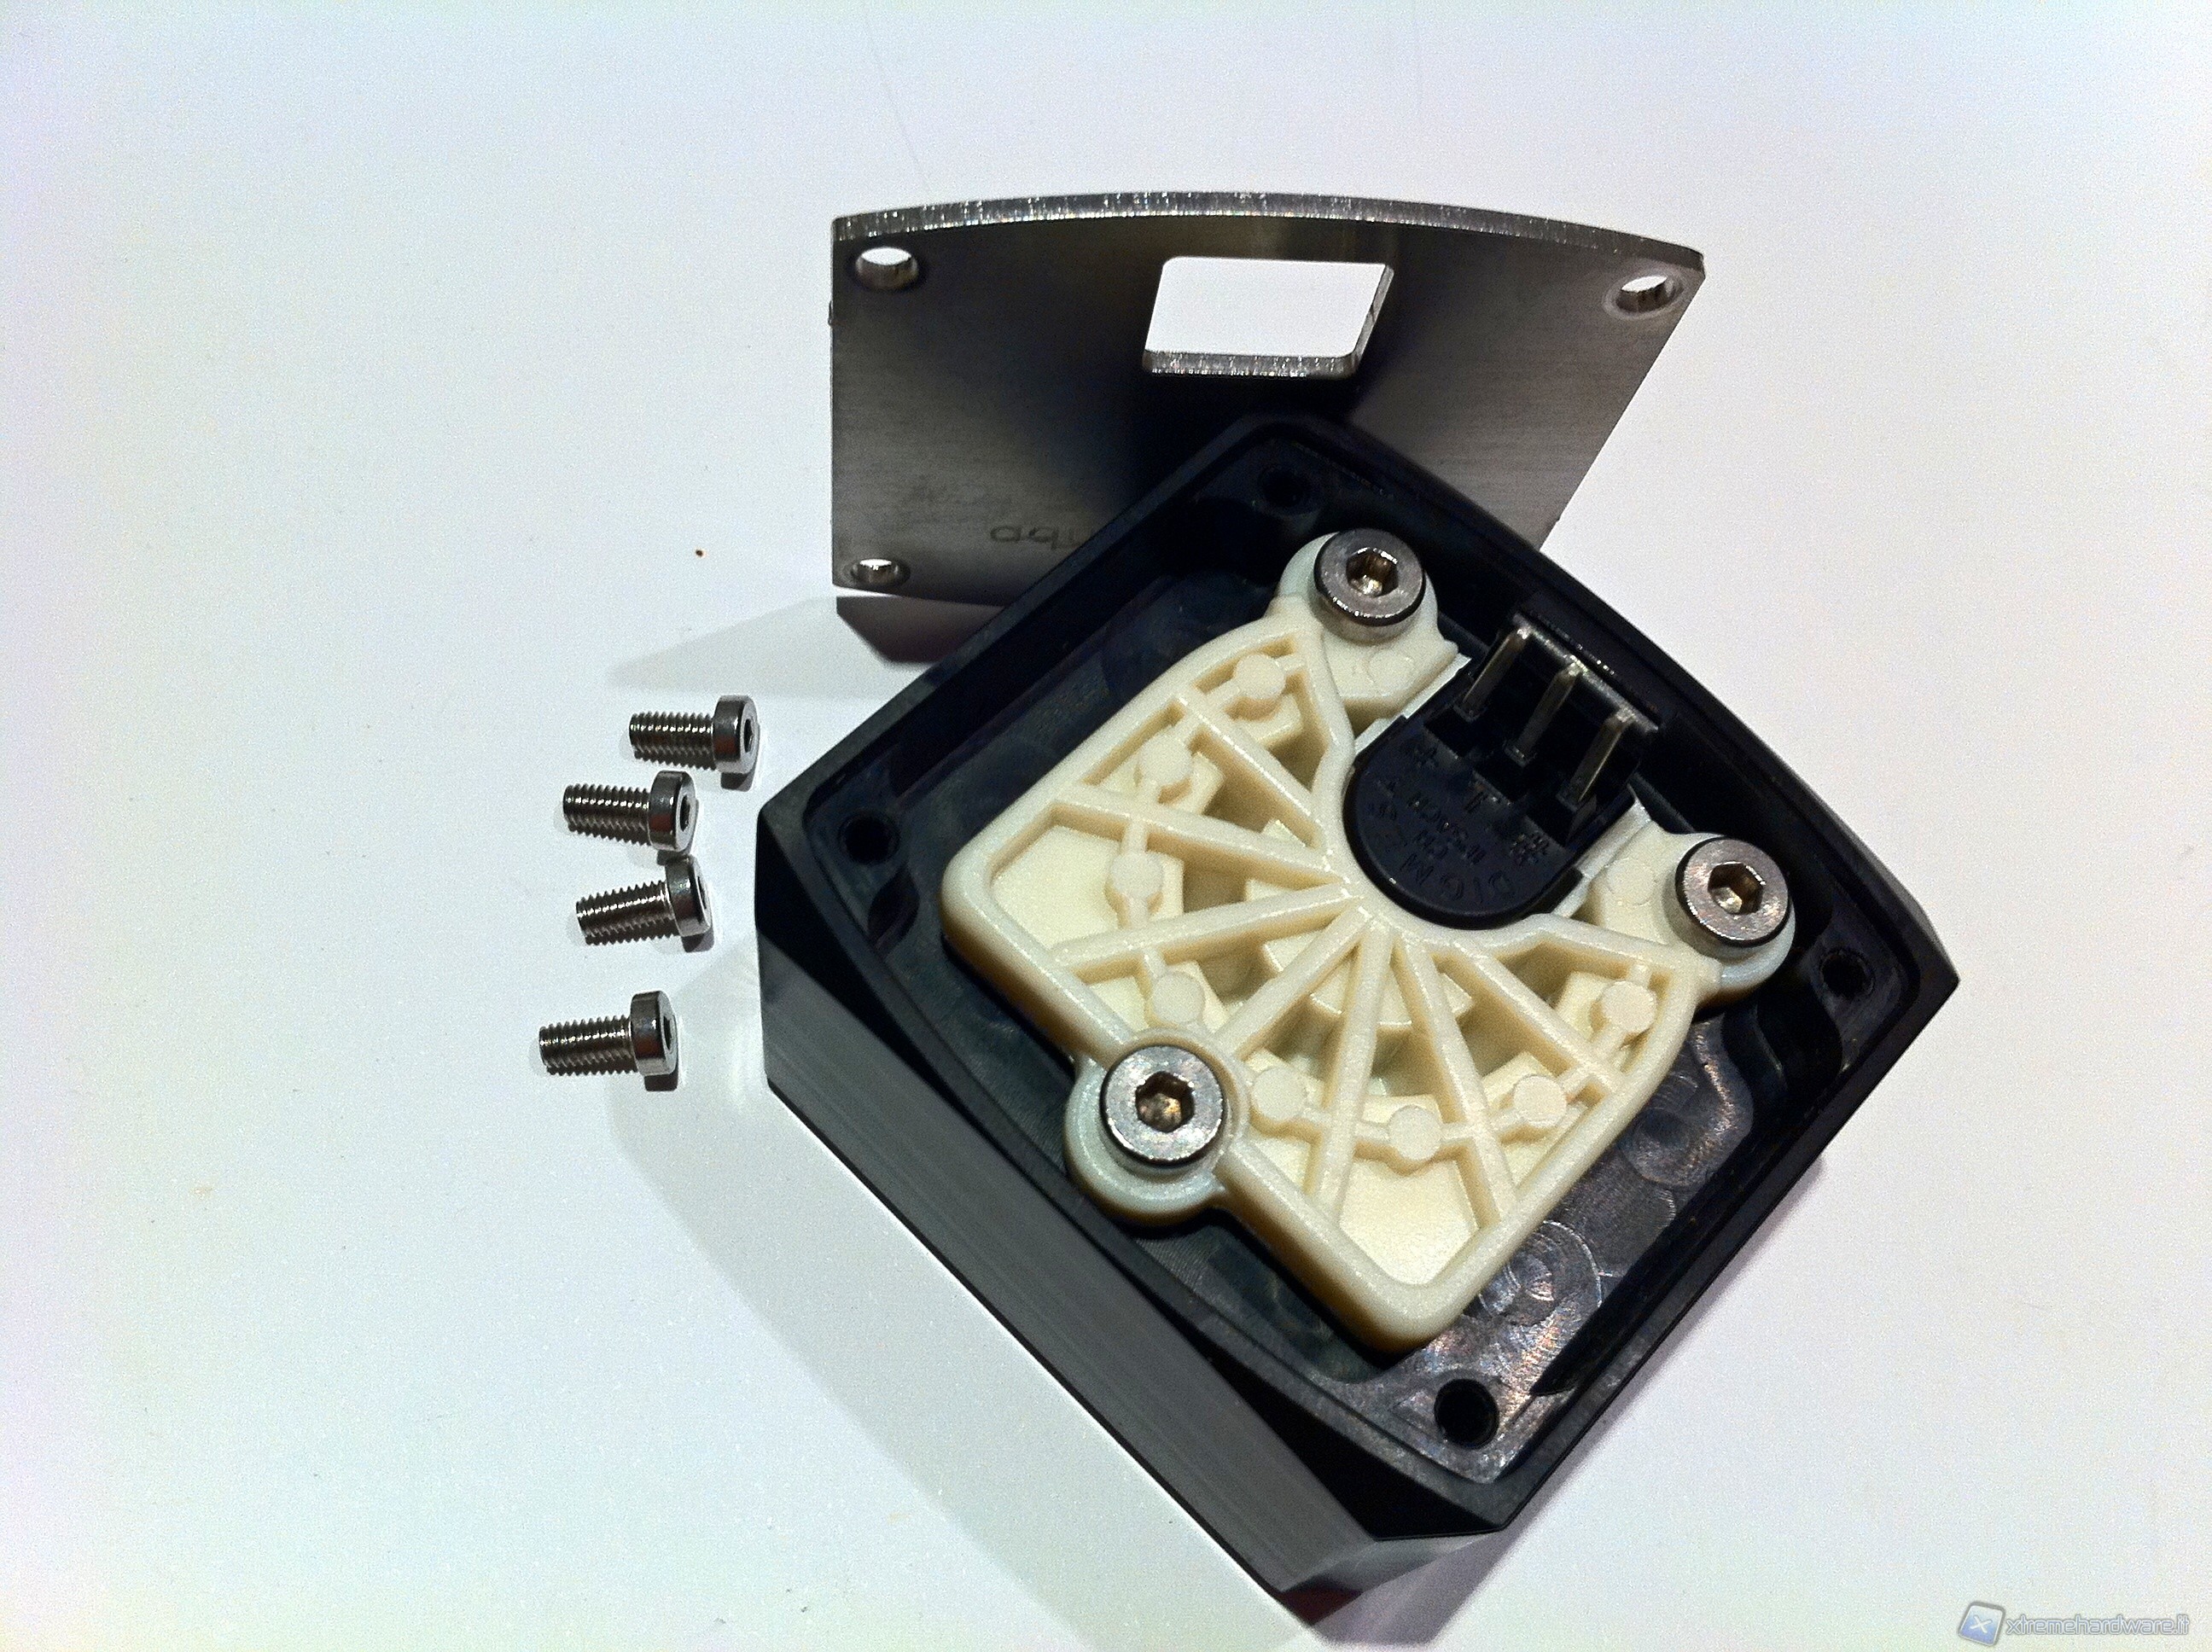
Unscrewing the 4 allen head screws we remove the steel plate. Unscrewing the 3 internal screws you can remove the electric body of the sensor (coil)
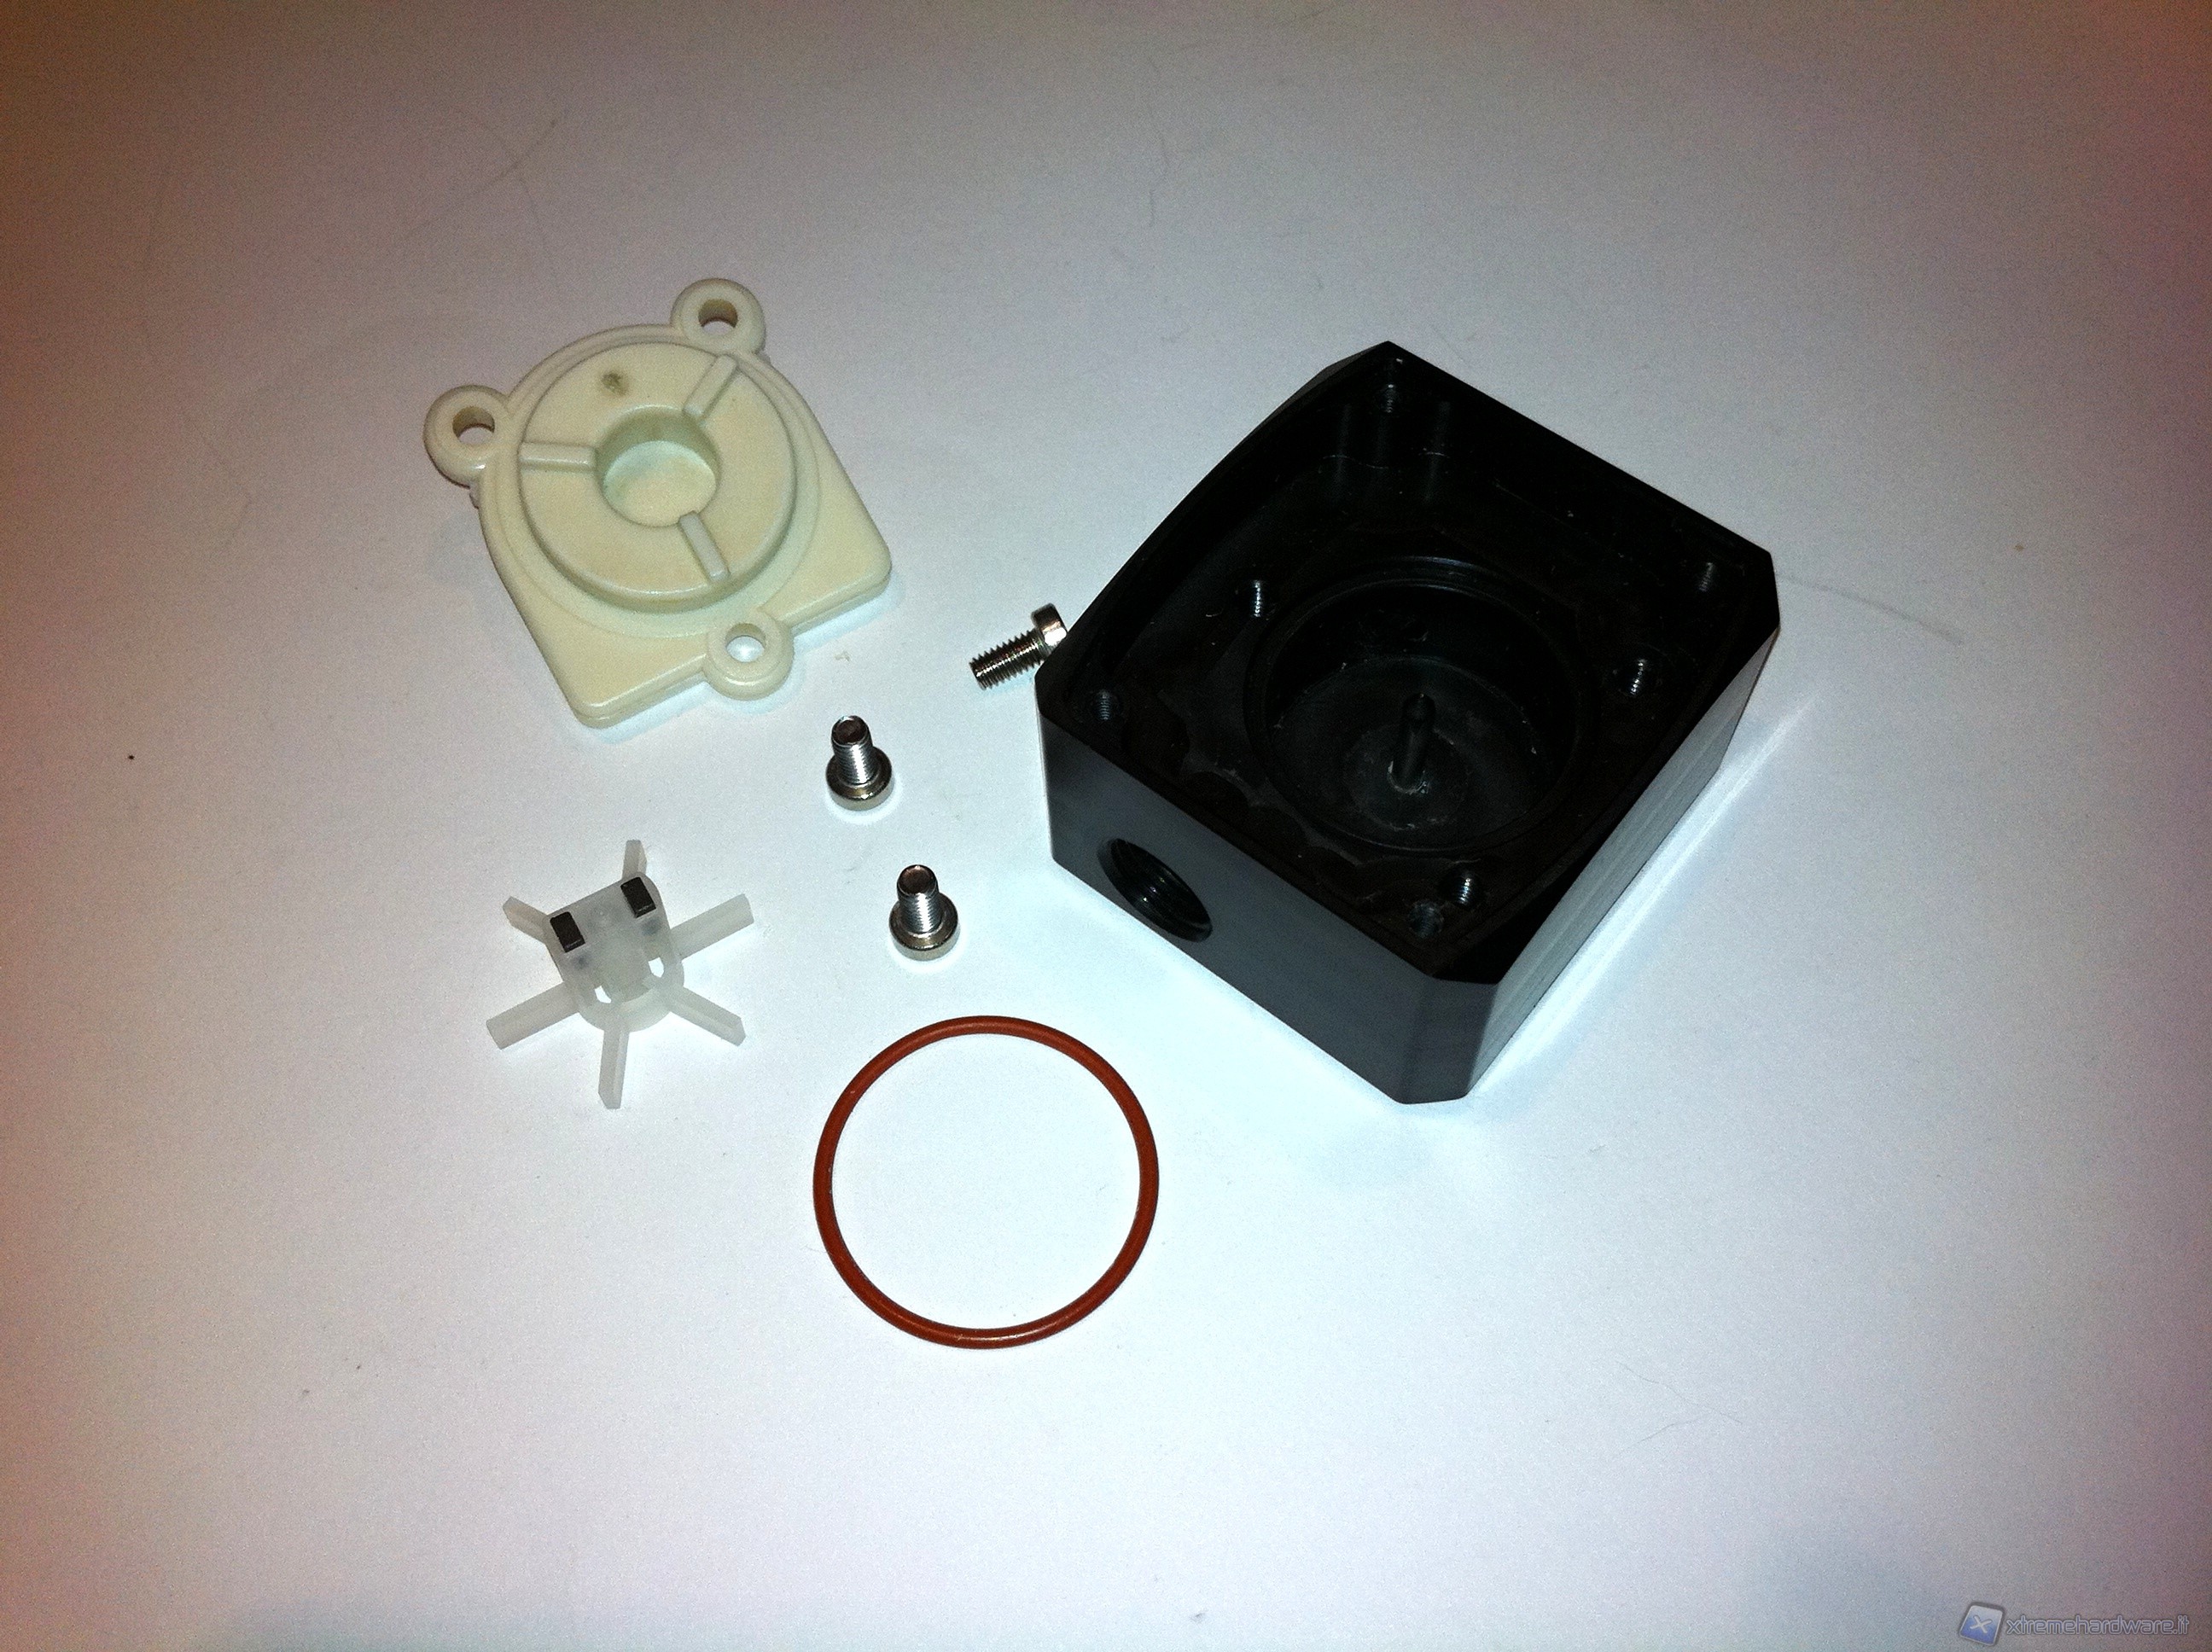
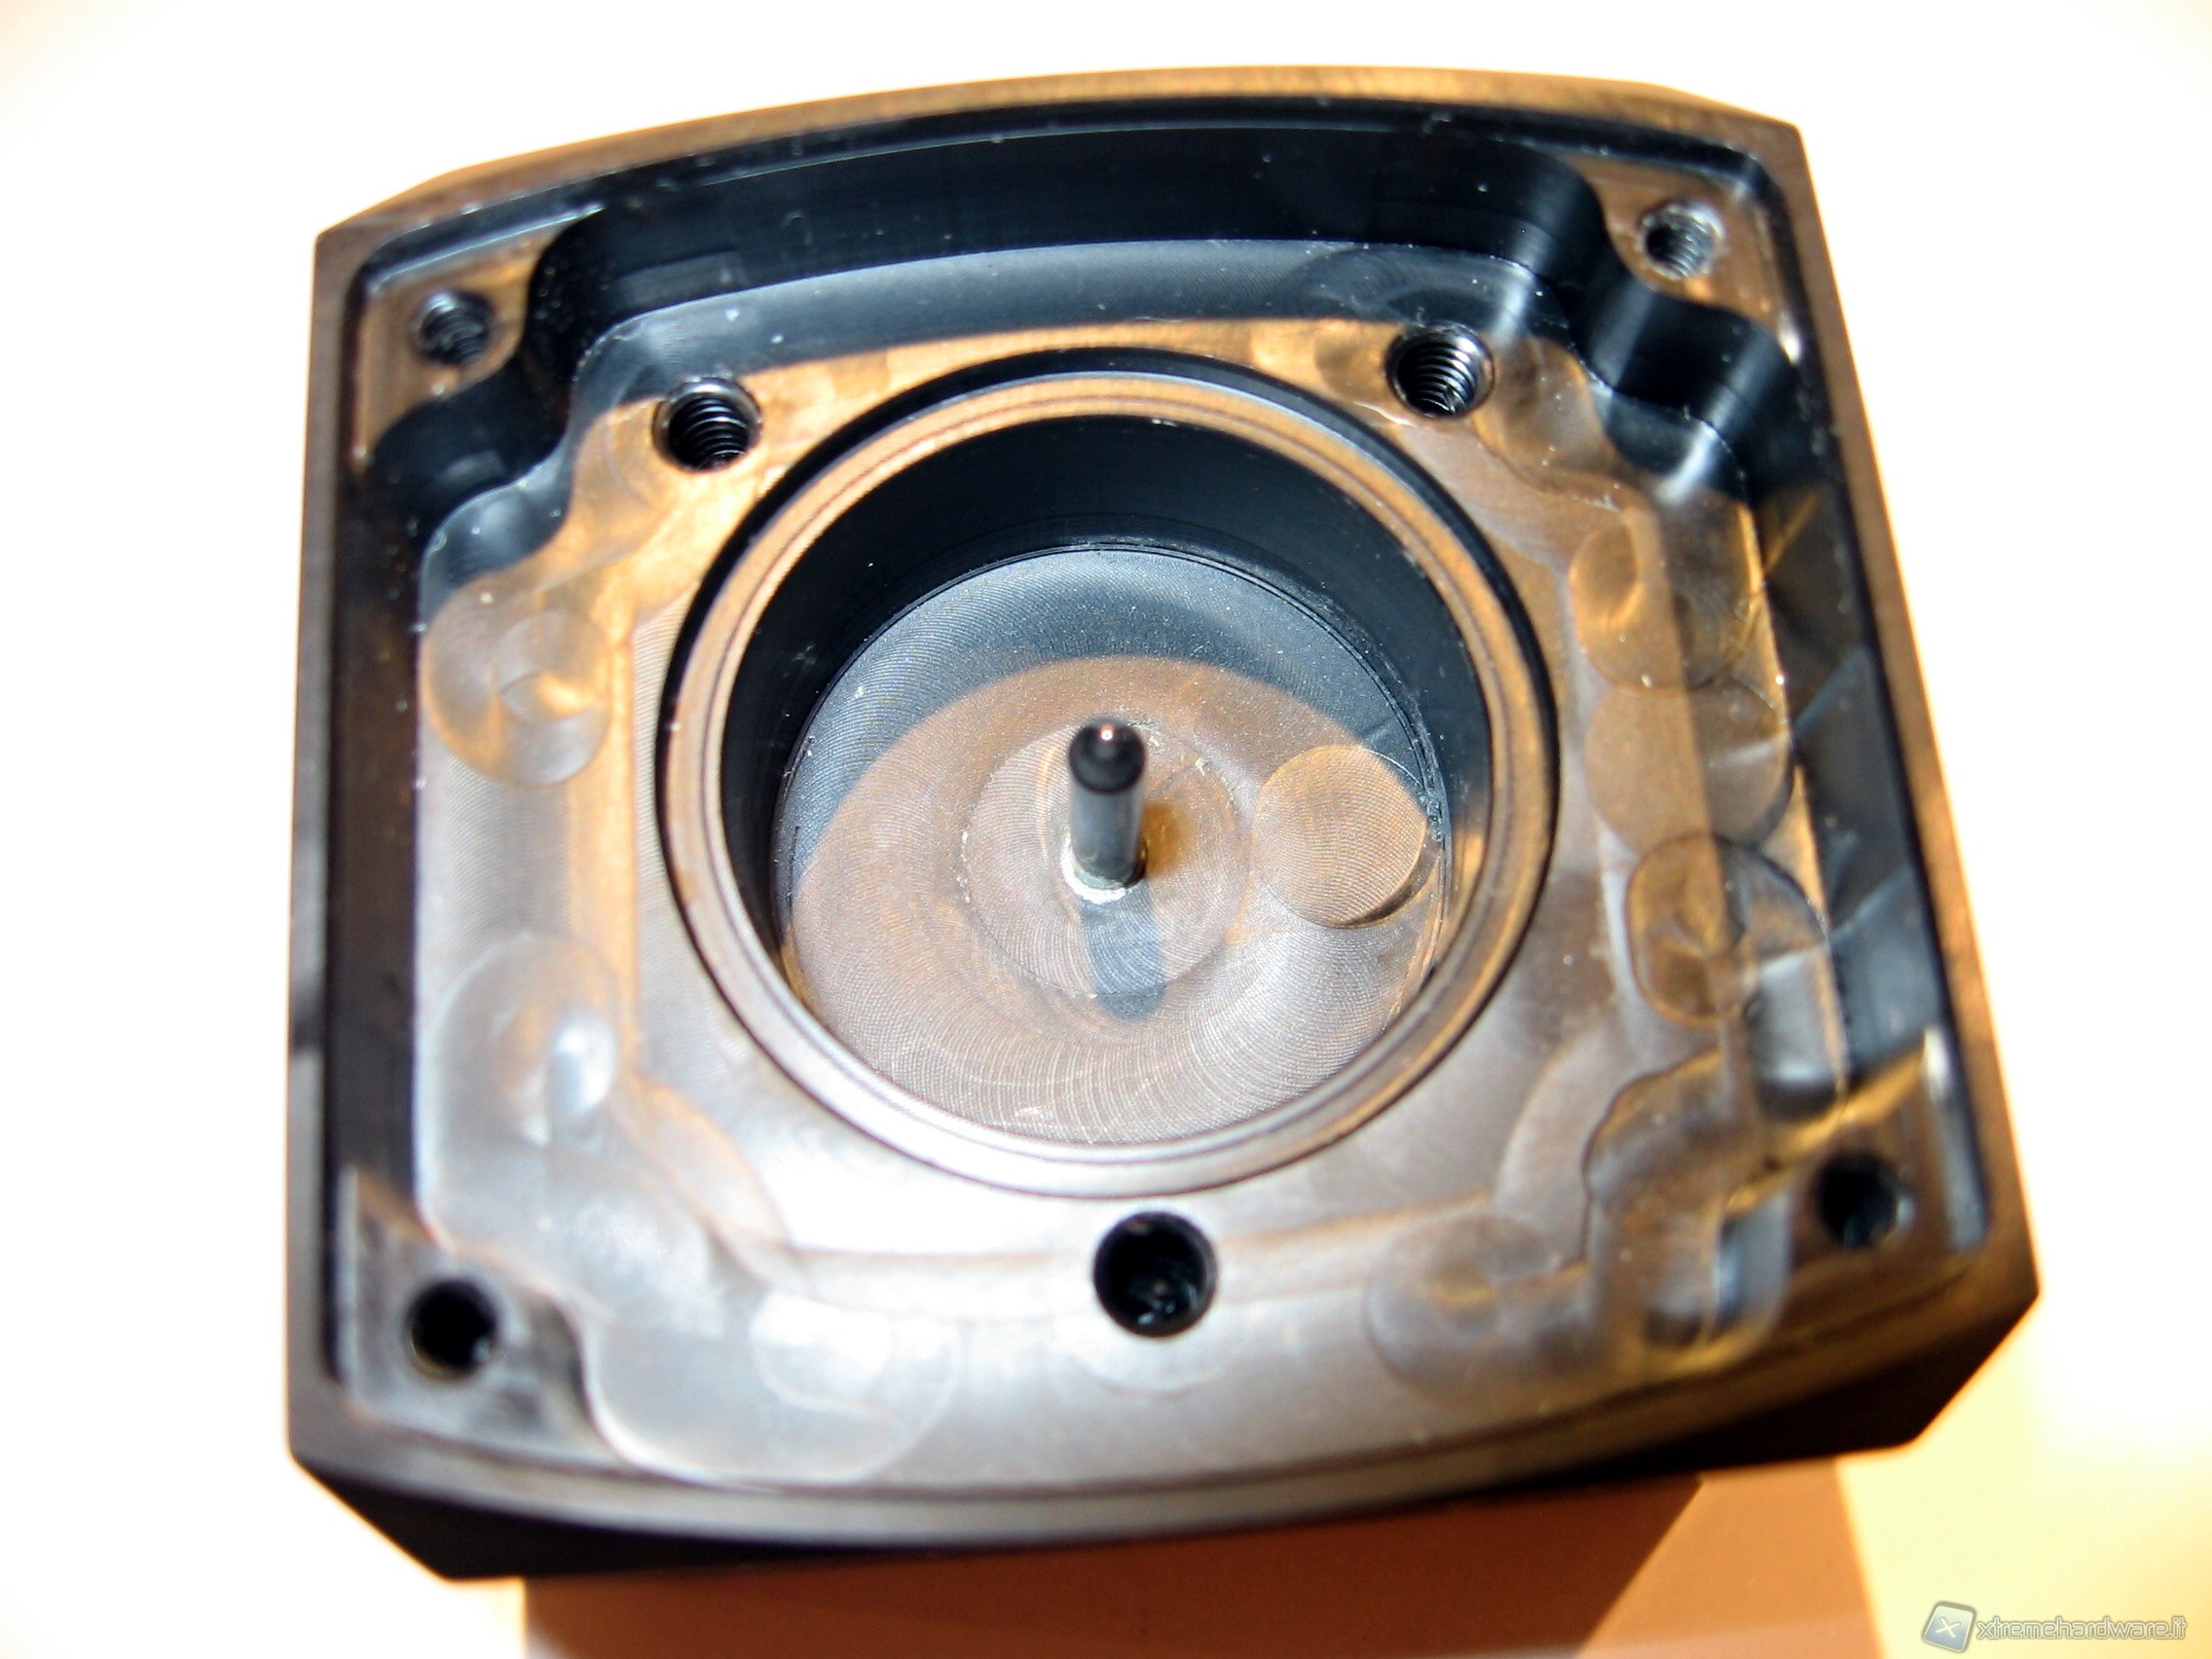
Note the O-ring seal. Below the detail of the auger that thanks to 2 magnets transmits the signal to the coil and through this to the connector and the controller that graphically represents the analog signal.
In the next section we will explain in detail the software capabilities of the controller.
Software analysis
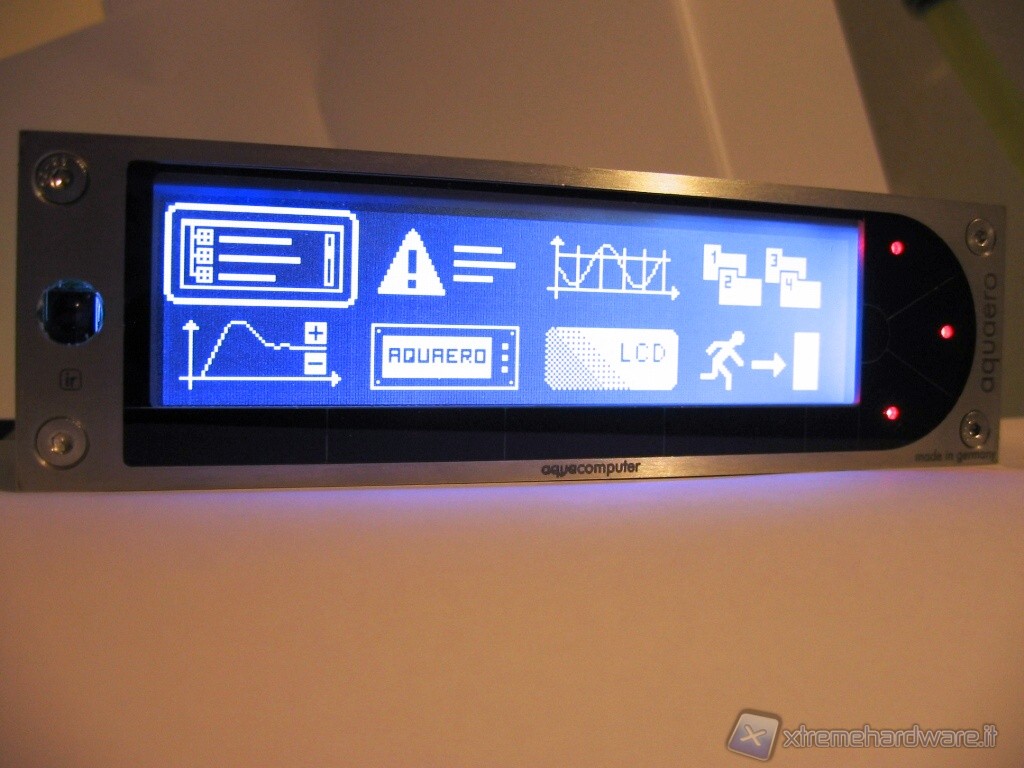
Screen and Function Graphing
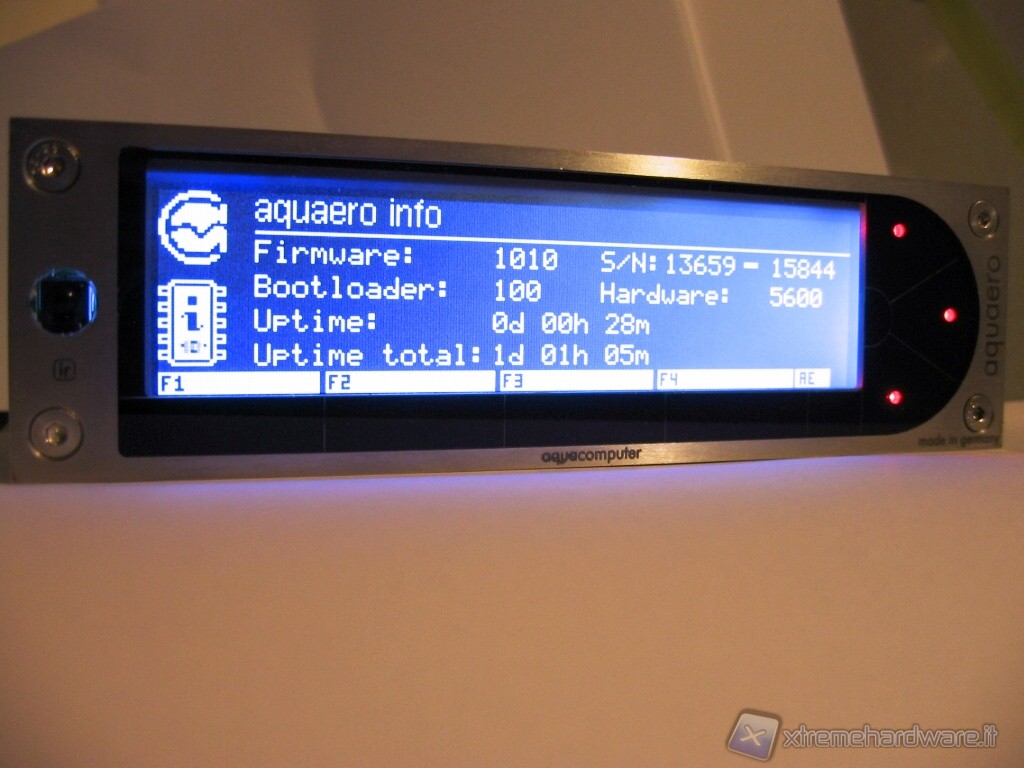
First we show you the screen indicating the technical specifications of the software loaded as firmware, the boot loader, and the partial and total usage time.
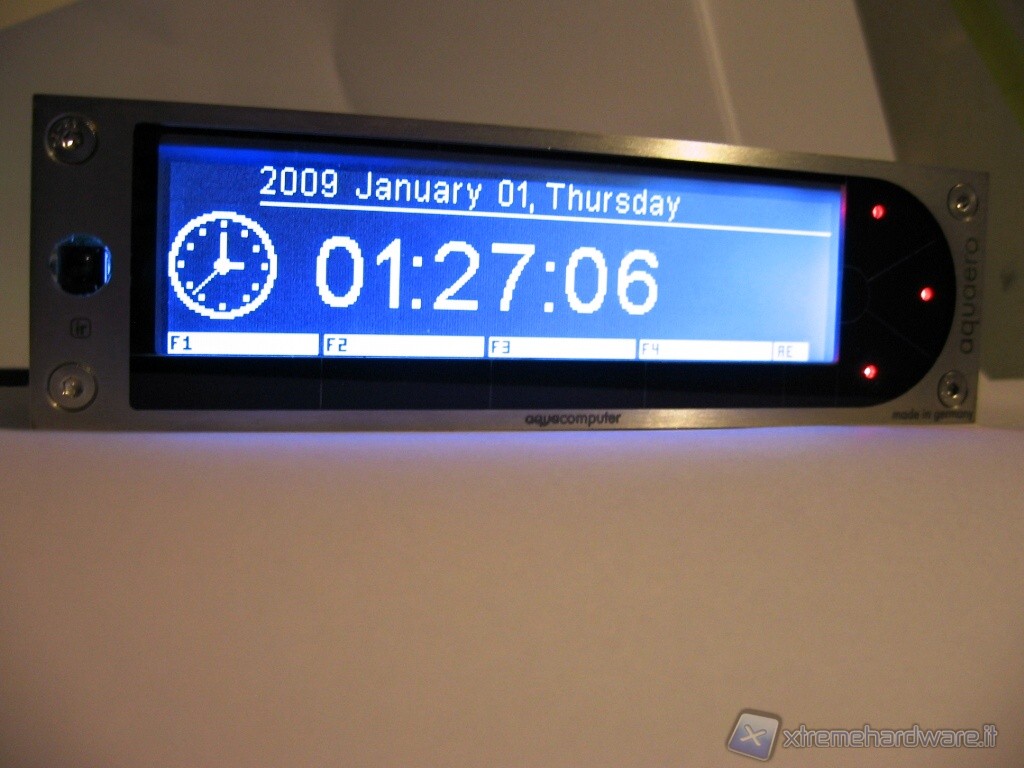
Then we find the clock that logically can be adjusted.
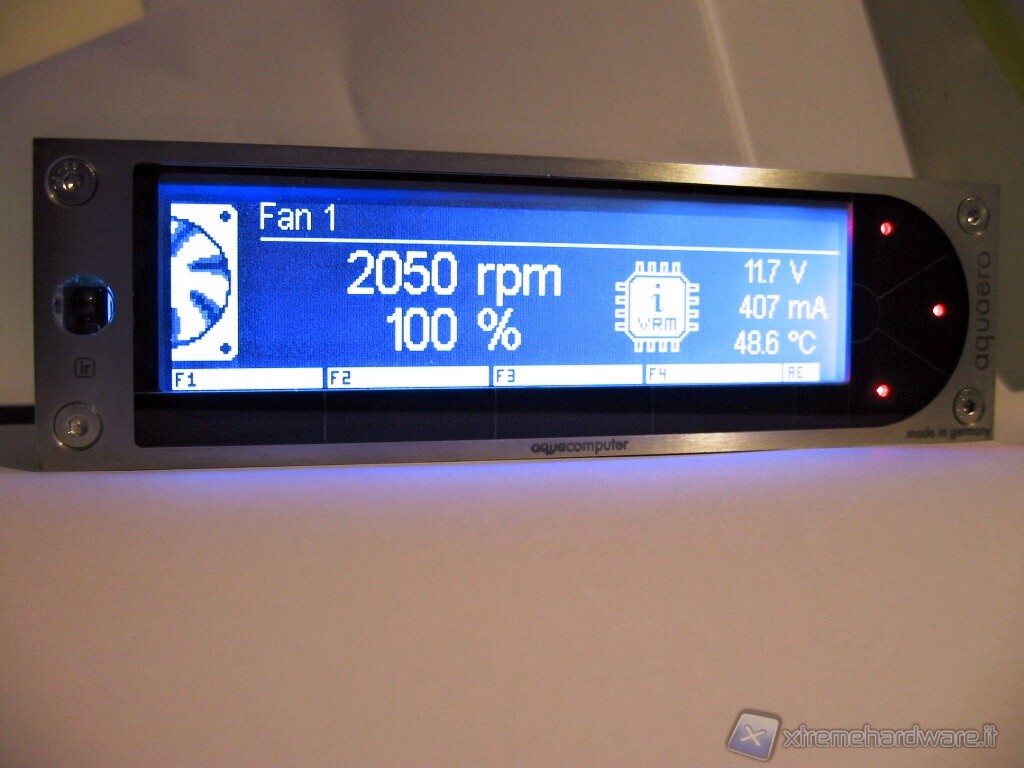
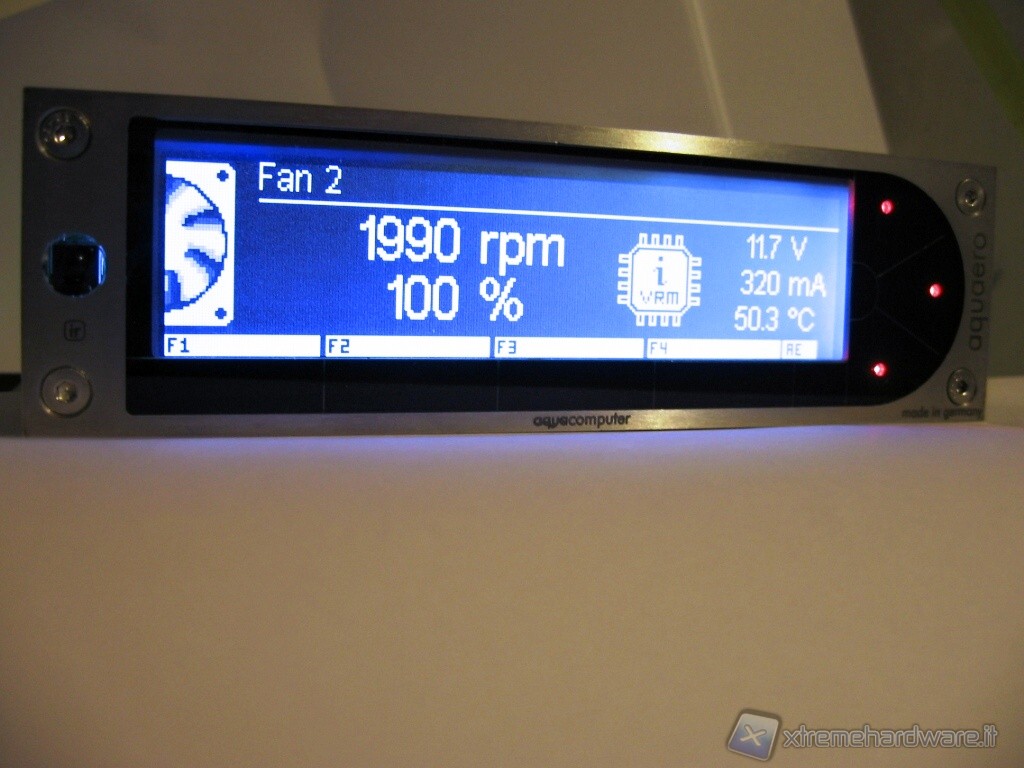
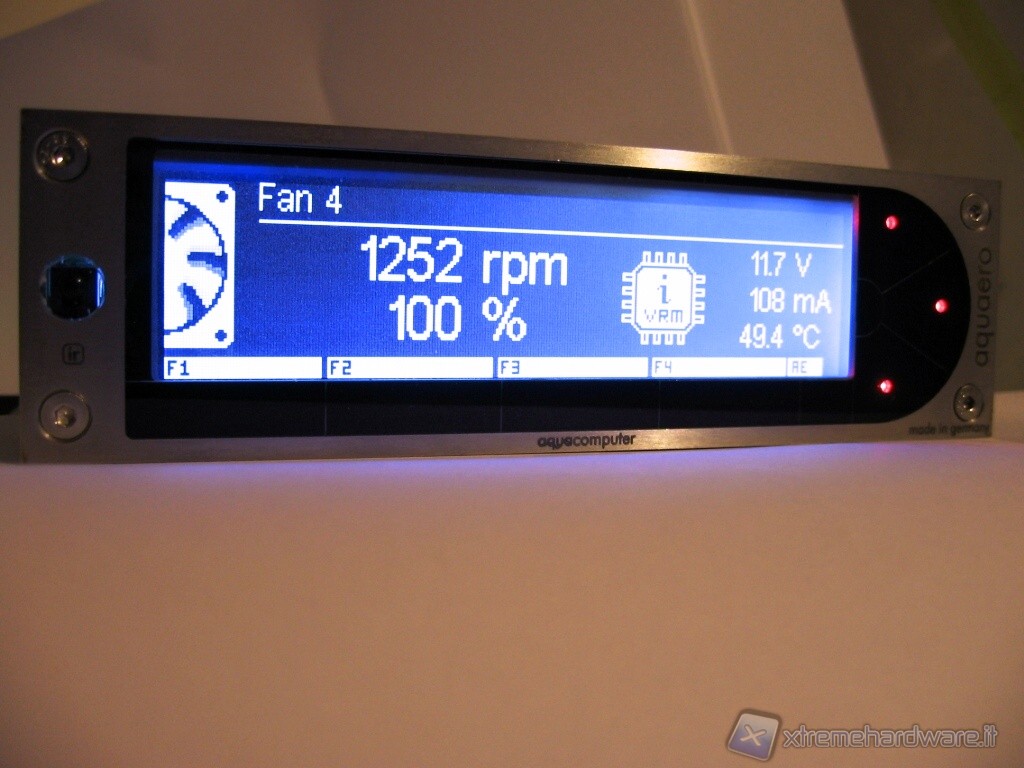
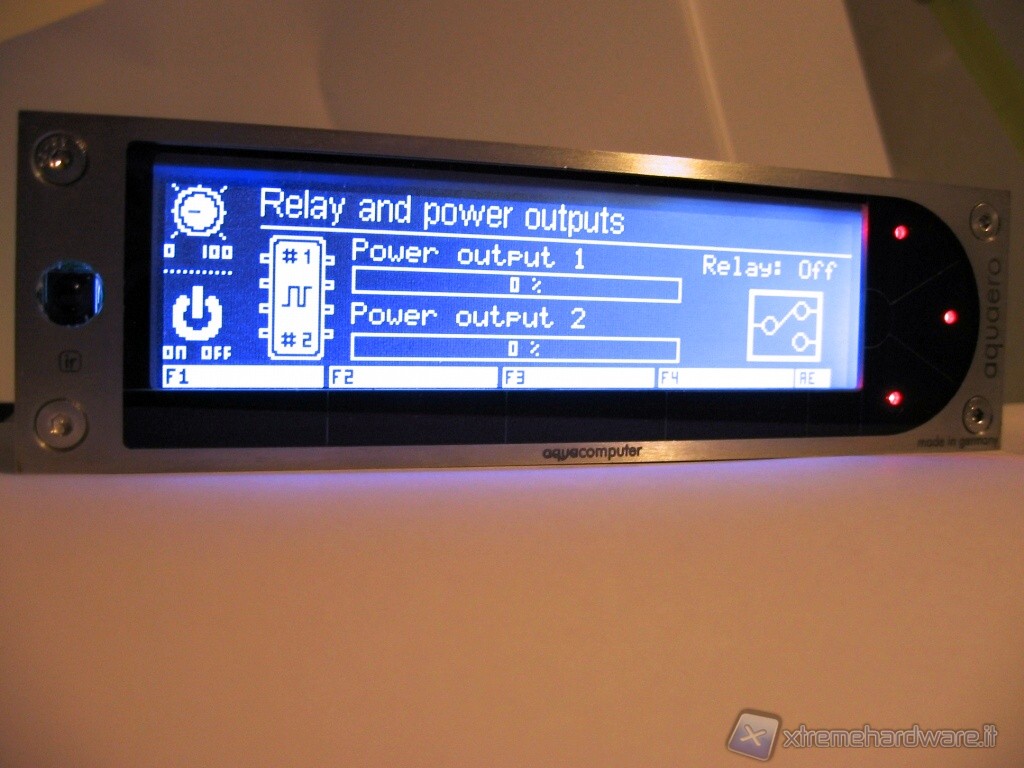
The following screens show the data for the rotation, temperature and power consumption of the fans connected to the respective 4 channels

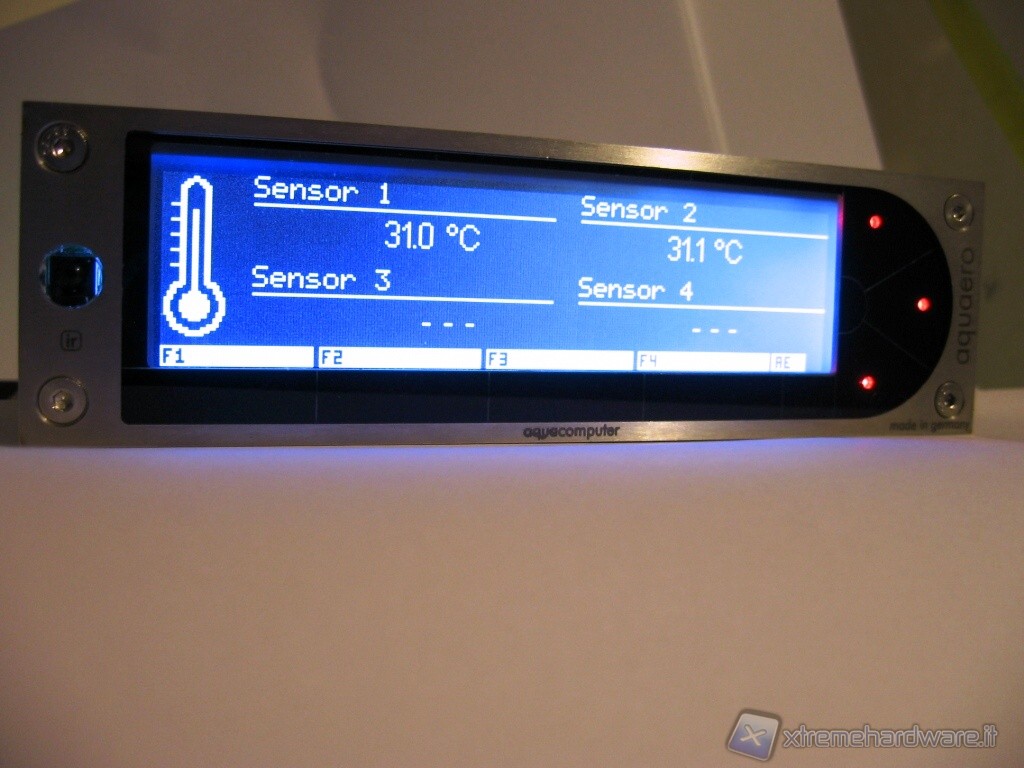
Soon after, advancing in the menu, you enter the screen showing the temperature values returned by the respective sensors connected, in this case we have only 2 connected.
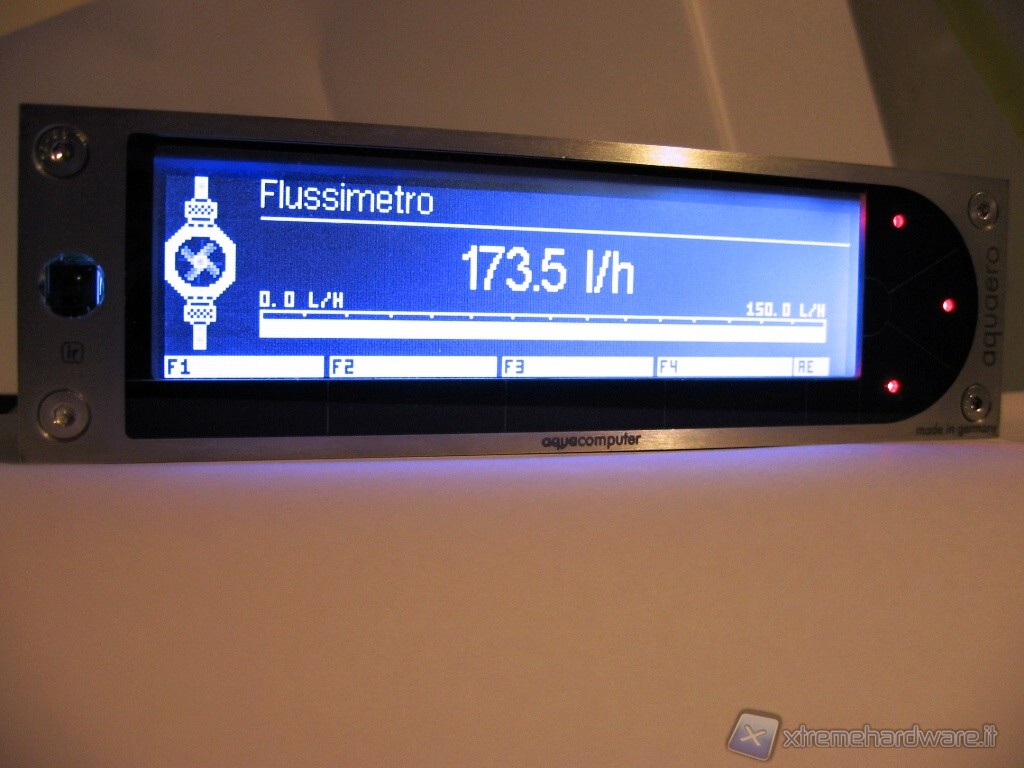
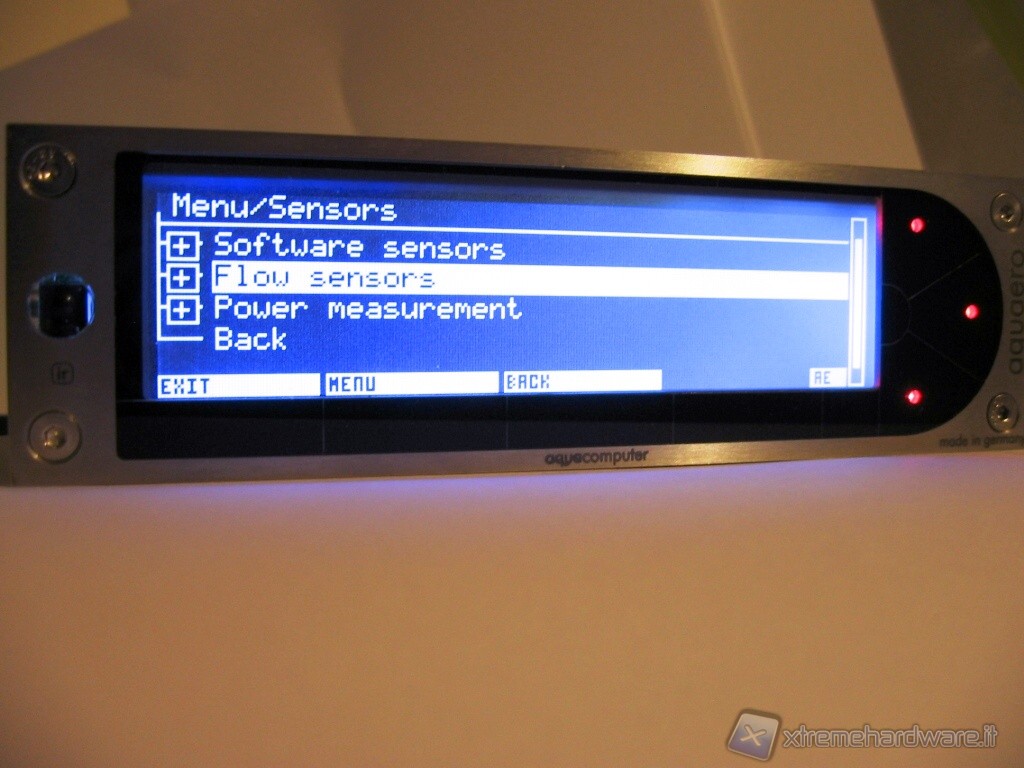
And finally the two screens on the flow-meter analyzed in this review: you can view both the measure of the flow in liters/hour (or other units)
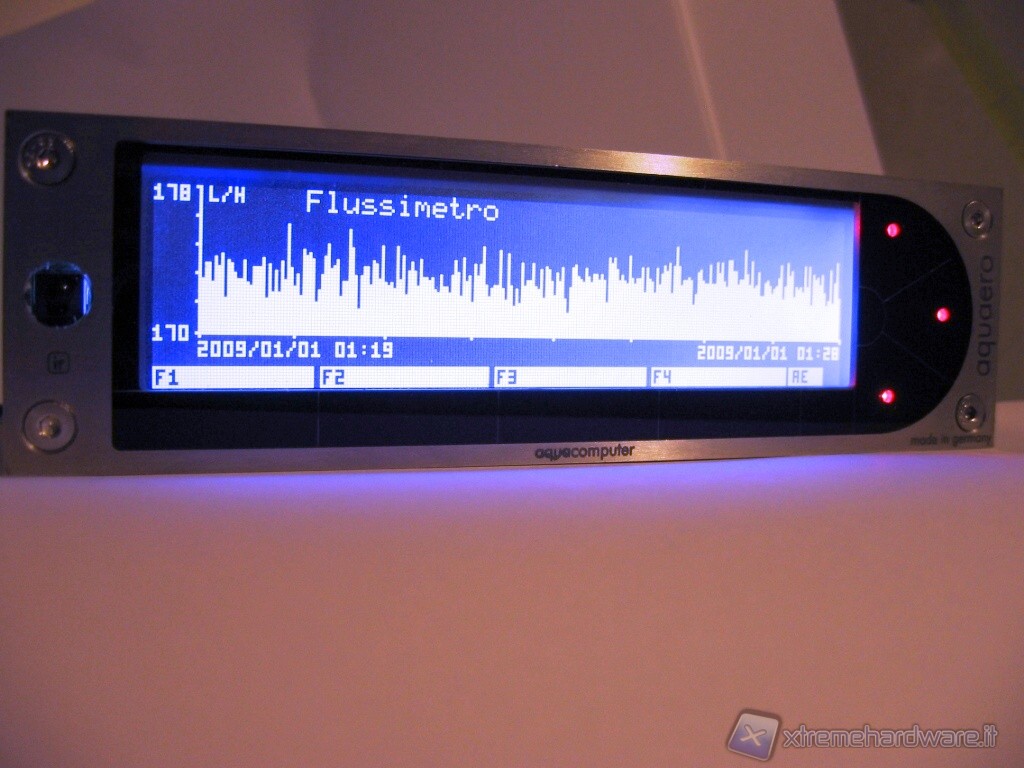
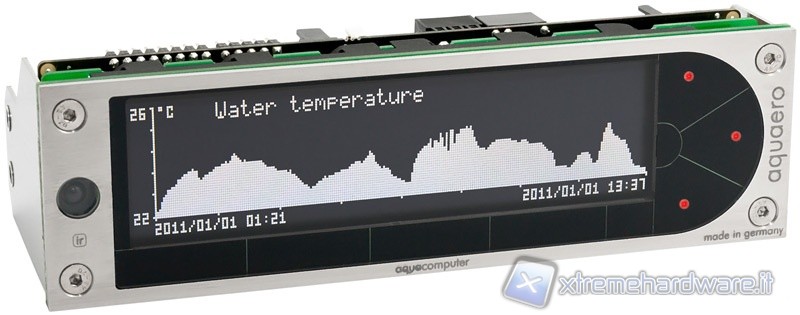
both the summary graphs in which, for a demonstration example, we chose to represent the data flow, but this does not prevent the ability to display the temperature or any other variable in reading
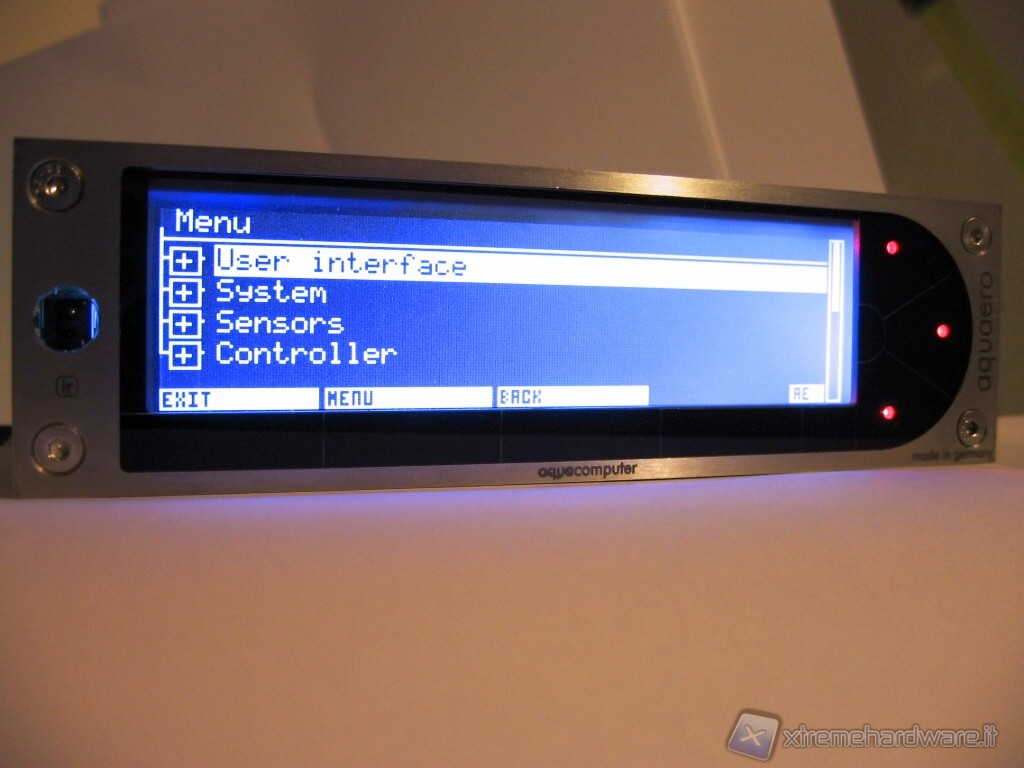
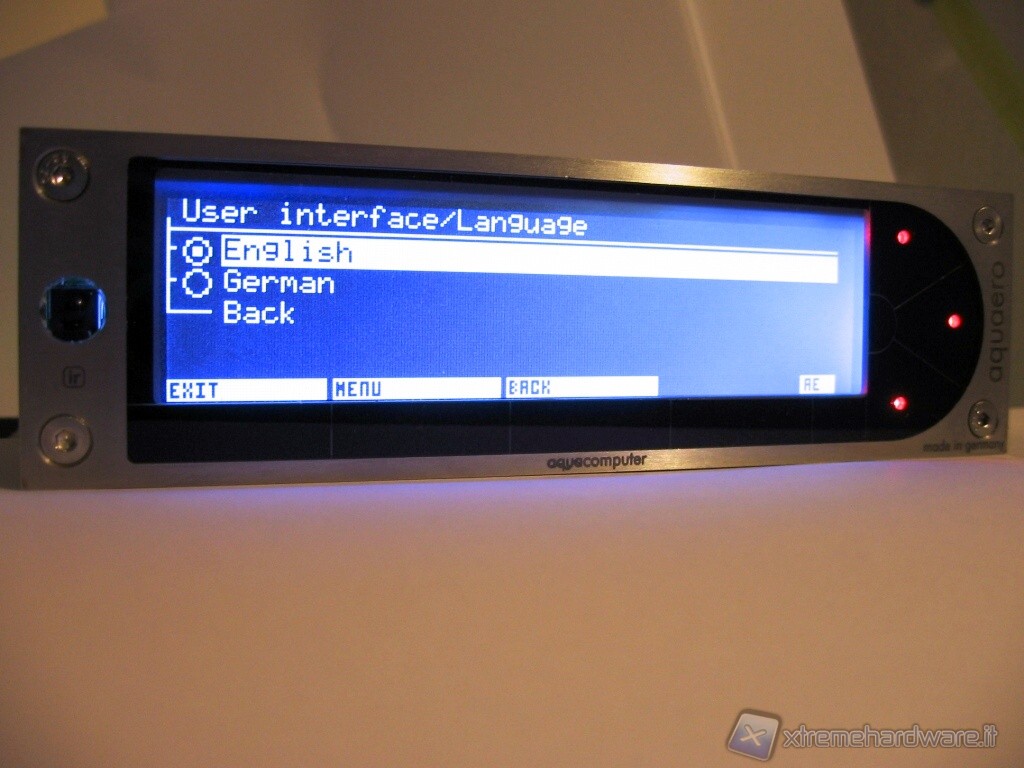
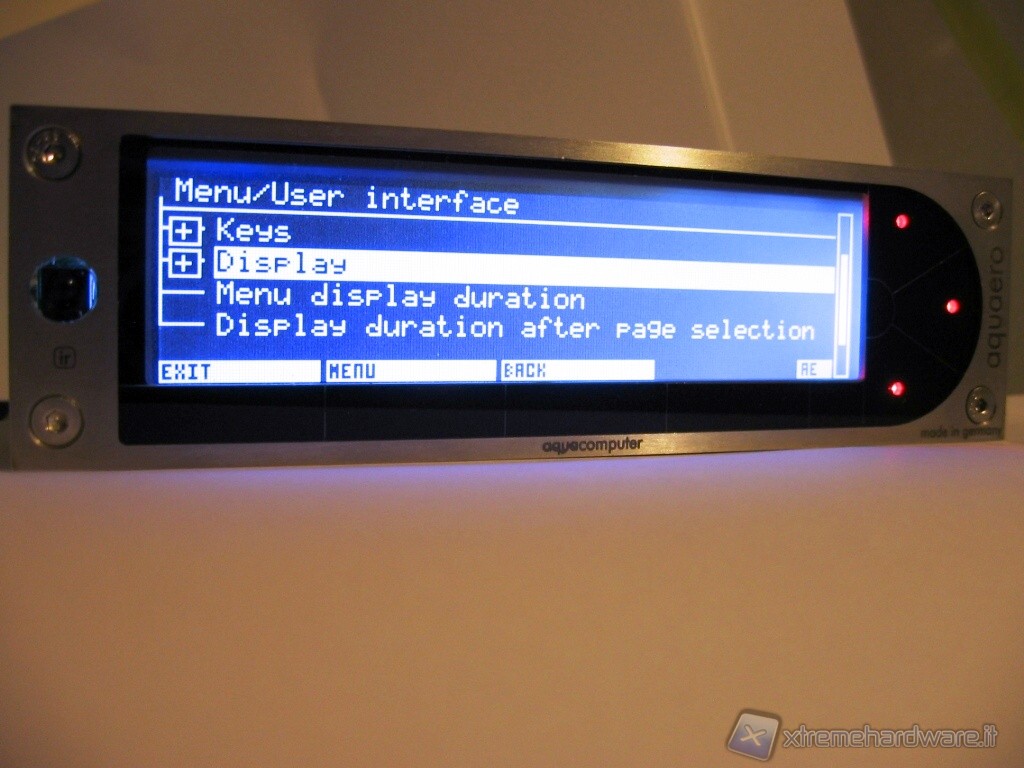
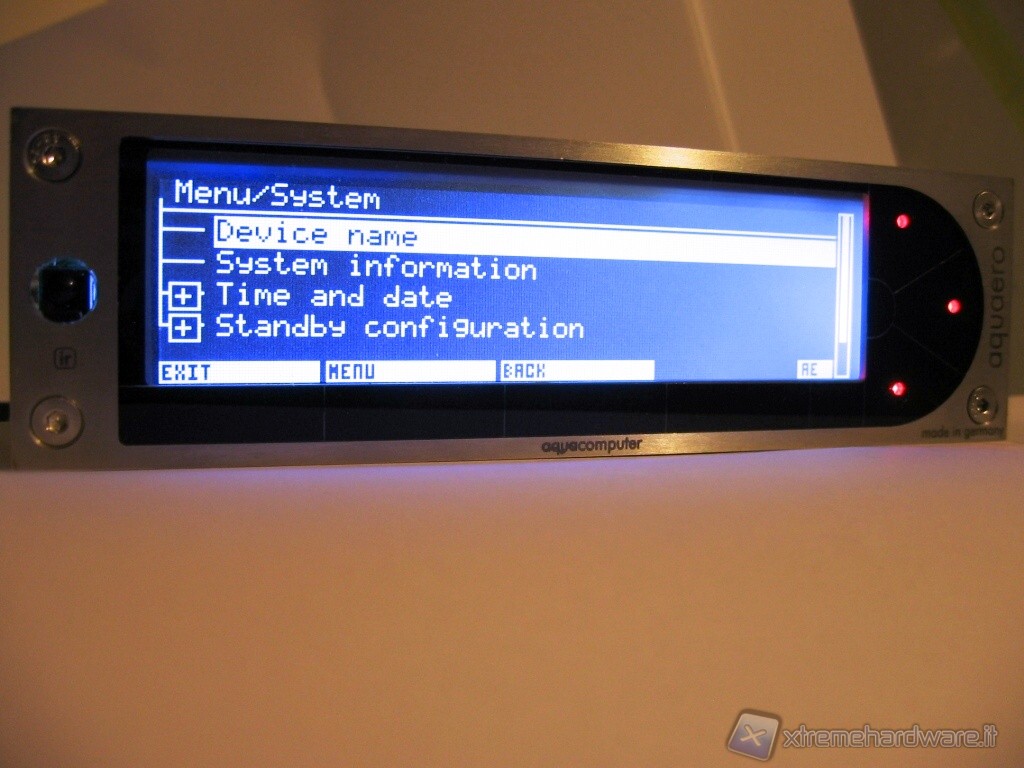
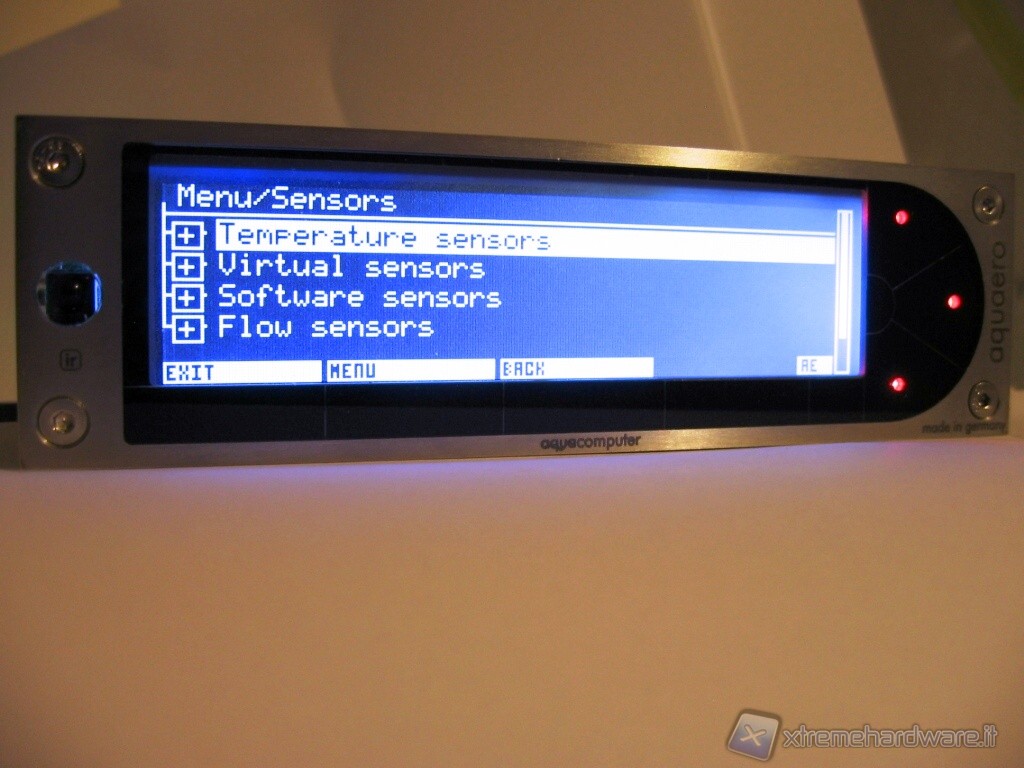
Finally you can enter the setup menu.
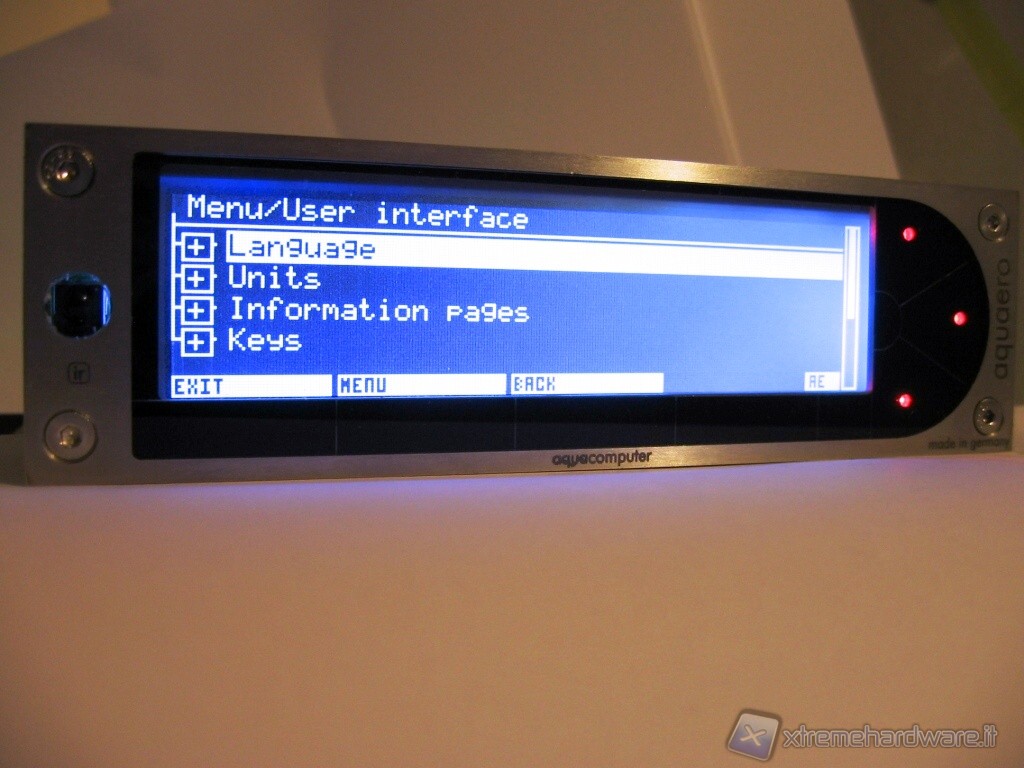
The settings are divided into related sub-menus for each section. We are proposing you only some because they are really a lot and it would be impossible to show them all in this review.

Recall that in the package you will find the manual to guide you in the linking stage.
Conclusions

|
Performance: |
|
|
Quality/Price ratio: |
|
|
Overall: |
|
We came to having to give a final verdict on this jewel of technology. The jump in quality from the previous version is remarkable and, knowing the German precision, and the reputation the AquaComputer has built with the Aquaero, we are confident that in future we will see even more advanced versions. Dwell on this fifth edition, it's hard to find faults or shortcomings, and one is amazed by the quality of the display to then converge on the multiple functions that, if it were not enough, may be accompanied by other virtualized through the supplied software. The designers have really done a great job in creating a controller that is not an end in itself but it is interfaced with multiple devices, and then it's modular, after checking the compatibility. Do not miss alarms can be set as well as smart features that react to events that can be set at will. Of course the price to buy it is certainly not small, but considering the investment and what you can do then it is clear that the Aquaero 5 is not a simple controller but it is in effect a mini computer. However, the manufacturer, AquaComputer , to meet the clients and the multiple needs/pockets, is selling 3 versions of the same controller, the "Lite", already quite full, the PRO and finally the DELUXE i.e. the 5 XT USB, that includes the Remote Control. The prices are respectively 58, 118 and 158 €, very high indeed, but tailored to the specific functional and quality of each product.
PROs:
- Completeness of the functions
- Accuracy in reading
- Excellent graphic representation
- Interfaced with external devices (modular)
- Short circuit protection
CONs:
-
None
Thanks are due to Aquatuning to sending the material.
Valter d'Attoma
Translated by Marco Comerci